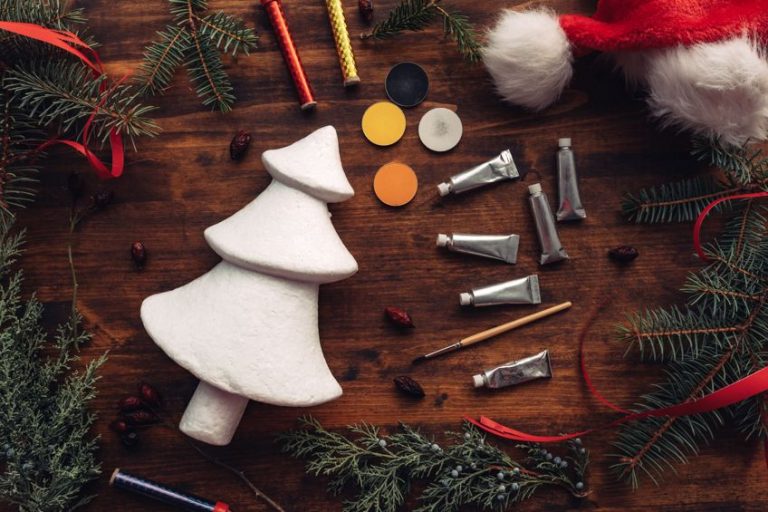
How to Paint Glass Jars – Fun DIY Tips and Tricks
This post may contain affiliate links. We may earn a small commission from purchases made through them, at no additional cost to you.
Mastering the art of painting glass jars opens a world of creativity and challenges for artists. From capturing the transparent qualities of glass to playing with reflections and light, painting glass jars requires a keen understanding of form, light, and texture. In this article, we delve into the techniques and tips that artists can employ to paint glass jars with realism and artistic flair, exploring the nuances of this captivating subject in the realm of art.
Key Takeaways
- Essential steps include preparation, painting, and sealing.
- Using the right paint prevents chipping and peeling.
- Simple techniques yield beautiful, lasting results.
Painting Glass Jars
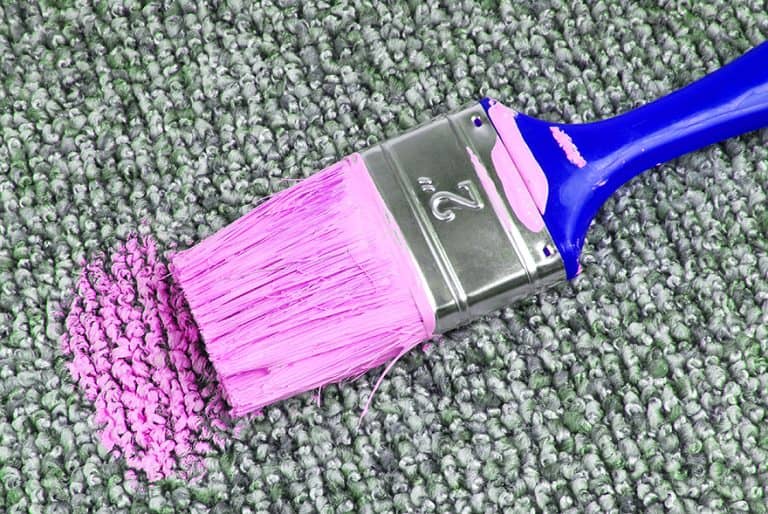
Transforming ordinary glass jars into beautiful works of art can be a fun and rewarding project. Whether you want to add a splash of color to your home decor or create personalized gifts, painting glass jars opens up endless possibilities. With the right materials and techniques, you can achieve stunning results that won’t chip or peel. This blog post will guide you through the steps required to prepare, paint, and seal your glass jars effectively.
From choosing the appropriate paint to mastering simple painting techniques, each section will provide clear instructions to ensure your project is successful. The process is straightforward and suited for both beginners and experienced crafters alike. By following these steps, you can transform simple glass jars into decorative pieces that last. The supplies needed to paint glass jars include:
- Glass jars
- Paint (acrylic or enamel)
- Paintbrushes or sponges
- Rubbing alcohol
- Wax paper or protective covering
- Paper towels
Materials and Preparation
Painting glass jars can be a fun and rewarding project. To achieve the best results, you must select the right supplies, thoroughly clean and prime the jars, and prepare your work area properly.
Selecting Supplies
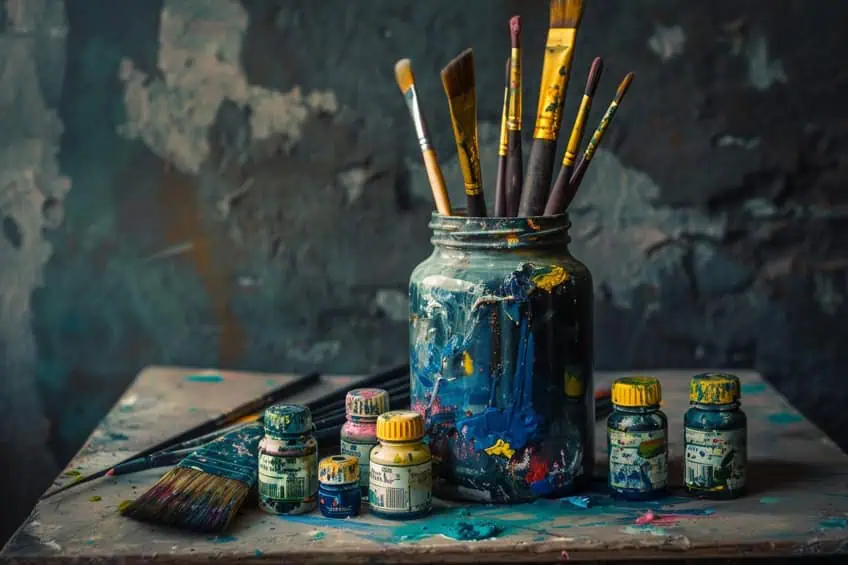
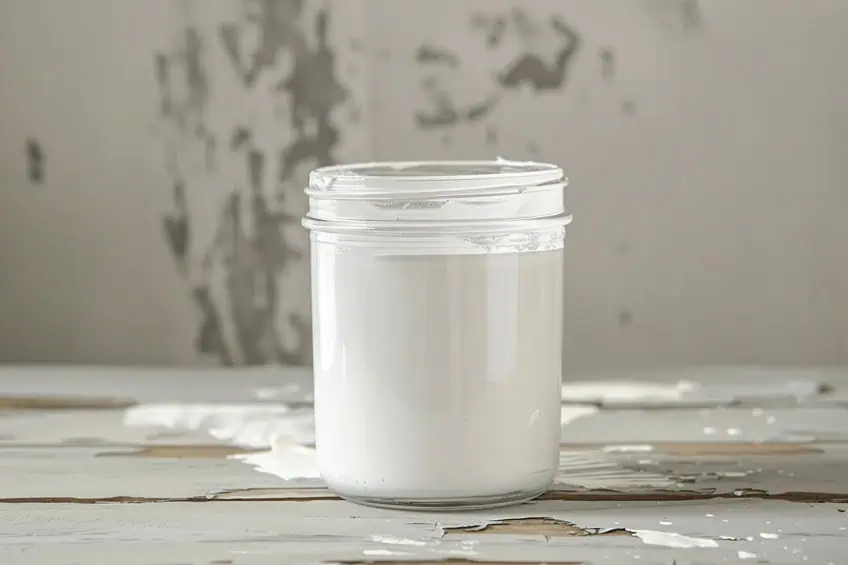
Choosing the proper supplies is essential for a successful project. Start with the jars. Mason jars are popular, but any clean glass jar will work. For paint, acrylic or glass-specific paints are ideal. Avoid oil-based paints as they may not adhere well. You’ll need a variety of paint brushes: one for broader strokes and finer ones for details. Sponges can also help achieve different textures. Sandpaper (fine-grit) and a good primer ensure the paint sticks well to the glass. Don’t forget rubbing alcohol to clean the jars and remove any oil or dust.
Cleaning and Priming
Properly cleaning and priming the jars is crucial. Start by removing any labels or stickers from the jars. Soak them in warm water mixed with a bit of white vinegar or mild dish soap. This helps to loosen the adhesive. After soaking, use a scraper or sponge to remove any remaining labels and residue. Rinse the jars thoroughly with warm water.
Dry them and then clean the surface with rubbing alcohol.
This removes any grease or dust that might prevent the paint from adhering properly. Once clean, lightly sand the jars with fine-grit sandpaper. This gives the glass a bit of texture, helping the primer and paint stick better. Finally, apply a coat of primer suitable for glass. This step is vital for achieving an even and long-lasting finish.
Preparing Your Work Area
Set up a well-ventilated work area to ensure safety and effective paint application. Spread newspaper or a plastic sheet over your work surface to protect it from spills and splatters. Gather all your supplies within easy reach to streamline your process.

Make sure your area is dust-free. Dust can ruin the finish of your painted jars. If possible, work in a space with minimal airflow disturbance to avoid dust settling on the wet paint. Ensure that the area is well-lit. Good lighting helps you see the detailed work more clearly, ensuring that you don’t miss any spots and that your paint application is even.
Painting Techniques
Painting glass jars can be an enjoyable craft, transforming simple jars into decorative pieces or gifts. Key painting techniques include applying base coats, creating designs, and adding finishing touches, ensuring a beautiful and lasting result.
Applying Base Coats
Start by cleaning the jars thoroughly with warm soapy water. Remove all labels and residue, using isopropyl alcohol to wipe down the surface for a cleaner finish. Apply a primer if you want a more opaque look, as this helps the paint adhere better. Use acrylic paint or chalk paint for the base layer.
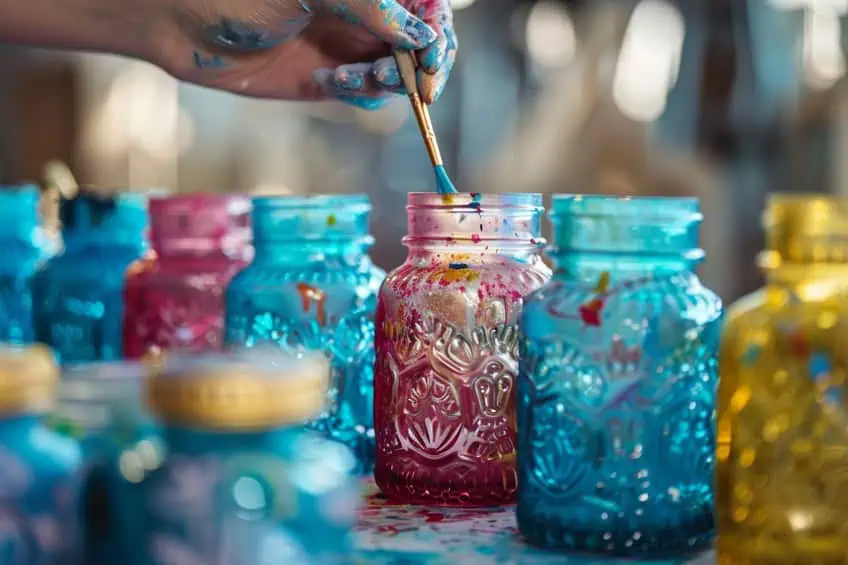
When applying the paint, use a paint brush for smooth, even strokes. Alternatively, a spouncer can offer a different texture. Apply thin coats, allowing each one to dry before adding the next. Typically, 2-3 coats are necessary for full coverage. For painting the inside, swirl the paint around the jar and pour the excess back into the bottle, then let the jar dry upside down on wax paper.
Creating Designs
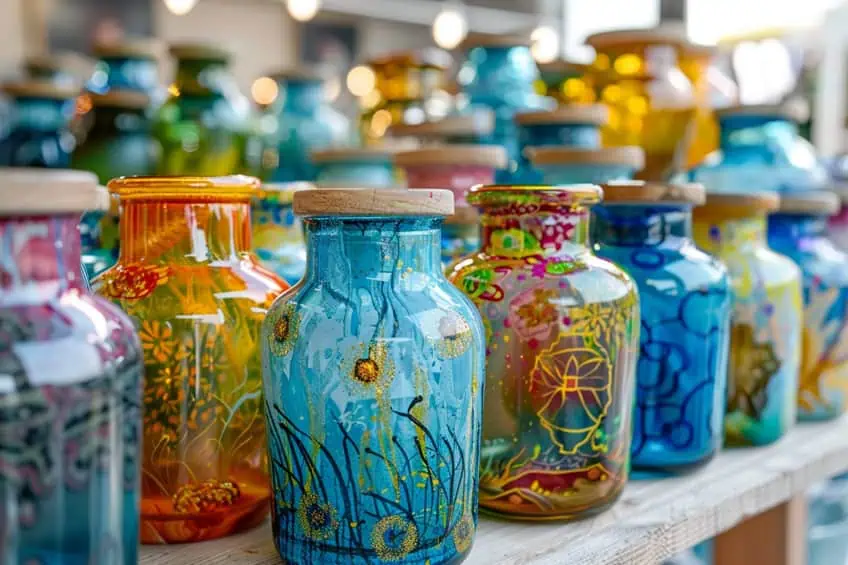
Enhance your jars by adding unique designs. Use stencils for patterns like stripes or polka dots. Adhesive stencils can help keep the design steady while you paint. Paint markers are great for adding intricate details or writing text on the jars. To create a translucent effect, mix the paint with a little water before applying. For an opaque look, use multiple layers of undiluted paint. Consider taping off sections to paint in different colors, achieving a multicolored or striped design.
Experimenting with different brush strokes can also introduce new textures and effects to your jars.
Finishing Touches
Once your designs are complete, it’s essential to seal the paint to ensure durability. Mod Podge is a good sealer for most projects, offering a matte or gloss finish. For a more permanent seal, place the jars in a cold oven, set the temperature to 350°F, and bake for 30 minutes. This method cures the paint, making it more resistant to chipping. For added customization, consider distressing the paint for a vintage look or adding embellishments like ribbons or decals. A final top coat of Mod Podge can add a professional touch to your flower vases or decorative pieces.
Curing and Sealing
Proper curing and sealing of painted jars ensure the paint doesn’t peel or chip. Different methods can be used to dry the paint and apply a protective sealant.
Drying Methods
There are two primary ways to dry painted jars: air drying and baking in an oven. Air drying involves allowing the paint to set at room temperature. This method can vary in time based on the thickness of the paint, usually taking anywhere from 1 to 3 days.
Baking the jars in an oven can speed up the curing process.
Place the jars in a cold oven and set the temperature to 350°F. Once the temperature is reached, let them bake for 30 minutes. Turn off the oven and let the jars cool completely inside before removing them. This process makes the paint more durable, but it is still recommended to hand wash these items.
Applying Sealant
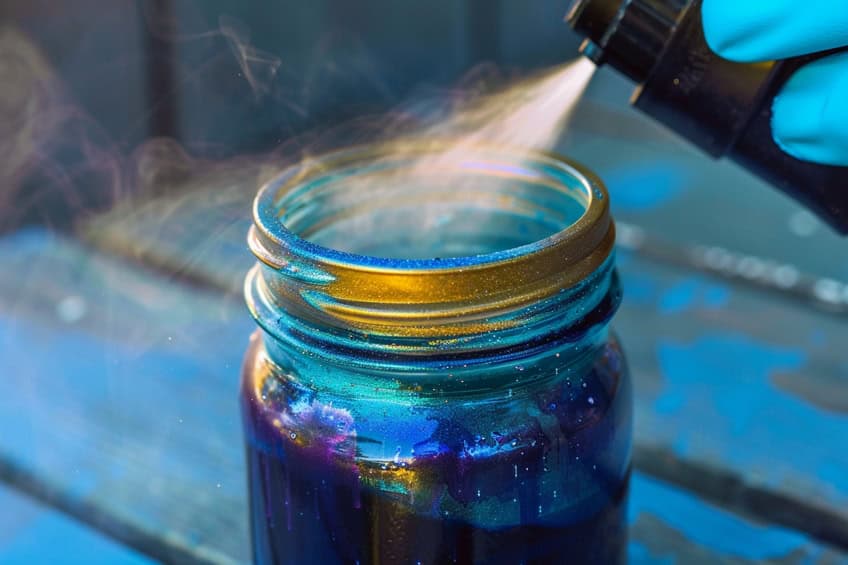
Applying a sealant to the painted surface protects it from wear and makes it easier to clean. Different types of sealants can be used, such as brush-on or spray-on acrylic sealers. Mod Podge is a popular choice for a brush-on sealant. Apply thin, even coats and let each coat dry completely before adding the next.

For spray sealants, hold the can 6-8 inches from the jar and apply light coats in a well-ventilated area. This helps in avoiding drips and ensures a smooth finish. Spray sealants usually dry faster and provide a more uniform protection layer. Once the sealant is fully dried, the jars can handle more use and are better protected from chipping or peeling.
Decorating and Upcycling
Decorating and upcycling glass jars can add a personal touch to home decor while promoting sustainability. By using simple materials and techniques, you can transform plain jars into beautiful and useful items.
Creative Decorating
Decorating glass jars opens up endless possibilities. One popular method is to use chalk paint or chalkboard paint for a rustic, matte finish. You can apply the paint in layers, then distress the jar with sandpaper for a vintage look. Glitter is another fun option. Mix Mod Podge with fine glitter and apply in thin coats for a sparkly effect.

Adding stencils and patterns can also enhance the jar’s appearance. Use painter’s tape to create stripes or geometric designs. For a more personalized touch, consider painting names or quotes with acrylic paint. These jars can serve as unique gifts or home decor items. Glass jars can be decorated for holidays, parties, or themed rooms.
Upcycling Ideas
Upcycling glass jars transforms them into practical items. Vases are a common upcycled item; simply decorate the jar and fill it with flowers. Mason jars can be turned into candle holders by adding decorative stones or sand inside before placing a candle. For the kitchen, painted jars can store spices, coffee, or sugar. To create a whimsical lantern, place a small LED light inside the jar and hang it outdoors. Creative organizers can label jars to store craft supplies, such as buttons, beads, or ribbons.
Bathroom uses include storing cotton balls or makeup brushes. Bottle painting can also result in chic home decor pieces.
Maintenance and Care
To keep your decorated jars looking their best, maintenance is key. While painted jars should avoid the dishwasher, they can be gently hand-washed. Use a damp cloth to clean the surface without scratching the paint. If you’ve used embellishments like glitter or stencils, make sure they are sealed with a clear finish.

This ensures longevity and protection against chipping. Proper care will help your craft projects last for years, maintaining their beauty and function. Handling the jars with care, especially when moving or filling them, will preserve the paint job. A little upkeep will keep your decorated and upcycled jars looking fresh and vibrant.
As artists conclude their exploration into the intricacies of painting glass jars, they gain not only technical proficiency but also a deeper appreciation for the interplay of light, form, and texture. Through techniques like highlighting reflections and understanding the subtle shifts in transparency, artists can imbue their artworks with a sense of realism and depth. The journey of painting glass jars is a testament to the artist’s skill and vision, revealing the beauty and complexity of everyday objects transformed into works of art.
Frequently Asked Questions
What Is the Best Method to Apply Acrylic Paint to Glass Jars?
For a smooth finish, use a thin brush or a sponge applicator to apply acrylic paint. Thin coats work best, and it’s crucial to allow each layer to dry completely before applying the next. This prevents streaks and ensures an even color distribution.
What Type of Transparent Paint Should Be Used for Glass Jars?
Use a specialized glass paint that offers transparency, such as those labeled for stained glass or glass-specific acrylics. These paints adhere well to glass surfaces and allow light to pass through, creating a beautiful, translucent effect.
What Are Some Effective Techniques for Using Chalk Paint on Glass Jars?
To apply chalk paint, make sure the jar is clean and dry. Use a soft brush to apply the paint evenly. Applying multiple thin coats gives the best results. Chalk paint is ideal for a rustic or vintage look and can be distressed with sandpaper once it’s dry.
How Do You Prepare Glass Jars for Painting Artwork Designs?
First, clean the jar with soap and water to remove any dirt or grease. Dry thoroughly. Wipe the jar with rubbing alcohol to ensure no residue remains. This step is essential as it helps the paint to stick better for intricate designs like those for candle holders.

In 2005, Charlene completed her wellness degrees in therapeutic aromatherapy and reflexology at the International School of Reflexology and Meridian Therapy. She worked for a company offering corporate wellness programs for several years before opening her own therapy practice. In 2015, she was asked by a digital marketer friend to join her company as a content creator, and it was here that she discovered her enthusiasm for writing. Since entering the world of content creation, she has gained a lot of experience over the years writing about various topics such as beauty, health, wellness, travel, crafting, and much more. Due to various circumstances, she had to give up her therapy practice and now works as a freelance writer. Since she is a very creative person and as a balance to writing likes to be active in various areas of art and crafts, the activity at acrylgiessen.com is perfect for her to contribute their knowledge and experience in various creative topics.
Learn more about Charlene Lewis and about us.