Spider Drawing – Learn How to Draw a Remarkable Tarantula
This post may contain affiliate links. We may earn a small commission from purchases made through them, at no additional cost to you.
Spiders, the eight-legged creatures that can evoke both fear and fascination in many people, are truly remarkable arachnids. With over 45,000 known species found on every continent except Antarctica, these creepy crawlies come in a wide range of shapes and sizes, from tiny jumping spiders to massive tarantulas. Despite their fearsome reputation, most spiders are harmless to humans, and play a crucial role in our ecosystems as predators that help control the populations of insects and other arthropods. With their impressive hunting skills and unique adaptations, it’s no wonder that spiders continue to captivate and intrigue us. Having said that, get ready for an exciting tutorial on how to draw a spider!
An Easy Step-by-Step Guide to a Tarantula Drawing
Learning how to draw a spider can be a fun and rewarding experience that will help you appreciate the intricate beauty of these eight-legged creatures. Before you begin, it’s important to understand the basic anatomy of a spider, which includes its head, thorax, abdomen, and eight legs. Spiders also have a unique set of eyes that vary in number and placement depending on the species. When sketching your spider, start with simple shapes and gradually add details such as the hairs on its legs, the patterns on its body, and the fangs in its mouth. Use shading techniques to add depth and texture, and experiment with different poses and angles to bring your spider to life on the page. With patience and practice, you’ll soon be able to create stunning spider drawings that capture the essence of these fascinating arachnids!
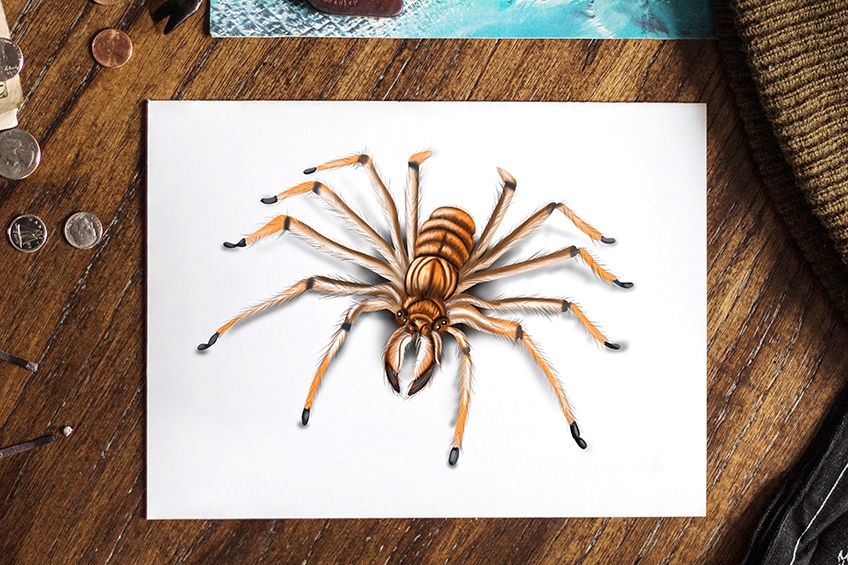
Let’s get started and dive into today’s tutorial where we teach you all the necessary skills you need to create an easy spider drawing. By following the below collage, which depicts each step taken to achieve the final result, you will also be able to draw a realistic spider in no time!

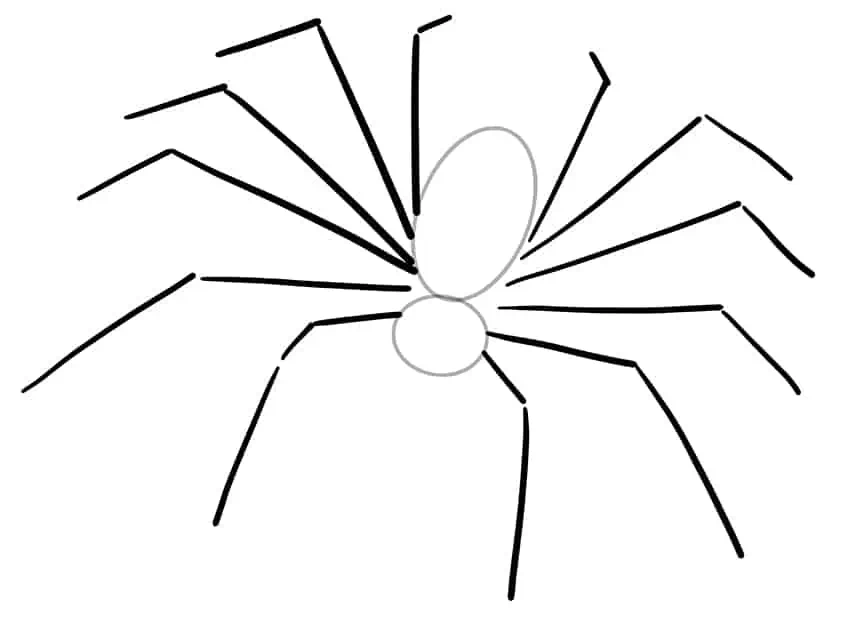
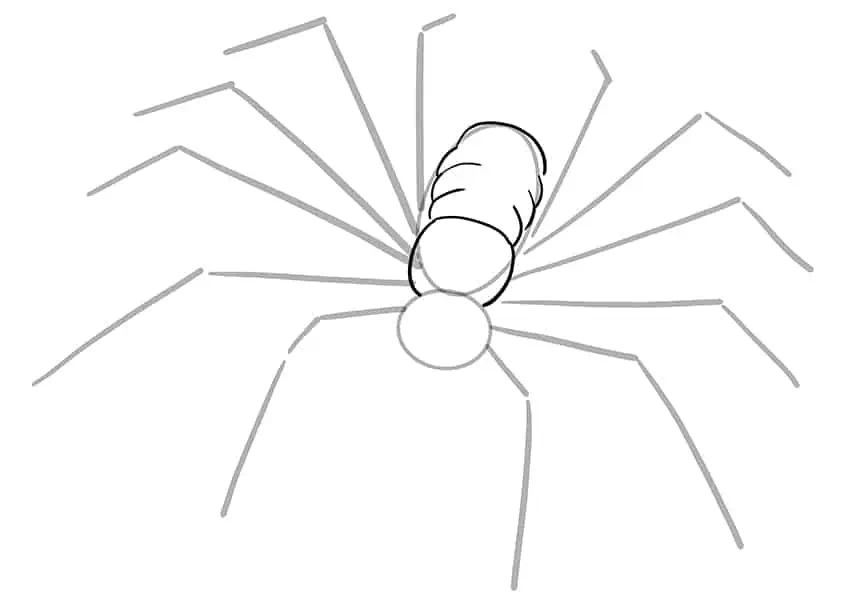
Step 1: Draw the Main Body
Begin your spider drawing tutorial, by drawing a tilted oval shape to represent the main body of the spider.

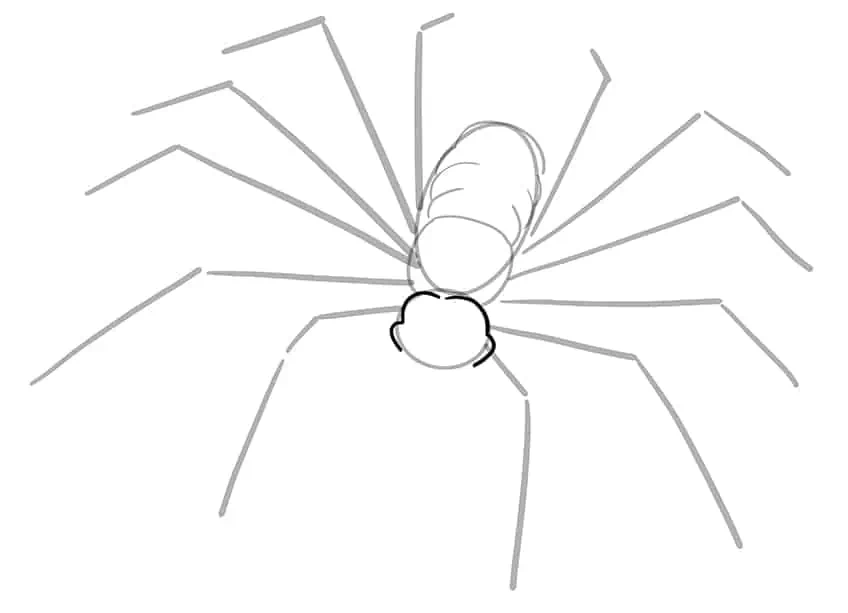
Step 2: Draw the Head of Your Tarantula Drawing
Attached to the main body, draw a smaller oval shape to represent the spider’s head.

Step 3: Add the Legs
Draw all eight legs attached to the sides of the main body of your spider drawing. Continue to add two front and rear legs.
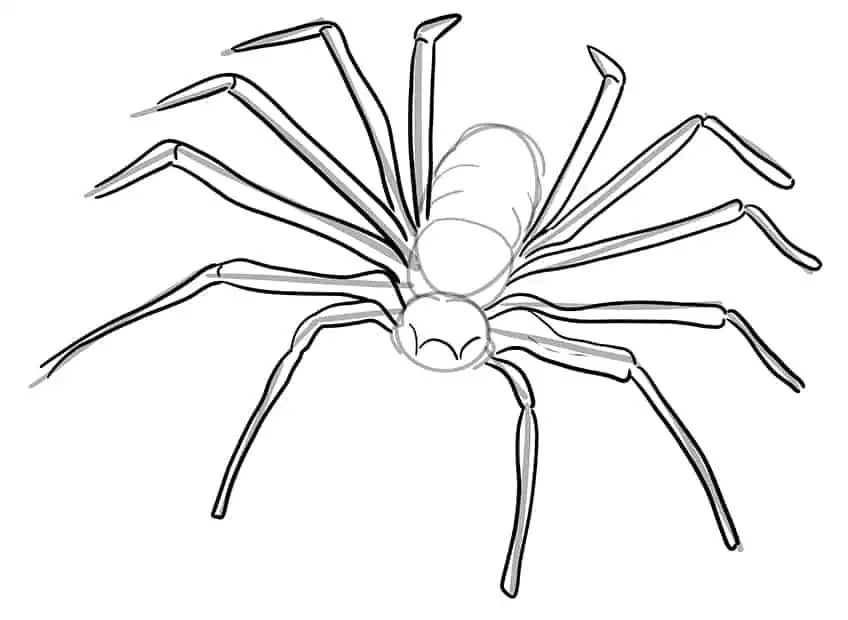
Step 4: Outline the Main Body
Make use of the previous construction lines to aid you in outlining a more realistic shape for your spider drawing.
Step 5: Continue to Outline the Spider
Continue to outline a realistic shape of the spider’s head.
Step 6: Outline the Legs of Your Tarantula Drawing
Draw a thicker outline on each leg of your spider drawing.
Note! Use the previously drawn leg construction lines as a centerline to aid you in your drawing.
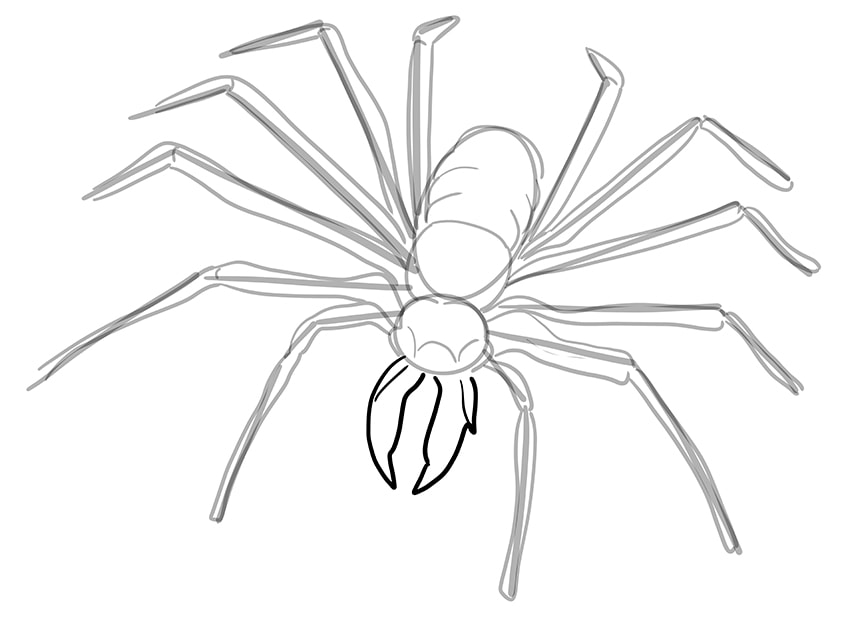
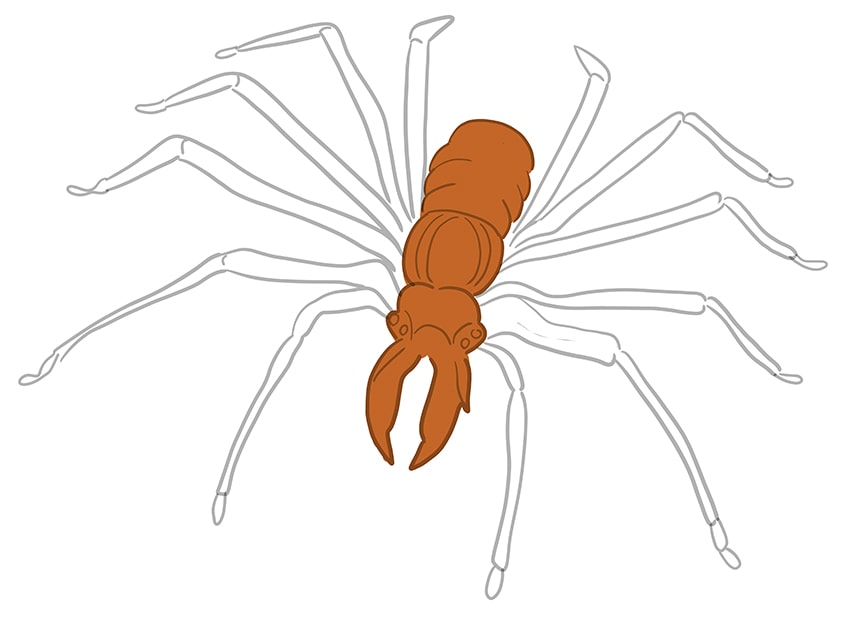
Step 7: Draw the Fangs
Attached to the front of the head, draw each of the fangs as sharp claw-like figures. Once completed, you can erase any construction lines that are still visible.
Step 8: Add the Eyes to Your Easy Spider Drawing
Begin by drawing four circles on the face, to represent the eyes of your spider drawing. Continue to draw several structure lines on the main body of the spider. Complete the step by drawing the tip of each leg as a small curved oval.

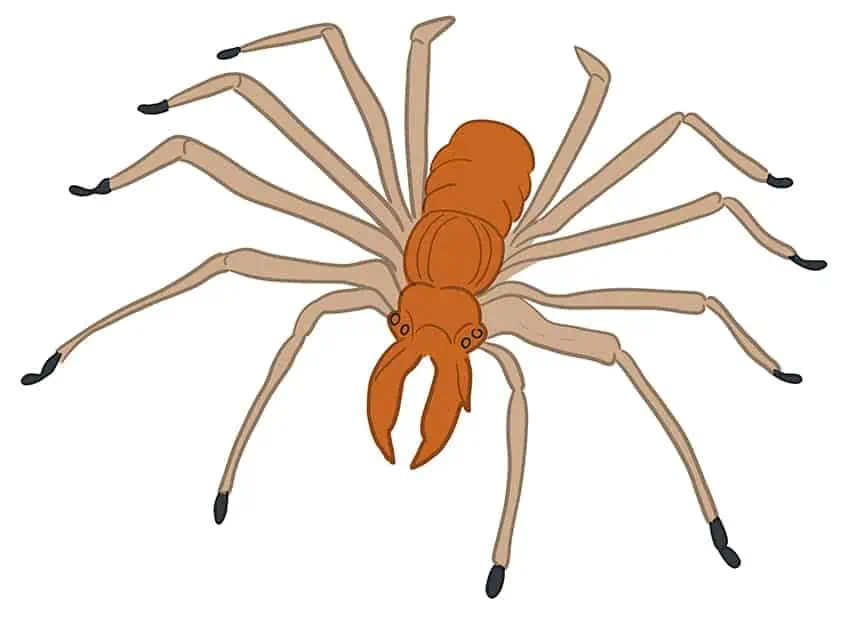
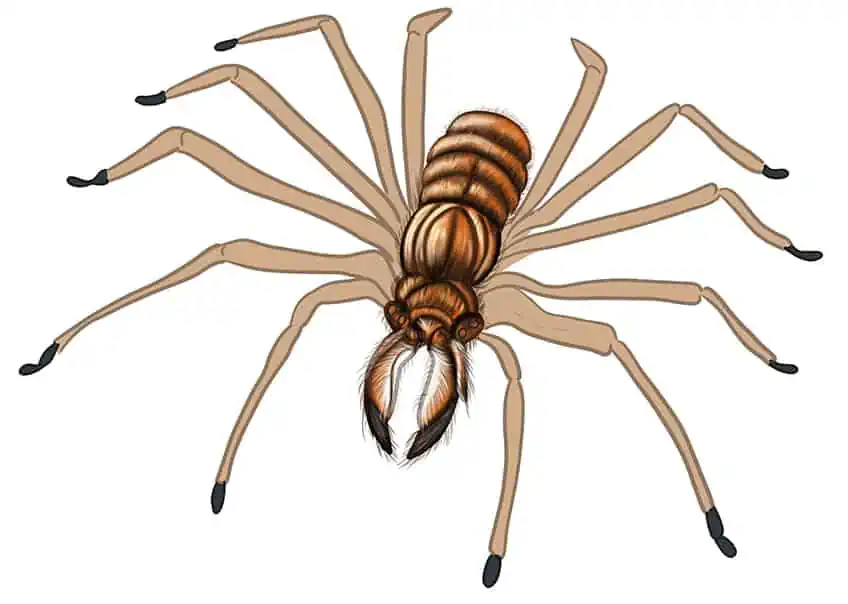
Step 9: Apply the First Color Coat
Select a fine, sharp brush and bright brown paint, and evenly coat the spider except for the legs.
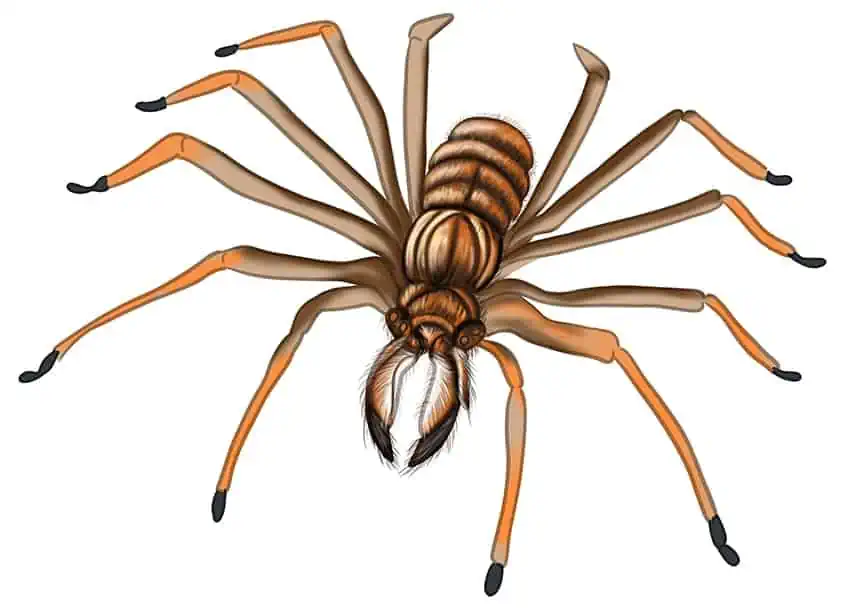
Step 10: Color the Legs of Your Easy Spider Drawing
Use the same brush as previously and switch to khaki paint, and evenly coat each of the legs. Continue using black paint for the tip of each leg.
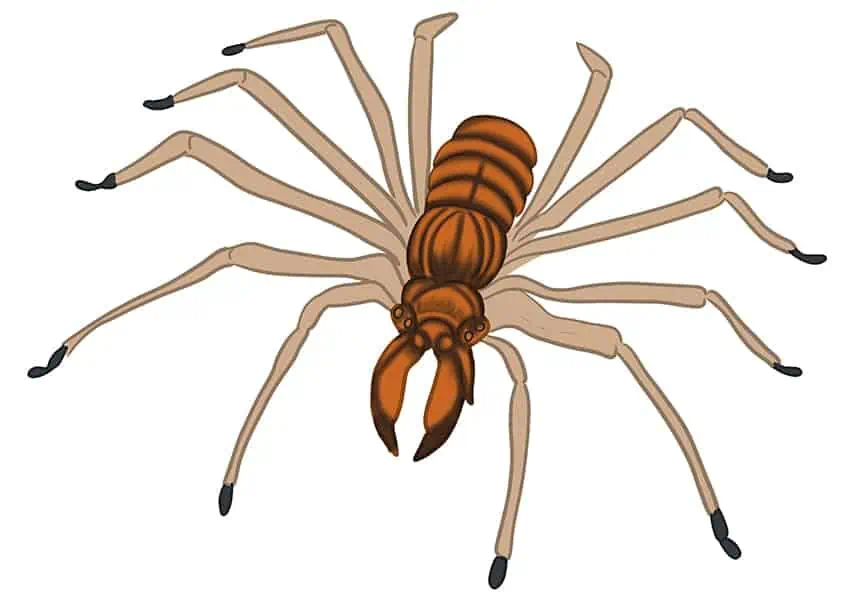
Step 11: Shade the Main Body
In this step, begin to enhance the structure and texture of the spider by adding fine shading lines between the rear and the front of the spider’s body, using a thin brush and black paint. Continue to apply fine shading and surround the eyes and edges of each fang.
Finish this step using a blending brush to softly blend the color coats together.
Step 12: Highlight the Main Body
With a thin brush and cream paint, apply fine hairline brushstrokes within each of the layers on the main body and along the top of the head. Repeat this step using a combination of black and white paint. Finish this step with a blending brush to softly fade the hairy texture.
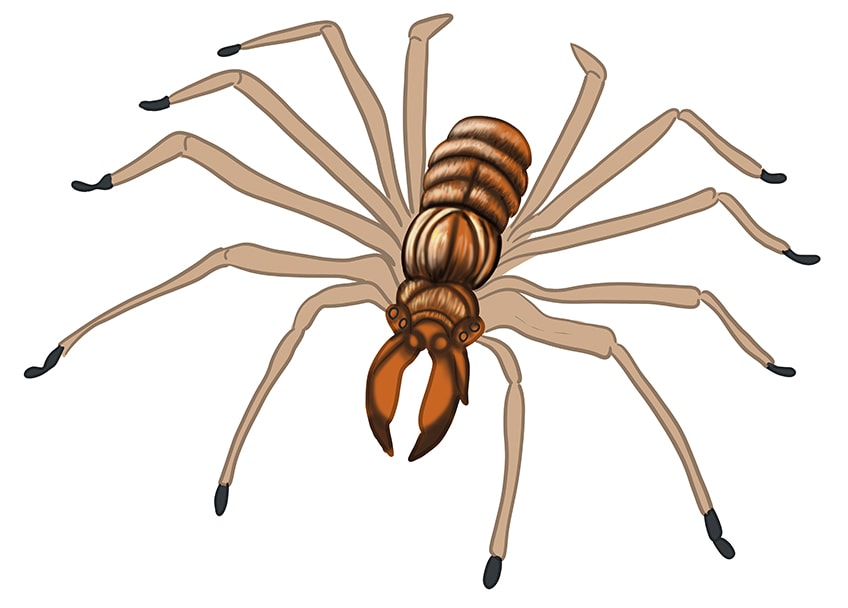
Step 13: Texture Your Sketch of a Spider
Continue to add a fine hairy outline surrounding the main body and head of your spider drawing, using a fine brush and brown paint. Complete this step and apply longer hairline brushstrokes surrounding the fangs. Switch to a soft brush and a combination of black, white, and gray paint, and add a soft shade to each fang.
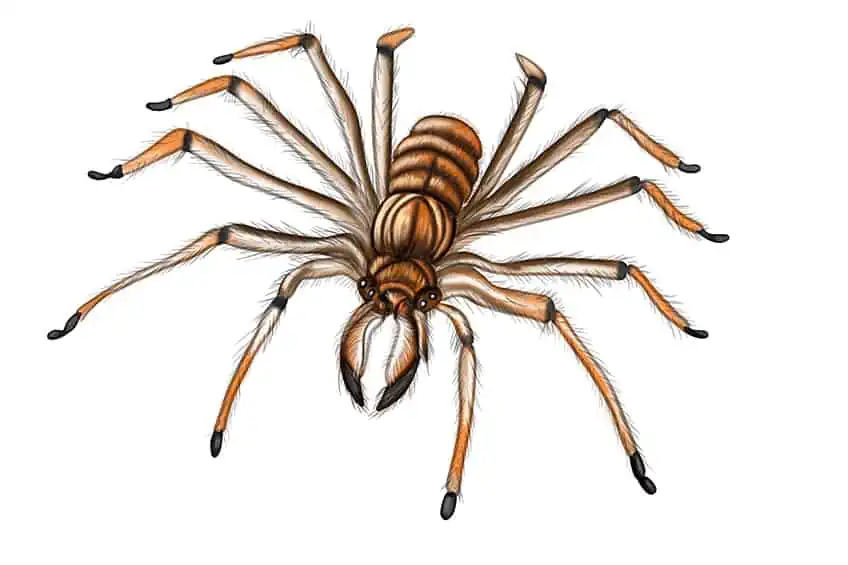
Step 14: Shade the Legs
Select a small, soft brush and a darker shade of brown paint, and softly apply shading to the top edge of each leg. Continue using orange paint, and softly color the lower half of each leg. Complete this step by blending all the color coats using a blending brush.
Step 15: Add Texture to the Legs
In this step, add soft highlights to the center area of each leg, using a soft brush and white paint. Switch to dark gray paint, and evenly paint the separation joints on each leg. Continue using a thin brush and a combination of dark gray and black paint, and add fine individual brushstrokes along each of the legs.
Note! The hairy outline should be spikey and lead outwards.

Step 16: Color the Eyes
With a fine, sharp brush and black paint, and color in each of the visible eyes. Repeat once more using white paint to add a shimmer within each eye. Complete the step using a soft brush, and add shading to the tip of each leg.
Step 17: Apply a Ground Shadow
Apply a dark shadow underneath each leg of your spider drawing, using a soft brush and black paint. Switch to a blending brush and spread out the edges of the ground shadow to create a realistic effect.
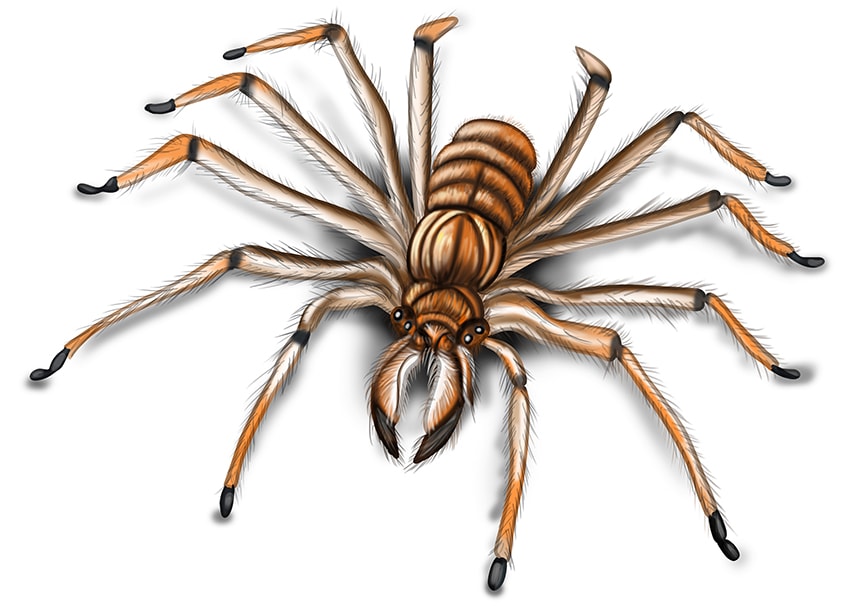
Step 18: Finalizing Your Sketch of a Spider
You are one step closer to finalizing your spider drawing! To do this, erase any harsh outlines that are still possible. Continue using a thin brush and the corresponding colors to trace the outlines and create a seamless final look for your easy spider drawing!

Congratulations on learning how to draw a spider step-by-step! With your newfound skills, you can now appreciate the intricate details and beauty of these eight-legged creatures. Take some time to experiment with different poses and angles, and use shading techniques to add depth and texture to your drawings. You can also try drawing different species of spiders and learn to explore their unique features, such as the colorful patterns on a peacock spider, or the large size of a bird-eating spider. Additionally, consider using your spider drawings to create art projects or educational materials that showcase the importance of these arachnids in our ecosystems!
Frequently Asked Questions
How Do I Draw the Legs of a Spider Accurately?
To draw the legs of a spider accurately, start by drawing a central line for the leg and then add two more lines on either side of the central line. The outer lines should be slightly curved to represent the curvature of the leg. Then, add joints to the leg by drawing small circles at each point where the leg bends. For the feet, draw small triangles or ovals at the end of each leg to represent the spider’s claws. Finally, add hair to the legs to give them texture and make them look more realistic. If you are unsure of how to do this, our drawing tutorial will take you through this process step-by-step!
How Do I Add Texture and Details to My Spider Drawing?
To add texture and details to your spider drawing, consider adding shading techniques such as cross-hatching, stippling, or smudging to give depth and dimension to the spider’s body and legs. Additionally, you can use different line weights to create contrast and emphasize certain areas of the spider, such as its eyes or fangs. To make your spider drawing look more realistic, add details such as the spider’s body pattern, the texture of its legs and feet, and the hairs on its body. Don’t be afraid to experiment with different techniques and styles to create a unique and visually appealing spider drawing!

IzzyBll is a digital artist and content creator from Israel and currently residing in South Africa. Originally coming from videography, Izzy then turned to digital graphic art. He specialized in using digital drawing software such as Photoshop and Procreate. Drawing and photo editing has always been a sort of second nature for Izzy. In doing so, he can now look back on 5 years of experience in the industry, completing commissions for various well-known brands such as Audi.
Learn more about IzzyBll and about us.