Volcano Drawing – 14 Steps to Sketching Scorching Scenes
This post may contain affiliate links. We may earn a small commission from purchases made through them, at no additional cost to you.
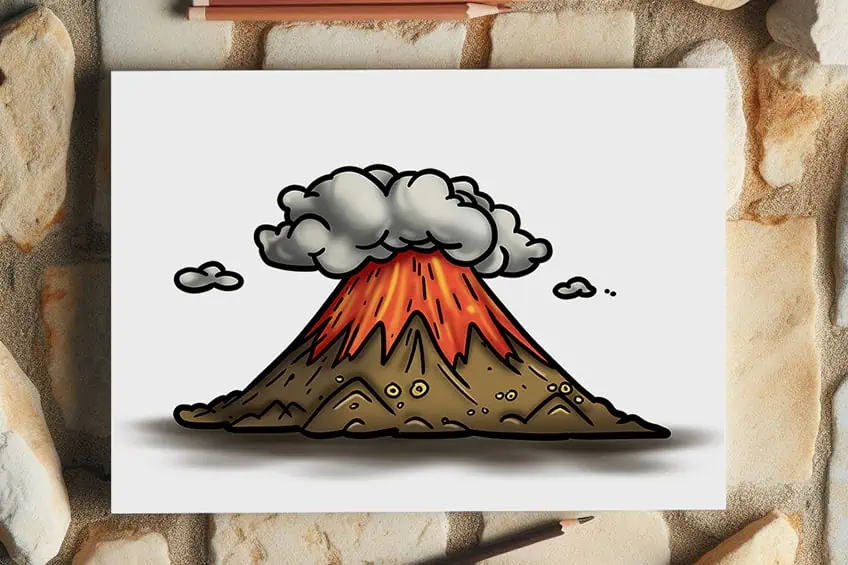
Volcanoes: Earth’s fiery spectacles, where the ground trembles and the sky dances with molten fury. These geological marvels are nature’s ultimate storytellers, weaving tales of destruction and creation in equal measure. Embark on a thrilling journey into the heart of volcanic activity with this comprehensive guide. Over 14 indispensable steps, you’ll master the art of capturing the raw power and breathtaking beauty of volcanoes on your canvas!
Erupting Creativity: How to Draw a Volcano
Unveil the secrets of capturing the majestic force and awe-inspiring beauty of volcanoes with precision and finesse in this all-encompassing guide. Illustrated to perfection, this comprehensive manual meticulously outlines each step necessary to translate a lava drawing’s raw power and grandeur onto paper.
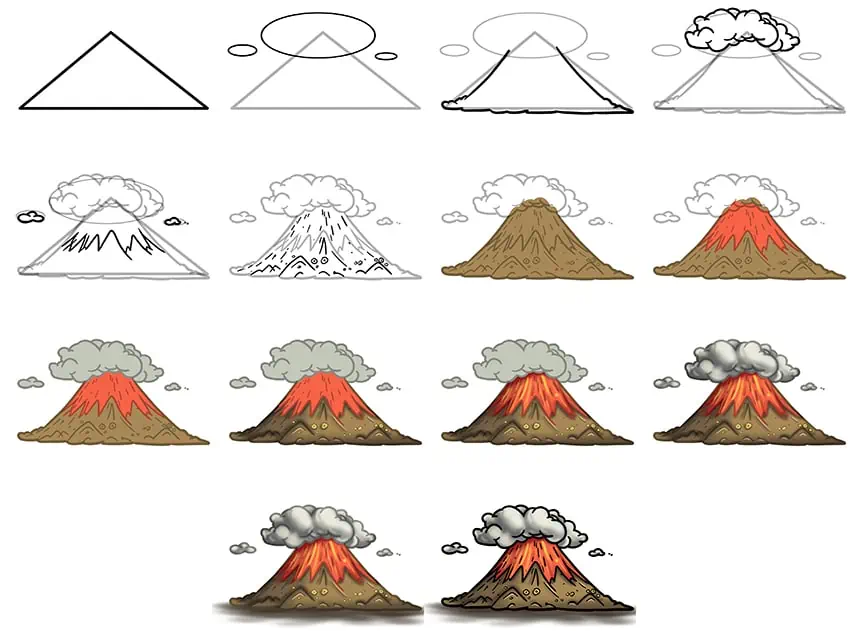
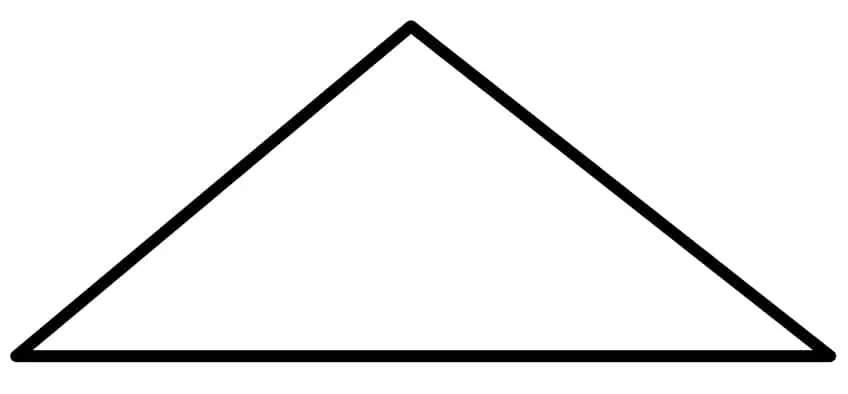
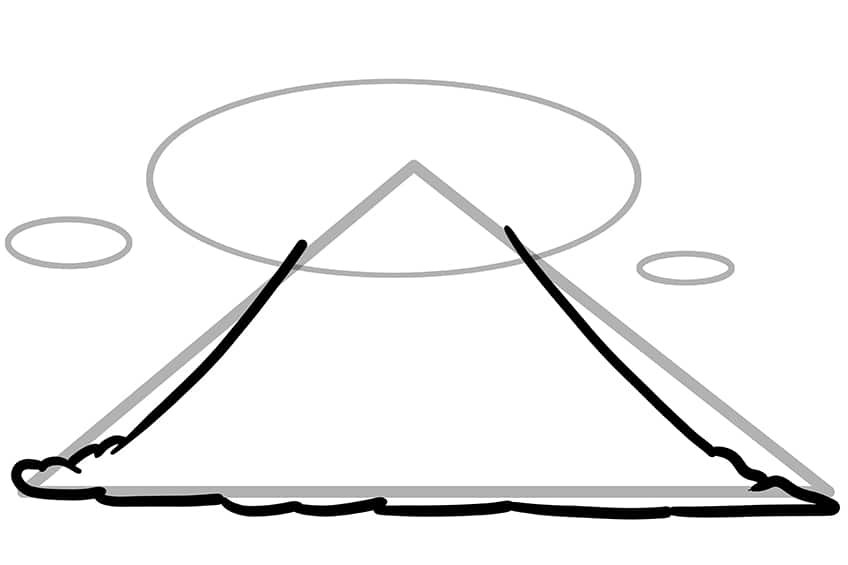
Step 1: Begin Your Easy Volcano Drawing
Start by identifying the central point of your canvas. From there, sketch a triangle to outline the primary form of the volcano outline.
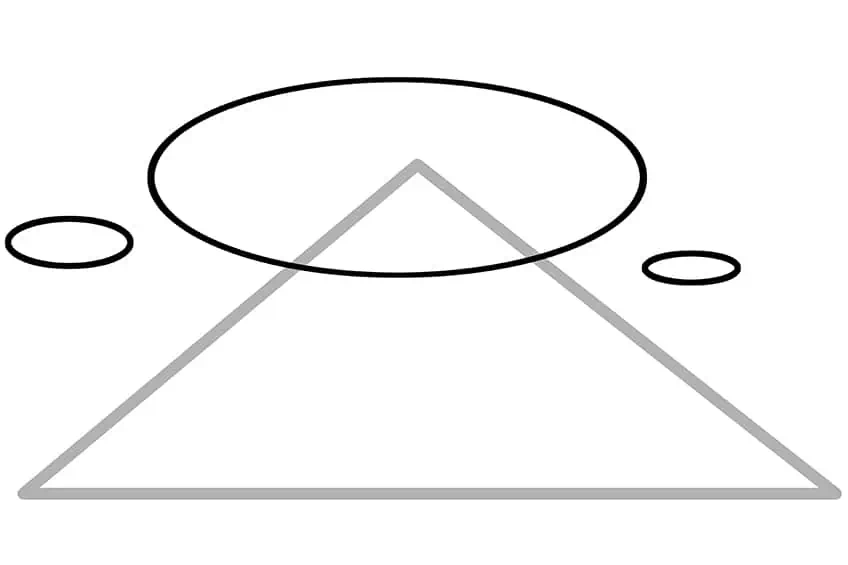
Step 2: Draw the Clouds on Your Lava Drawing
Overlapping the main shape, draw a wide oval to represent the main cloud and two small ovals on each side of your lava drawing.
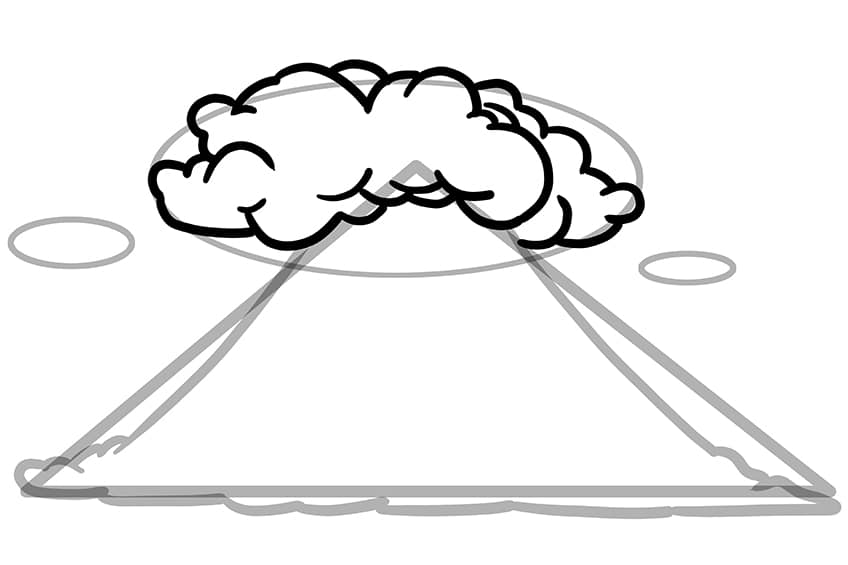
Step 3: Outline Your Volcano Sketch
Utilize the construction lines you’ve already drawn to help guide you in creating a more authentic outline of the volcano’s shape.
Step 4: Draw the Main Cloud on Your Realistic Volcano Drawing
Continue using the guidelines to aid you in drawing the main cloud on top of the volcano.
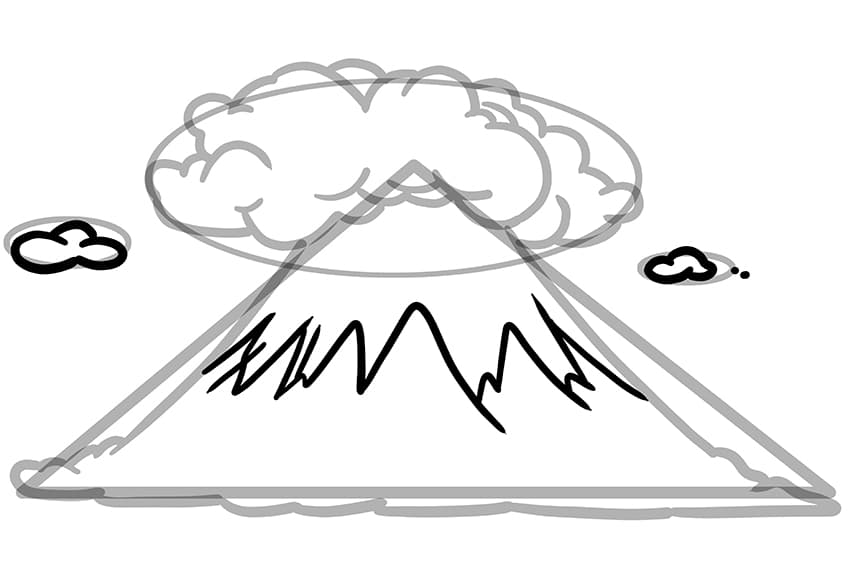
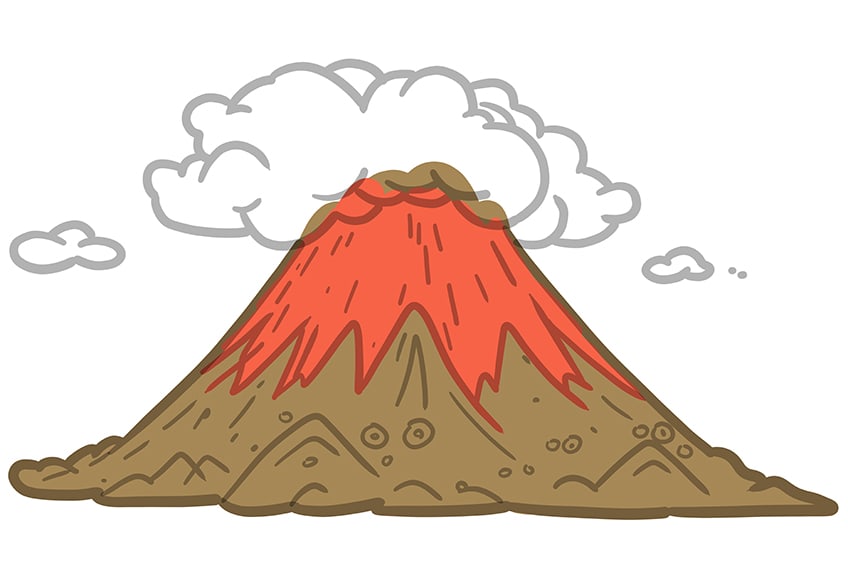
Step 5: Add the Lava
Draw the lava edges leaking around the middle area of your volcano outline, flowing downwards. Finish off by drawing two small clouds.
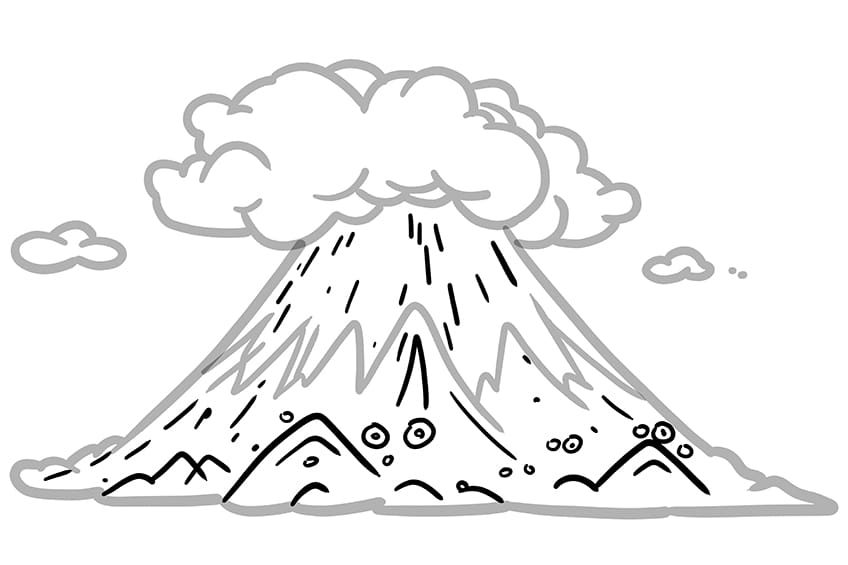
Step 6: Add Details to Your Realistic Volcano Drawing
Draw fine, sharp texture lines along the entire volcano. Add small hills and edges, incorporating several circles and spots onto your volcano outline.
Step 7: Add the First Color Coat to Your Volcano Sketch
Start evenly coating the volcano with a fine, sharp brush and khaki paint.

Step 8: Continue to Color Your Volcano Sketch
Using the brush and orange paint, evenly coat the lava on your easy volcano drawing.
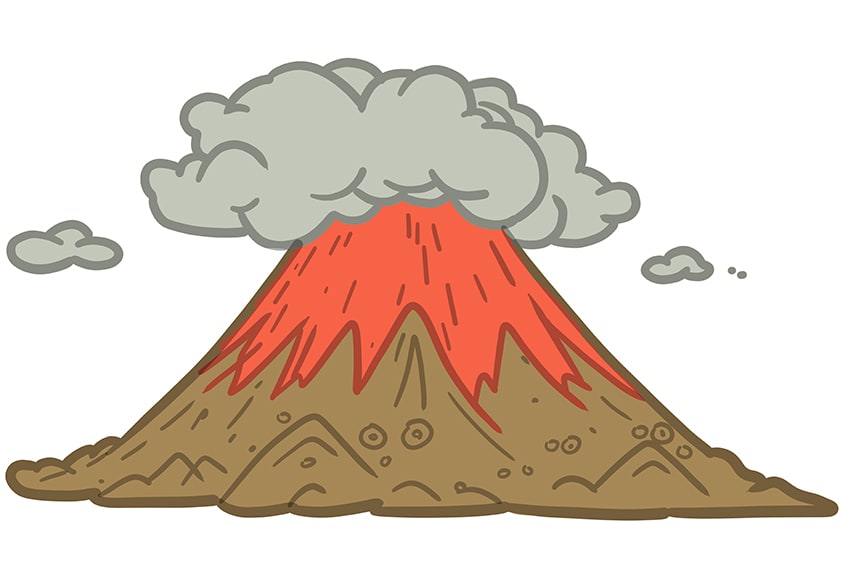
Step 9: Color the Clouds
Begin to coat the clouds on your realistic volcano drawing using a fine brush and gray paint.
Step 10: Apply Shading and Highlighting to the Volcano
Use a soft brush and black paint to enrich the structure and shading around the edges of the volcano’s details. Employ a fine brush and white paint to add delicate highlights alongside the texture lines. Finally, use a fine, sharp brush and yellow paint to fill in the circles.

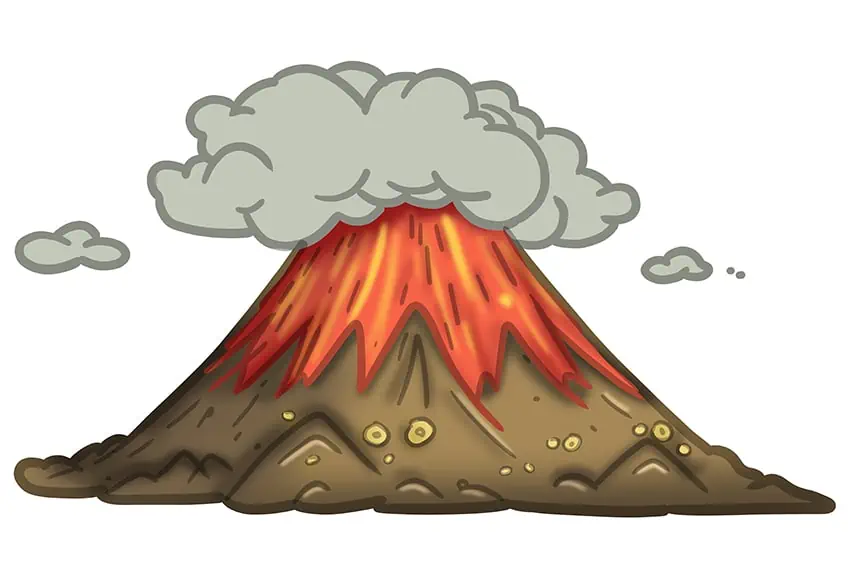
Step 11: Continue Onto the Lava
Utilize a small, soft brush and black paint to shade the edges of the lava. Repeat the step with a fine, sharp brush and yellow paint to add enhanced highlights. Then, use a blending brush to soften the layers downwards.
Step 12: Shade and Highlight the Clouds
With a soft brush and white paint, lightly highlight the edges of the clouds. Repeat this process with black paint to add shading, then blend the layers using a blending brush. A secondary highlight coat can be applied for added effect.
Step 13: Adding Ground Shadow
Begin to shade the ground area beneath and alongside the volcano using a soft brush and brown paint.
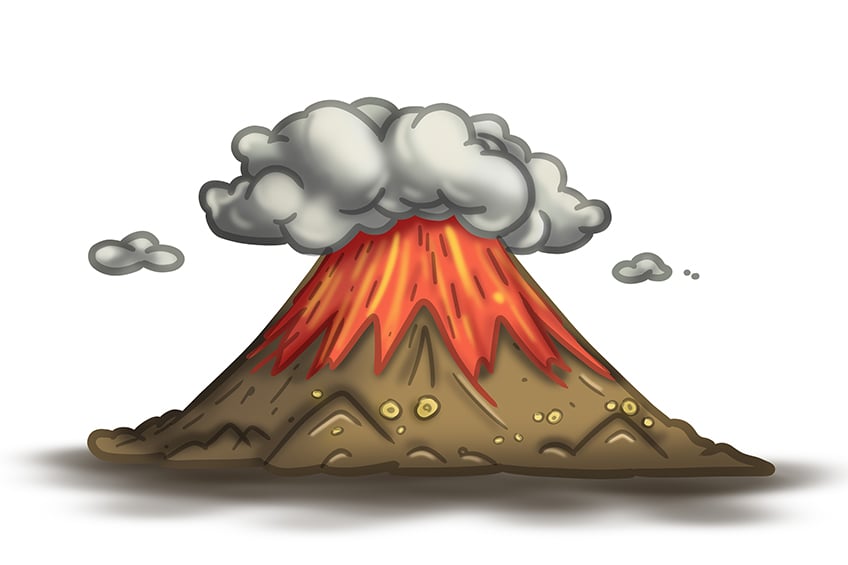
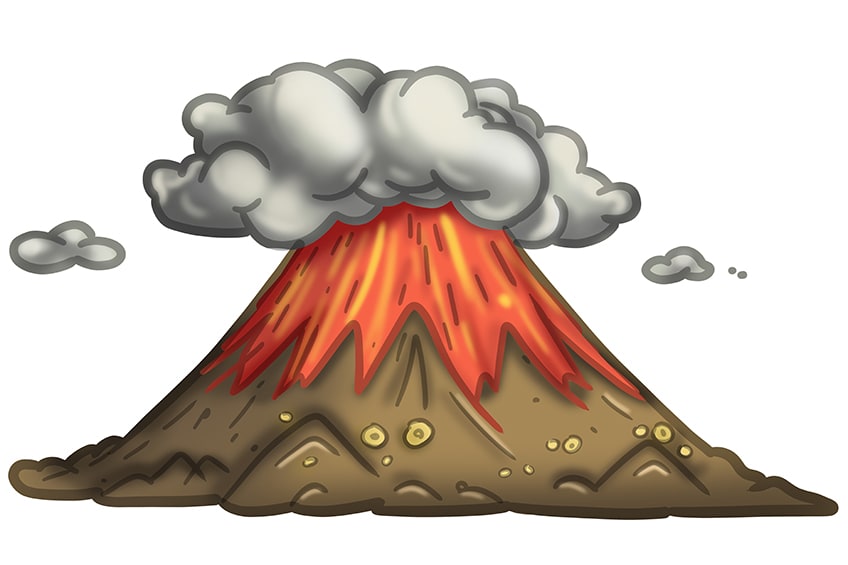
Step 14: Finalize Your Easy Volcano Drawing
Utilize a fine, sharp brush and black paint to trace the outlines, inner texture, and detail lines to complete the volcano. You have reached the end of our tutorial on how to draw a volcano!

Well done on learning how to draw a volcano in just 14 steps! Your dedication and perseverance have truly paid off, resulting in a stunning depiction of nature’s raw power and beauty. Each stroke of your pencil has brought the fiery depths and towering peaks to life on the page, capturing the essence of these magnificent geological wonders with remarkable precision. Your accomplishment is a testament to your artistic talent and passion for exploring the world around you. Keep unleashing your creativity and pushing the boundaries of your skills – the sky’s the limit for what you can achieve!
Frequently Asked Questions
How Can I Add Depth and Dimension to My Volcano Drawing?
Adding depth and dimension to a volcano drawing is essential for creating a realistic and immersive scene. To achieve this, I employ various techniques that help to establish a sense of space and scale within the composition. One approach is to utilize perspective, drawing the volcano from an angle that emphasizes its towering height and the vastness of the surrounding landscape. I also pay close attention to the layering of elements within the drawing, using foreground objects like rocks and vegetation to anchor the scene and create a sense of depth. Additionally, I use techniques like shading and lighting to add contrast and dimensionality, emphasizing the play of light and shadow on the volcano’s surface to enhance its three-dimensional quality.
What Features Should Be Incorporated When Sketching a Volcano?
When I approach drawing a volcano, I focus on capturing its iconic features that make it instantly recognizable. First and foremost is the cone shape, which forms the characteristic silhouette of the volcano. I pay careful attention to details like the crater at the summit, which often emits smoke and ash, adding to the volcano’s dramatic appearance. Additionally, I emphasize the dynamic nature of volcanoes by incorporating elements like lava flows, molten rock, and billowing clouds of smoke, all of which contribute to conveying the raw power and energy of these natural wonders.

IzzyBll is a digital artist and content creator from Israel and currently residing in South Africa. Originally coming from videography, Izzy then turned to digital graphic art. He specialized in using digital drawing software such as Photoshop and Procreate. Drawing and photo editing has always been a sort of second nature for Izzy. In doing so, he can now look back on 5 years of experience in the industry, completing commissions for various well-known brands such as Audi.
Learn more about IzzyBll and about us.