Drying and Sealing your Acrylic Pourings
This post may contain affiliate links. We may earn a small commission from purchases made through them, at no additional cost to you.
If you have pour your painting with the acrylic pouring technique, there are still some work steps, which you should accomplish. You should observe the drying times, clean your painting of silicone residues and then protect it with varnish or resin. In this article we give you tips on drying and sealing acrylic pouring paintings.
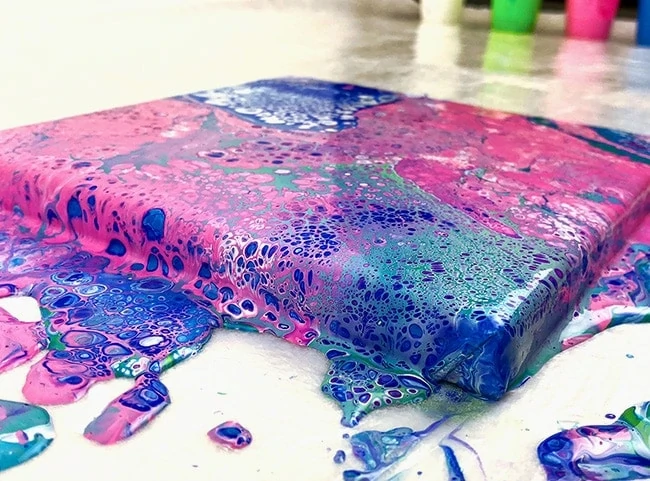
Drying of your paintings
Depending on the pouring medium, temperature and humidity, it takes between two and five days for your pourt image to dry and remain stable. However, we recommend that you allow your paintings to dry for at least another three to four weeks so that not only the surface dries, but the complete drying process is complete. We also recommend that you wait these four weeks for this reason so that the applied finish in the form of lacquer or resin does not crack.
Again and again we read of cracked surfaces, which arise unintentionally during drying. This is mainly due to two factors:
- Too viscous paint: You should make sure that the poured paint is not too viscous with the Pouring Medium. The consistency must be reminiscent of a slightly more liquid honey, otherwise the colour mixture must be diluted with some additional water.
- Drying too fast: If your paintings dries too fast, there is an acute risk of cracking. It is therefore advisable to ensure that your paintings are not exposed to direct sunlight and that the room temperature is not too high.
If you take these steps with courage, your paintings will dry without cracks.
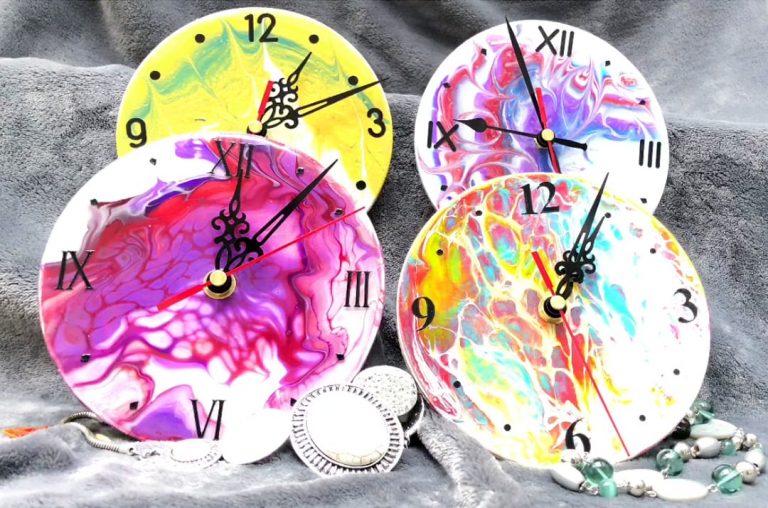
Why do I need to protect / seal the image?
- Luminosity of the colors: After your acrylic pouring paintings has dried, the colors often appear dull. The varnish layer restores the original luminosity of the colours. In addition, the protective film compensates for the unevenness of the surface. It becomes smoother and prevents diffuse scattering of the light. The image gets more colour depth, the colours appear stronger and richer, the cells and colour gradients get more sharpness of detail.
- Preservation of colour brilliance: Depending on the colour pigments / quality, acrylic paint has a better or worse light fastness, so it can fade. Especially if your paintings are exposed to direct sunlight for a long time, they will inevitably fade.
- Uniform gloss: Depending on the acrylic paint and pouring medium, individual areas dry differently. This can be compensated with a varnish and the desired effect – matt, silky gloss or glossy – can be given to the canvas depending on the location.
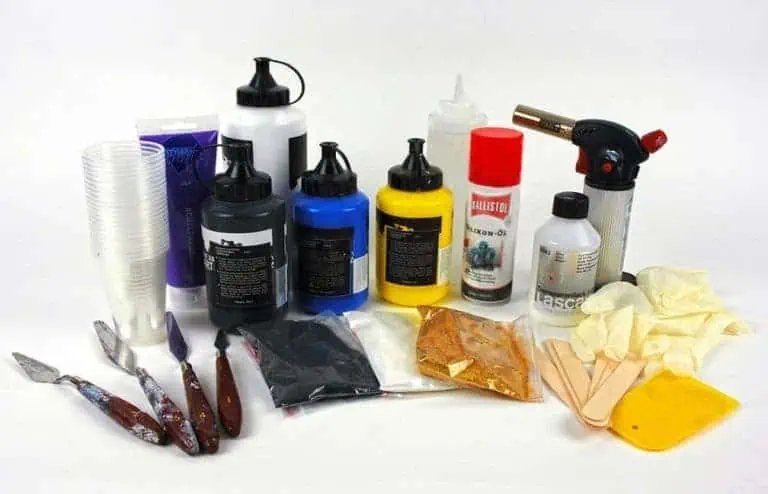
Preparatory work for sealing
Before you can coat your acrylic pourings with one or more protective layers, you should clean the surface so that the varnish or resin adheres to the surface and an even application is possible.
Especially when using silicone oil / hair oil the surface has to be cleaned. The easiest way to do this is to spread cornflour on your canvas and work it in lightly. After a soaking time of approx. 12 hours you can remove the starch with a damp cloth and a little detergent, carefully wipe dry and then leave to air dry. Don’t forget to clean and seal the sides of your painting surfaces.
Now you’re ready to put the finishing touches to your work of art.
How do I seal my pour paintings?
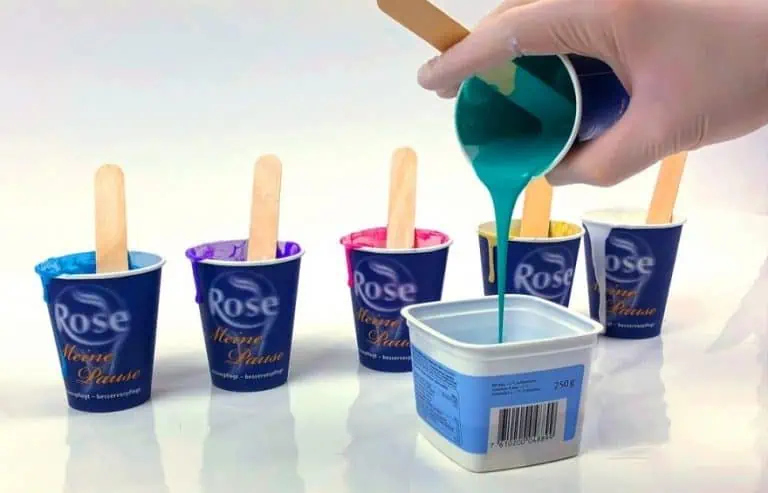
Basically there are two ways to apply a seal to your paintings:
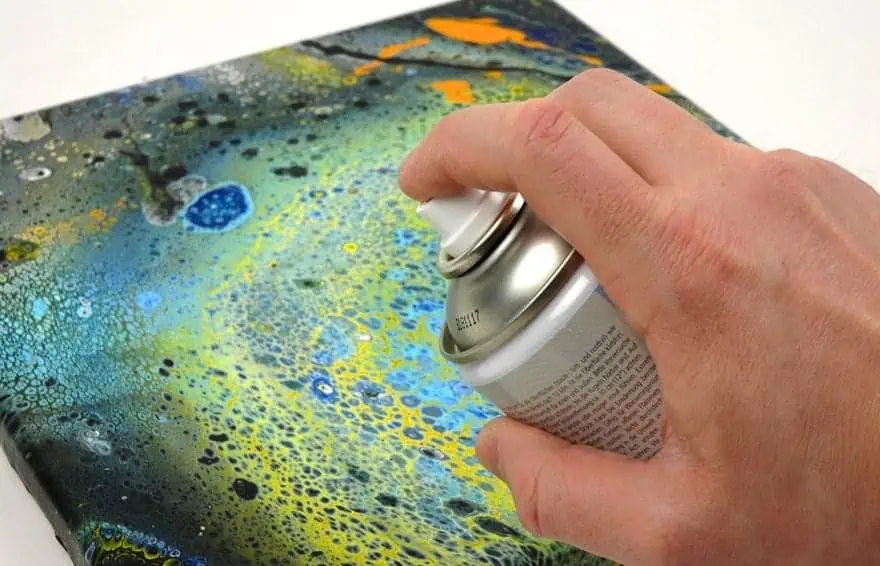
Varnish / Lacquer:
This is the most popular and easiest way to protect your paint pours. Paint can either be applied with a brush or with a spray paint. It is important that you repeat this process two or three times in order to achieve a good protective effect. When choosing the varnish, you should make sure that it contains a UV filter so that the colours are best protected against fading. We have had the best experience with these varnishes:
- Paintbrush to apply the protection Finish
- Silicone makeup sponge for applying varnish
- Polycrylic Protection Finish
- Clear brushing lacquer
- Folkart Home Decor Varnish
- Liquitex gloss Varnish
Resin / synthetic resin:
Resin consists of synthetic resin and a hardener, which is poured together and applied to the surface. This type of finish is more complex and demanding, but the surface becomes mirror-like and very high quality. Resin is also very suitable for larger paintings. Since inferior resin tends to yellow, you should pay attention to a good resistance to yellowing. We have achieved very good results with the following artist quality resin:
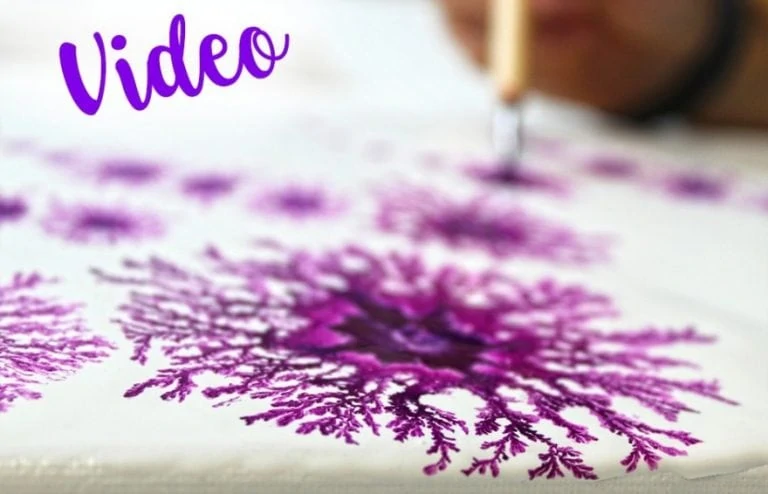
Acrylic pouring sealing tutorial
We’ve recorded a video tutorial for you to show how to prepare and seal your acrylic pouring paintings.

In 2005, Charlene completed her wellness degrees in therapeutic aromatherapy and reflexology at the International School of Reflexology and Meridian Therapy. She worked for a company offering corporate wellness programs for several years before opening her own therapy practice. In 2015, she was asked by a digital marketer friend to join her company as a content creator, and it was here that she discovered her enthusiasm for writing. Since entering the world of content creation, she has gained a lot of experience over the years writing about various topics such as beauty, health, wellness, travel, crafting, and much more. Due to various circumstances, she had to give up her therapy practice and now works as a freelance writer. Since she is a very creative person and as a balance to writing likes to be active in various areas of art and crafts, the activity at acrylgiessen.com is perfect for her to contribute their knowledge and experience in various creative topics.
Learn more about Charlene Lewis and about us.