Tutorial: Acrylic Pouring Dip Technique
This post may contain affiliate links. We may earn a small commission from purchases made through them, at no additional cost to you.
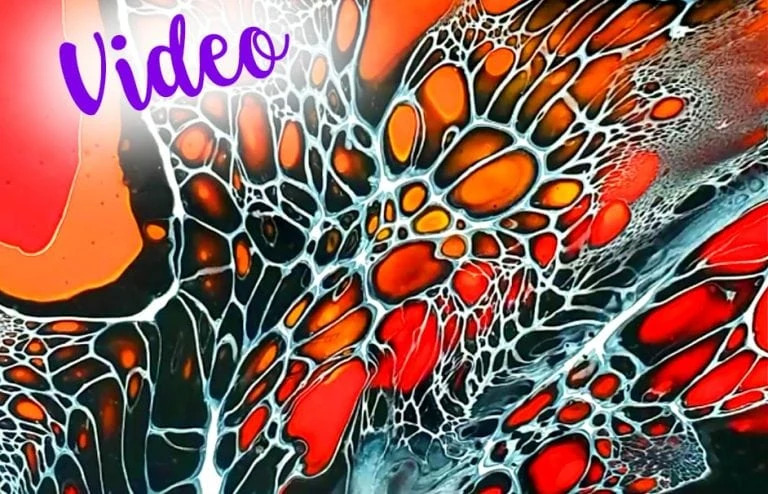
In this tutorial I introduce the Acrylic Pouring Dip Technique. I will show you step by step how to use this exciting technique and what you should pay attention to. To make the whole thing more vivid, I have also created a video tutorial.
What’s the Acrylic Pouring Dip Technique?
The Acrylic Pouring Dip Technique is the immersion of the canvas in mixed paint that has been distributed on a plastic surface. This technique is also recommended to use the remaining paints after one or more pourings. You can work with or without silicone oil in the acrylic paint or use both at the same time. All formats up to max. 20 x 20 inch are well possible with this method, however, it is recommended rather for smaller canvases. The dip technique can easily be confused with the drip technique because of the similar name. The two techniques do not have much in common. We will introduce the Drip Technique in a separate article.
Supplies I Used
- Acrylics
- Elmers Glue
- Floetrol
- Silicone Oil
- Stretched Canvases
- Wooden Mixing Sticks
- Plastic Cups 9oz
- Butane Torch
- Heat Gun
- Nitril Gloves
- High-Density Drop Cloth
- Cooling Rack
Preparations for the Dip Technique
Undercoat
When pouring, of course, there is always paint that drips over the edge by moving the image and lands on your work surface. Please always make sure that you have a painting surface that is water- or color-proof, because it can become a little messy and the color always finds a way. Depending on the size of the picture you should prepare enough space and a really waterproof undercoat.
You can for example put big garbage bags or cover foil on your work surface and stick it with wide tape or cover flat cardboard boxes with it as in my video.
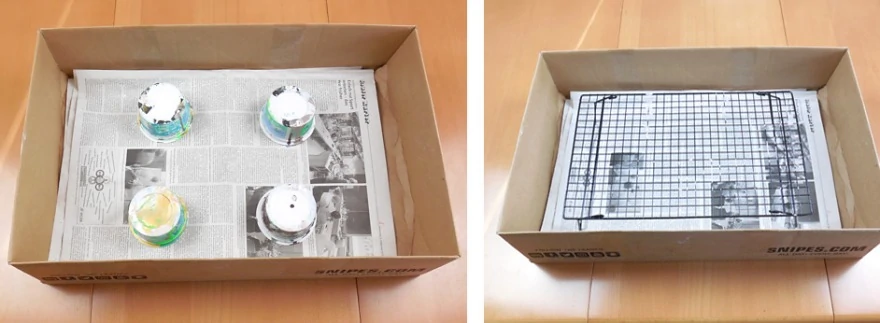
Suitable Place to Dry the Paintings
And of course you need a dust-free place to dry your picture. I like to use old cardboard boxes, which I lay on the floor with newspaper in case the painting still drips. Then I put four cups in it to put the canvas on it. The advantage is that I can cover the cardboard and the painting has enough time to dry slowly. Washed out yogurt or cream cheese cups are very suitable here and do the environment a favour. You can also use cooling racks, which you know from the kitchen for baking cookies.
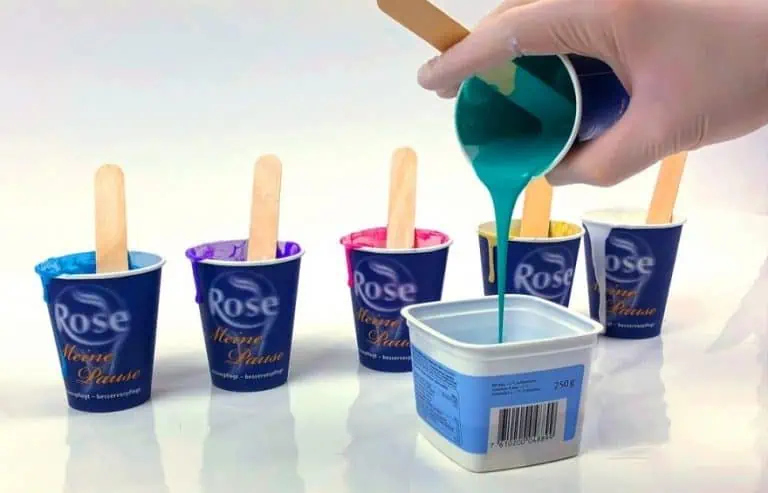
Mixing the Acrylic Paints
Mix your acrylic paints. It is important that the consistency of your acrylics is thicker for the Acrylic Pouring Dip Technique. If the paints are too liquid, they will mix too quickly. This leads to gray paintings, because depending on the dip result the canvas can be dipped several times in a row. If the consistency is too fluid, the colors lose their intensity. Thus you can dip the picture 2 to 3 times one after the other, until you are satisfied with the result. Try yourself through and create wonderful pictures according to your imagination.
Step by Step Instructions for the Dip Technique
- Put the canvas first on your painting ground.
- Use a pencil to mark the dimensions of your painting plus 0,8 to 1,2 inch.

- Put on gloves if necessary.
- Cover the canvas very thinly with white paint.
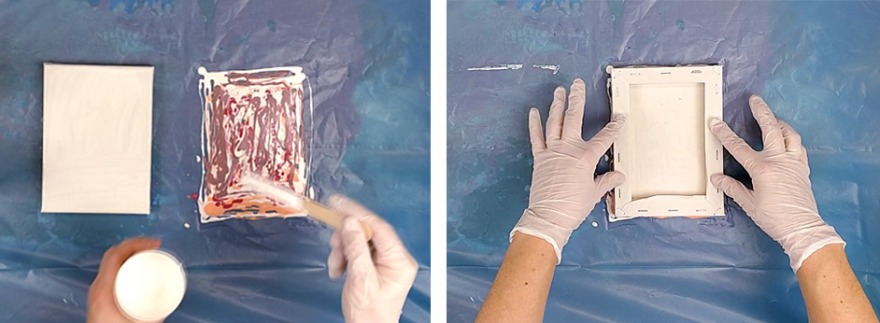
- Now pour the colours onto the painting ground as you wish. Make sure that the paint covers the edge and the 0,8 to 1,2 inch overhang.
- Carefully paint the surfaces from the inside, so that the air inclusions can escape everywhere and the canvas is completely covered with paint.
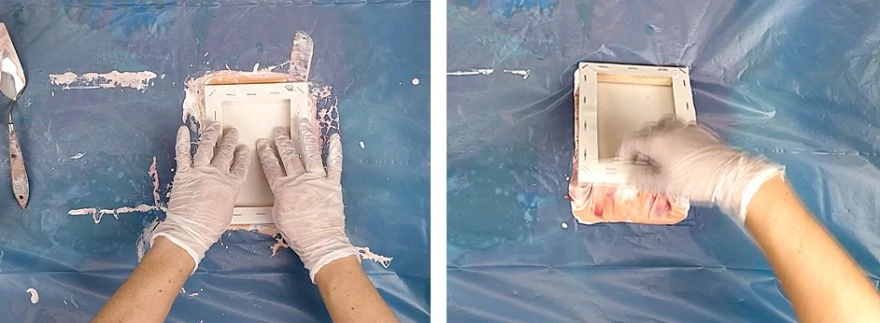
- You might as well cover the edge here with paint. Use your fingers to paint the edges. However, this step is not absolutely necessary. If you later add a frame to your painting, the border can remain without color.
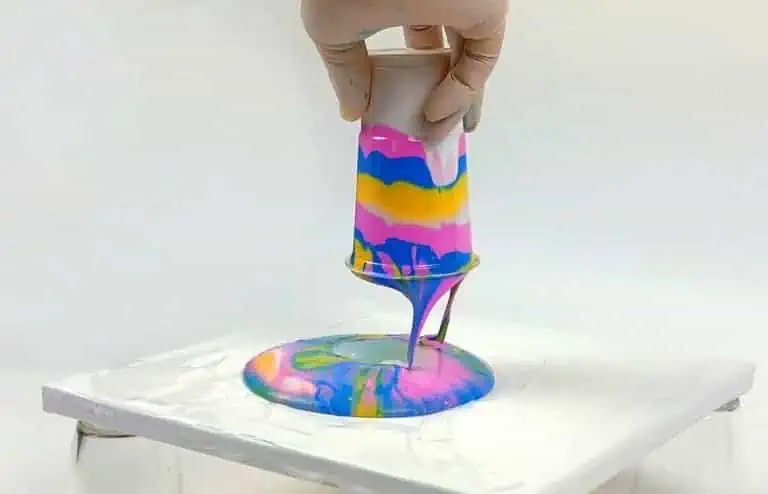
- Now pull or rotate your canvas out. Try different directions and speeds to achieve different structures.
- Then use the torch or heat gun briefly against the air bubbles to create even more cells.
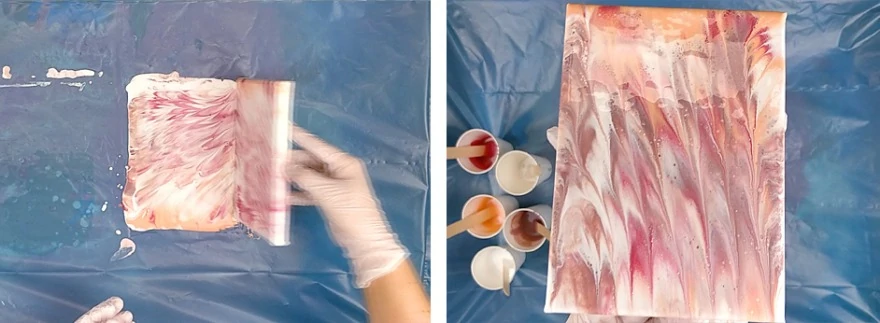
- Dip the edges to match the color gradients with the edges.
- Drop the image to dry. Make sure that there is paint everywhere on the canvas.
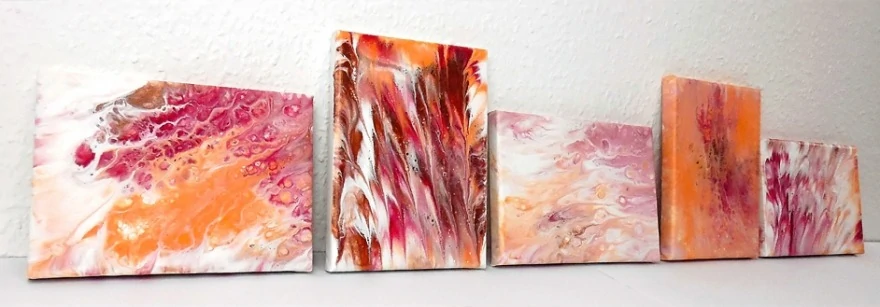
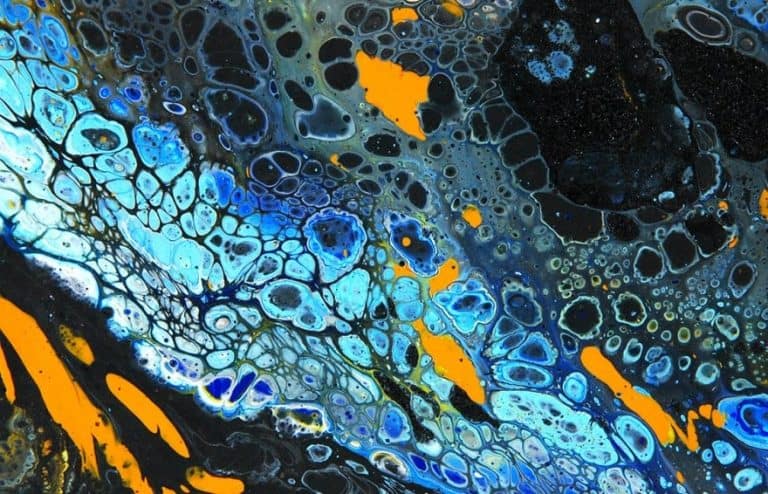
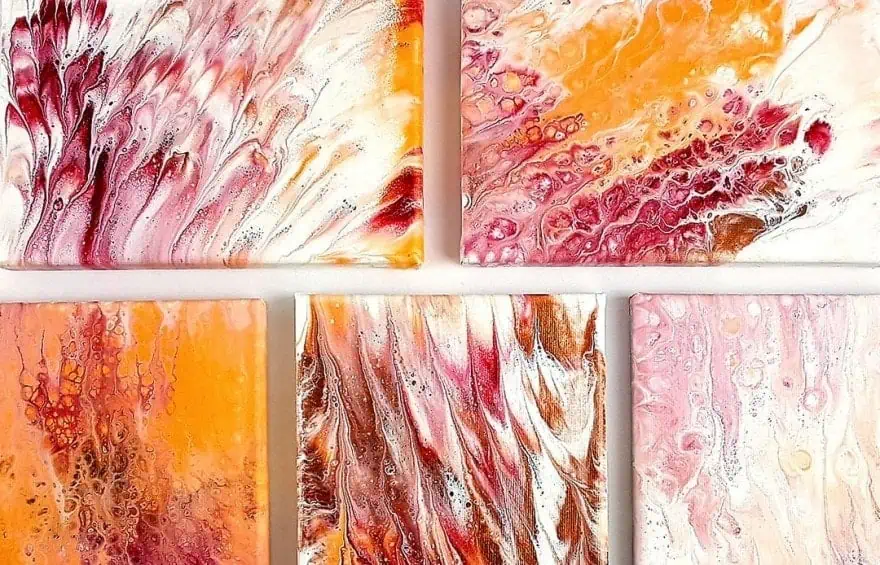
Depending on how you have arranged and distributed your colours on the painting surface, the most wild structures are created by peeling off the canvas. With the addition of silicone oil or spray in the colours, the wonderful cells are also created, which can make the whole thing even more interesting. You can see more examples at the end of the video.
Video Tutorial Dip Technique
Here’s my YouTube video, where you can see how easy the dip technique is and how your paintings can come out of it. At the end of the video you can also see samples with other color combinations and also a possibility of “canvas on canvas” dips.
Bottom Line
The Acrylic Pouring Dip Technique is child’s play and suitable for everyone. Even children can be introduced to this wonderful topic in a playful way and are passionately involved. Attention: here there is clearly an addictive factor, which is very contagious because it is simply great fun and you can let your creativity run free. With enough paint and canvases it can become suddenly quite fast completely many paintings.
This technique also gives you the opportunity to work sustainably and environmentally consciously. If you have dropped a color, you can reuse it here and create another or several more paintings. Thus also the cost factor is considered here, because there is no more so much dripped down, valuable color left. So there is no need to leave any paint residues, which then stand around and dry out in the worst case. That does not have to be really and thus you have a good alternative to use these colors meaningfully.

As mentioned above in the introduction, you can also put the paint on a canvas instead of the background. Then you simply dip a second canvas onto it. The procedure is the same. That’s how the yellow-blue twin picture was created which reminds of a flower meadow.
I wish you a lot of joy with this technique and wonderful dip pictures. You also want to try out another Acrylic Pouring Technique? Then you should have a look in the article “Acrylic Pouring Techniques – Learn how to Fluid Paint”.

Karin Zimmer lives in Baden-Württemberg, Germany. Already from childhood on she has been working as a craftswoman, artistic/creative and very close to nature. She likes to try out different painting and creative techniques again and again. The constant thirst for knowledge is her inner drive. After almost 20 years in the IT department of a bank as an administrator and coach, she now works independently as a wild herb pedagogue and freelance artist. She gives herbal tours, individual and group courses, and (intuitive) workshops in both areas. At the end of 2016, she discovered Acrylic and lets each of her paintings flow intuitively and with feeling. She sees her task in imparting knowledge and in triggering the pure joy of colors and structures in the viewer.
Learn more about Karin Zimmer.