Feather Drawing – An Easy Feather Drawing Tutorial
This post may contain affiliate links. We may earn a small commission from purchases made through them, at no additional cost to you.
Join us today and learn how to draw a feather! Did you know that people used to write with feathers, except back then they were called quill pens? Most of these quill pens were taken from the feathers of swans or geese, and the end of the feather was sharpened to a point. When dipped into ink, the point was used for writing! Luckily in today’s day and age, we have it much easier. So grab your “modern” pens and pencils and let’s start drawing!
Table of Contents
- 1 A Step-by-Step Guide to Drawing an Easy Feather Drawing
- 1.1 Step 1: Draw the Main Shaft
- 1.2 Step 2: Draw the General Feather Shape
- 1.3 Step 3: Add the Inner Vanes to Your Feather Sketch
- 1.4 Step 4: Outline Your Feather Sketch
- 1.5 Step 5: Outline the Vanes on Your Feather Illustration
- 1.6 Step 6: Add Details to Your Feather Illustration
- 1.7 Step 7: Shade the Shaft and Quill of Your Feather Drawing
- 1.8 Step 8: Contour Your Easy Feather Drawing
- 1.9 Step 9: Shade the Vanes of Your Feather Pen Drawing
- 1.10 Step 10: Finalize Your Easy Feather Drawing
- 2 Frequently Asked Questions
A Step-by-Step Guide to Drawing an Easy Feather Drawing
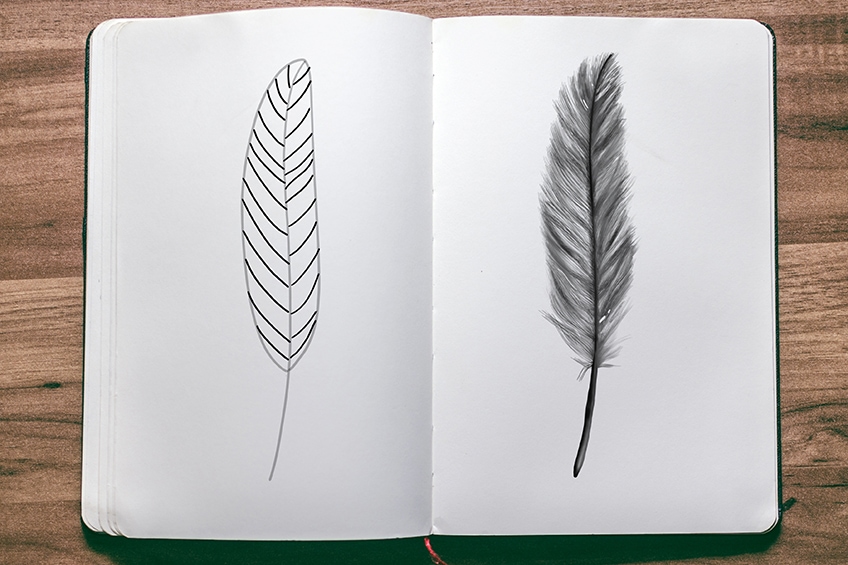
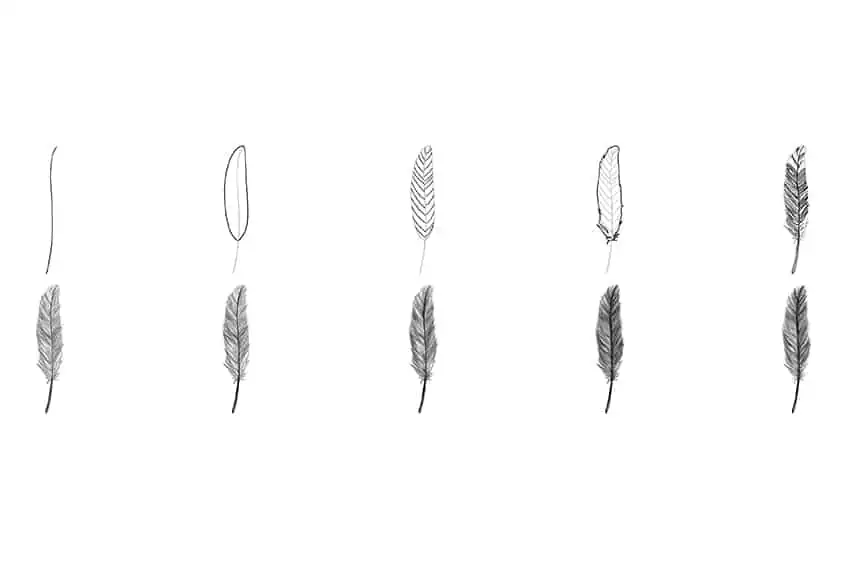
Our how to draw a feather tutorial is an easy one to follow. We will take you step-by-step to achieve your beautiful feather drawing! We will cover the basic steps from creating the feather’s texture, all the way to the shading and detailing process. The below feather drawing collage shows you each step taken to achieve your final result!
Step 1: Draw the Main Shaft
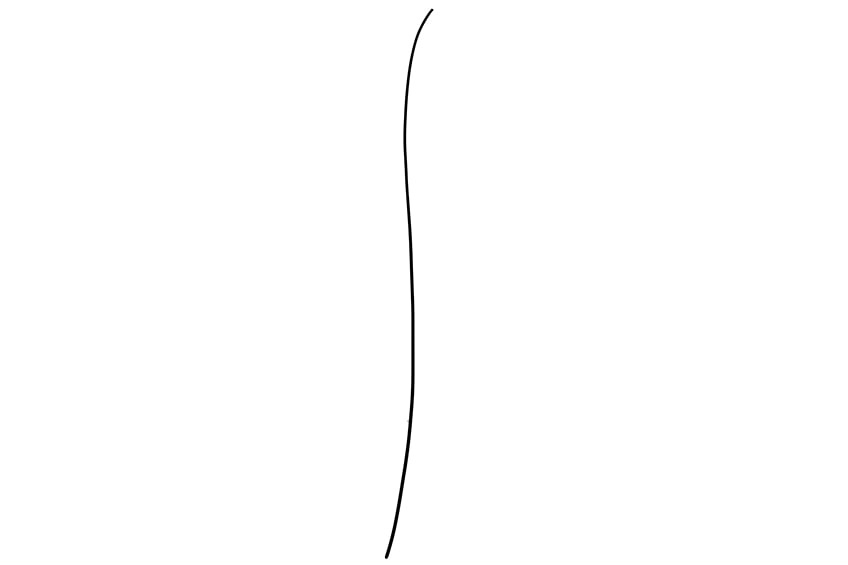
We are going to start our feather drawing off nice and easy. Simply draw a fine line in the middle of your drawing page.
Make sure the line curves slightly at the top and bottom, however, in opposite directions.
Step 2: Draw the General Feather Shape
On each side of your previously drawn line, draw a curved arch that connects both at the top and the bottom. There should be a portion of the main shaft not included in the construction of the general feather shape.

Step 3: Add the Inner Vanes to Your Feather Sketch
On each side of the main shaft, draw diagonal vane lines. These lines can curve slightly.

Step 4: Outline Your Feather Sketch
Make use of your previous construction lines to aid you in creating a realistic outline for your feather drawing.
Note! The outline does not have to be symmetrical, but must still look natural.

Step 5: Outline the Vanes on Your Feather Illustration
Select a fine, sharp brush or pen, and simply outline the inner vanes. These should be fine hairlines and should not overlap each other. Add small circles randomly in the feather. These will be left blank in the upcoming steps.
Finish this step by outlining the bottom area of the shaft, also known as the quill.
Step 6: Add Details to Your Feather Illustration
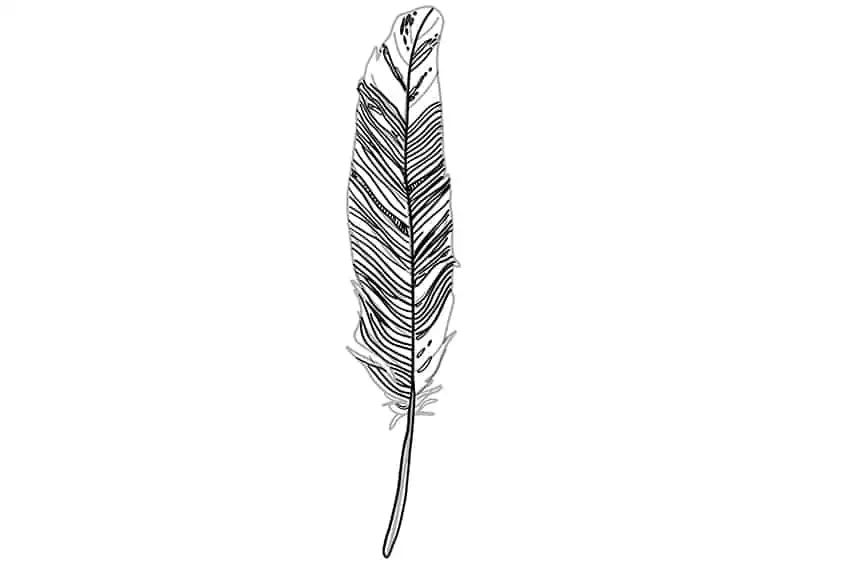
Use the same brush or pen as the previous step, and apply fine hairline strokes filling in the vanes. These fine hairlines may overlap one another. Repeat this step using dark gray paint, and color the shaft and quill on your feather pen drawing.

Step 7: Shade the Shaft and Quill of Your Feather Drawing
With a fine, sharp brush and black paint, begin tracing the shaft from the top of the feather leading downwards. Add shading to the quill, leaving only a portion of the first color coat visible.

Step 8: Contour Your Easy Feather Drawing
Make use of a small, soft brush and dark gray paint, and apply soft contours along the vanes. Repeat with a fine, sharp brush, and extend the vanes beyond the outline of your feather illustration.
Grab a small, soft brush or a blending brush and smooth out the contour lines.
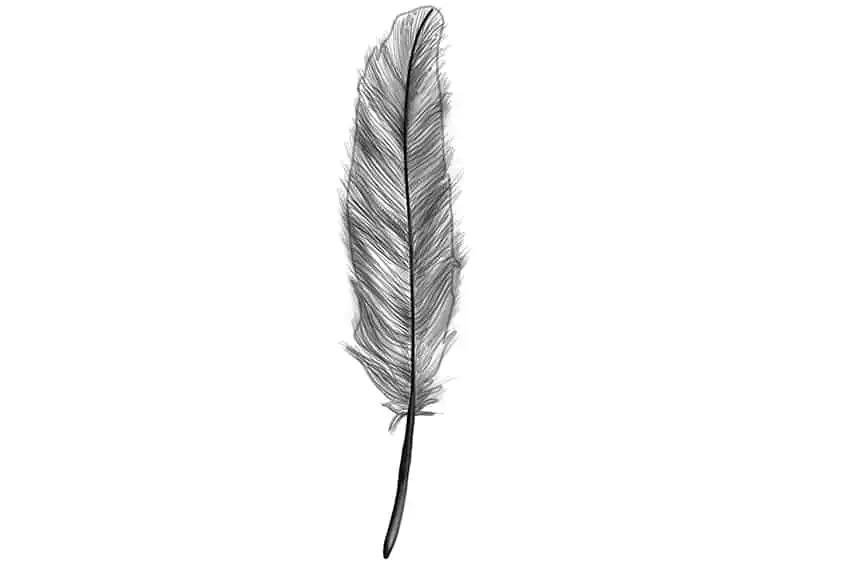
Step 9: Shade the Vanes of Your Feather Pen Drawing
Use a small, soft brush and black paint, and add soft shading between the center shaft and both sides of the feather. Continue with a fine, sharp brush and trace the hairline strokes to enhance the shading and volume of the feather vanes.

Step 10: Finalize Your Easy Feather Drawing
You are almost finished creating a beautiful feather drawing! Begin by erasing any visible outlines and construction lines. This will create a flawless feather shape. You are now left with a magnificent feather pen drawing!

Well done on completing our how to draw a feather drawing tutorial! We hope you are walking away having learned a thing or two, and will carry on creating more beautiful drawings. If you enjoyed today’s drawing tutorial, please feel free to browse our other drawing tutorials. Who knows, one of them might peak your interest!
Frequently Asked Questions
How to Draw a Feather Realistically?
Drawing a feather is a simple yet enjoyable activity. It is very easy to make a feather pen drawing look realistic. Creating realistic drawings is all about proper shading and contouring. Follow our drawing tutorial and in no time, you will be able to create a realistic feather drawing!
Is It Easy to Shade a Feather With a Pen?
Of course! Drawing with any material is easy if you have the right guide. Drawing with a pen can be more beneficial than a paintbrush, especially when you are drawing fine texture lines. Creating feather textures with a pen is easy when you follow our drawing guide. After our drawing tutorial, you will be a pro at drawing with a pen!
IzzyBll is a digital artist and content creator from Israel and currently residing in South Africa. Originally coming from videography, Izzy then turned to digital graphic art. He specialized in using digital drawing software such as Photoshop and Procreate. Drawing and photo editing has always been a sort of second nature for Izzy. In doing so, he can now look back on 5 years of experience in the industry, completing commissions for various well-known brands such as Audi.
Learn more about IzzyBll and about us.
