How to Make a Stencil – DIY Stencil Making Guide
This post may contain affiliate links. We may earn a small commission from purchases made through them, at no additional cost to you.
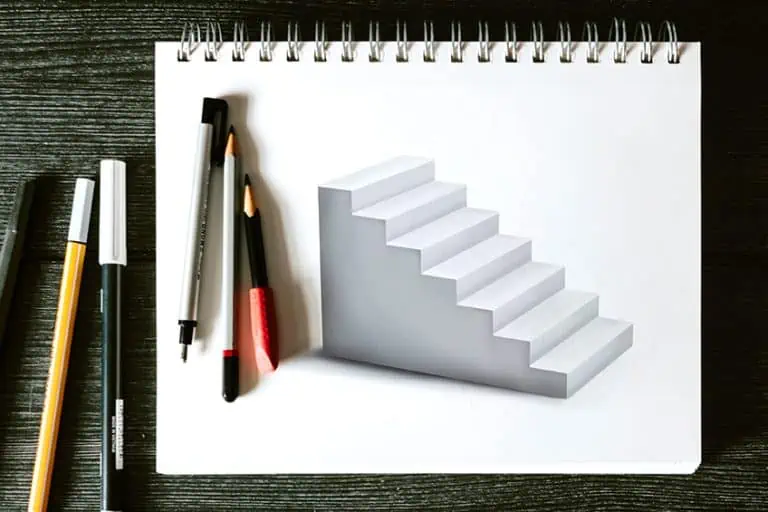
Are you ready to unleash your inner artist and add a dash of creativity to your projects? If so, making stencils is a fantastic way to dive into the world of DIY artistry! Whether you’re jazzing up your walls with funky patterns or personalizing your belongings with unique designs, stencils are your secret weapon for achieving professional-looking results without breaking a sweat. So grab your materials, channel your imagination, and let’s dive into the wonderful world of stencil crafting!
Key Takeaways
- The materials used for making a stencil affect its durability and precision.
- Accurate design transfer and cutting are crucial for creating effective stencils.
- Proper stencil application and maintenance ensure clean designs and multiple uses.
Choosing Your Materials and Tools
Creating stencils is a versatile craft technique that can be used to apply intricate designs to a variety of surfaces. By cutting out a pattern from a thin material, you create a stencil that can be reused multiple times. This process begins with selecting appropriate materials that will hold up to the type of paint and surface you’re working with, ensuring a crisp and clean outcome. The choice of base material for your stencil, such as plastic sheets, cardboard, or freezer paper, will have a significant impact on its durability and the detail you can achieve in your design. Designing your stencil is arguably the most creative phase of the process, where you can choose to create your own unique pattern or use pre-existing designs.
Transferring this design accurately onto your chosen stencil material is critical for a successful craft. Once the design is in place, the precision with which you cut it out will determine the quality of your painted results. Whether you’re using a craft knife, a small saw, or an electronic cutting machine, the aim is to maintain the integrity of the design while ensuring all elements remain intact. The actual stenciling process requires a steady hand and a methodical approach. Properly securing the stencil to the surface and applying an appropriate amount of paint will avoid bleeding under the edges and create a sharp, professional-looking finish.
Once complete, cleaning and storing your stencil correctly extends its lifespan and enables you to enjoy your creation for many projects to come.
Selecting the Right Material
The substrate of a stencil, commonly referred to as a stencil blank, significantly affects the usability and lifespan of the stencil. Mylar is widely recommended due to its flexibility and reusability. Available in various thicknesses, Mylar sheets cater to different complexity levels of designs. Thinner sheets are better for intricate patterns, whereas thicker ones are ideal for designs requiring stronger support.
The Best Materials for Making Stencils
Stencils can be crafted from a variety of materials, each serving different needs. Vinyl stencils are a popular choice for their adhesive backing and single use, especially suitable for curved surfaces. For repeated use, reusable stencils made from thicker Mylar or plastic are preferred.
Paper can be a low-cost option for one-time projects.
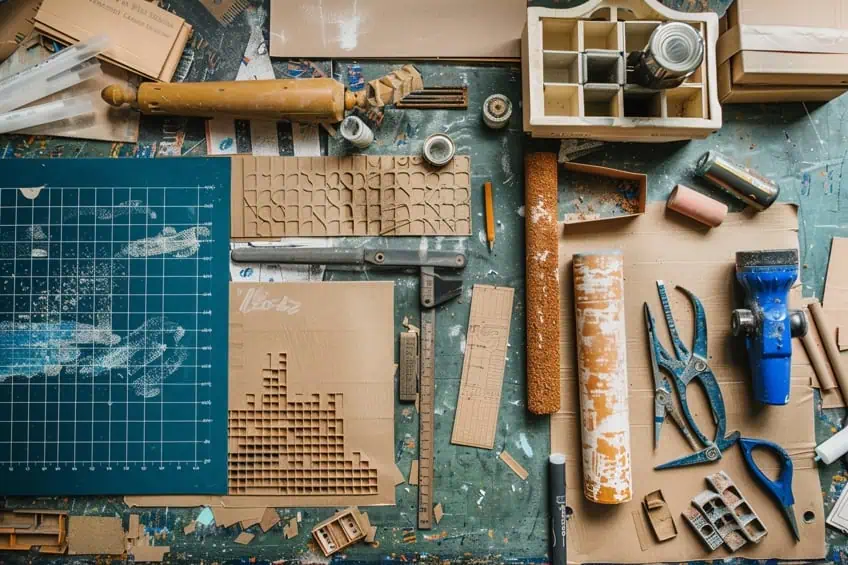
Essential Cutting Tools
Precise cutouts require sharp and definitive tools. A craft knife or an X-acto knife is essential for fine cuts, providing control and accuracy. A cutting mat serves as a backing surface, protecting tables and promoting smoother cuts. Storing knives with care ensures their longevity and safety.
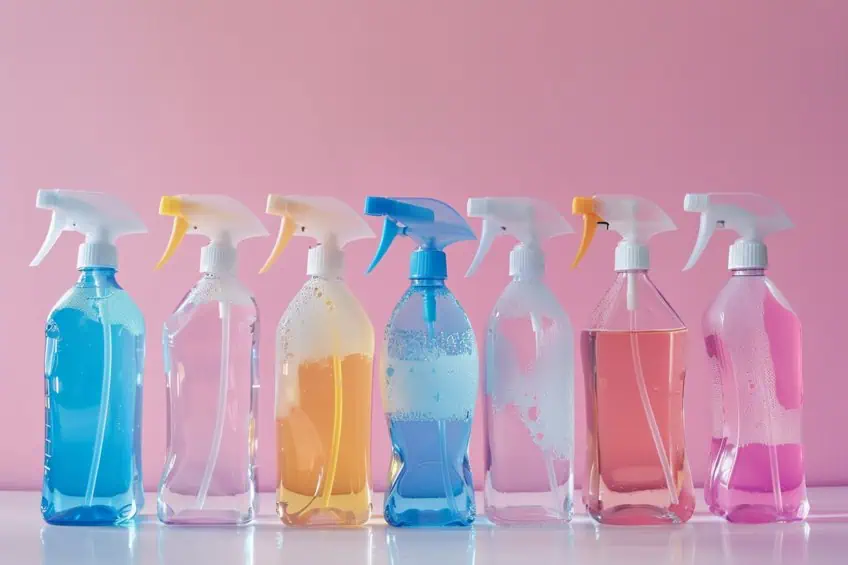
Paint and Application Tools
For paint application, the right tools make a difference. Stencil brushes, with their round and flat bristles, allow for a dabbing motion that prevents paint bleed. For larger areas or quicker application, spray paint or fabric paint can be utilized, and masking tape or painter’s tape is essential for securing the stencil and achieving crisp edges.
If working with fabric, an iron may be required to set the paint post-application.
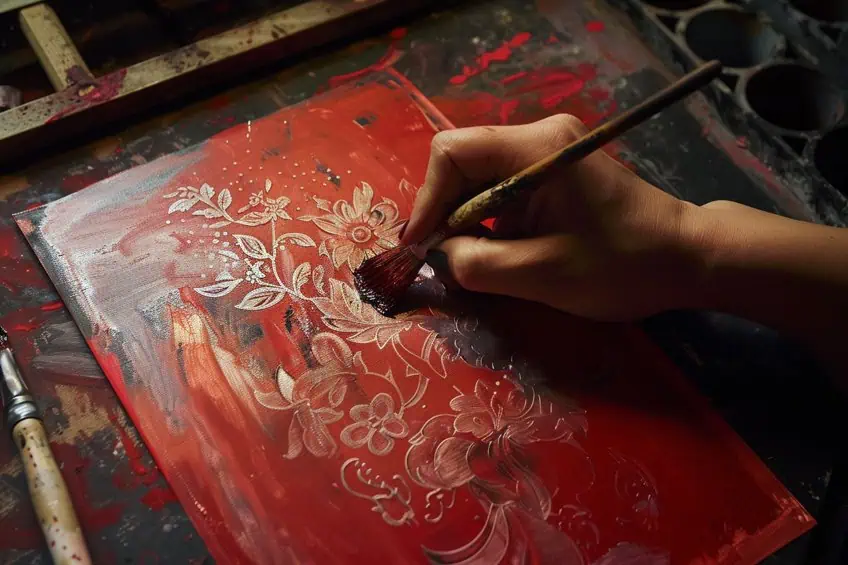
Designing Your Stencil
When embarking on stencil creation, one must give careful thought to design selection and the precise methods used to transfer and cut that design. The design is the foundation of any stencil project, and the accuracy of transferring and cutting it will determine the quality of the end result.
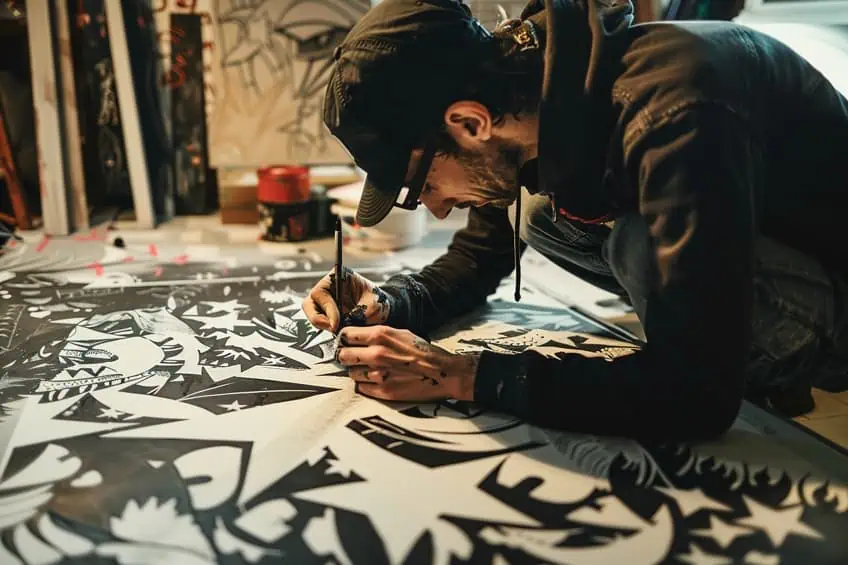
Creating or Choosing a Design
Design selection is the initial step in stencil creation, where an individual must decide on the imagery, lettering, or patterns to be used. They might create an original design using software such as Adobe Illustrator, or select from pre-existing stencil designs. The design should be appropriate for the intended surface, whether it’s fabric, wood signs, or walls.
For intricate designs, a Cricut machine can be highly effective, especially when utilizing Cricut Design Space to refine and prepare the design.
Criteria for a good stencil design include:
- Bold, clear lines
- A balance of positive and negative space
- Suitable complexity for the cutting method
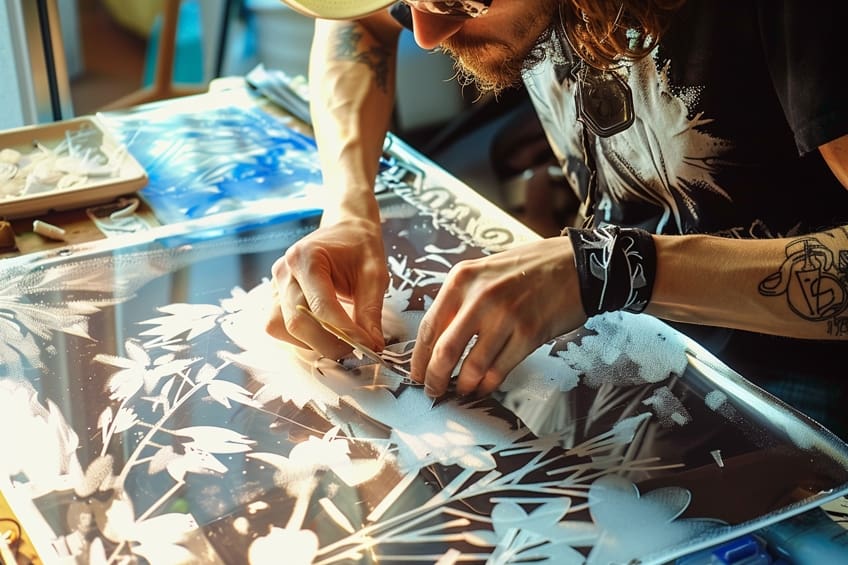
Transferring the Design to Your Material
Once a design is chosen, the next step is to transfer it onto the chosen material. Users of a Cricut Maker or similar cutting device will do this digitally through Cricut Design Space. Freezer paper can serve as a good material for manual stencil making, especially for fabric projects, because it adheres to the surface when ironed, providing a stable template. The design can be traced onto the stencil material by hand, using a ruler for straight lines and registration marks to ensure alignment for multi-layer designs. Steps to transfer a design manually include:
- Print or draw the design on paper.
- Securely tape the design to the stencil material.
- Carefully trace the design using a suitable marker.
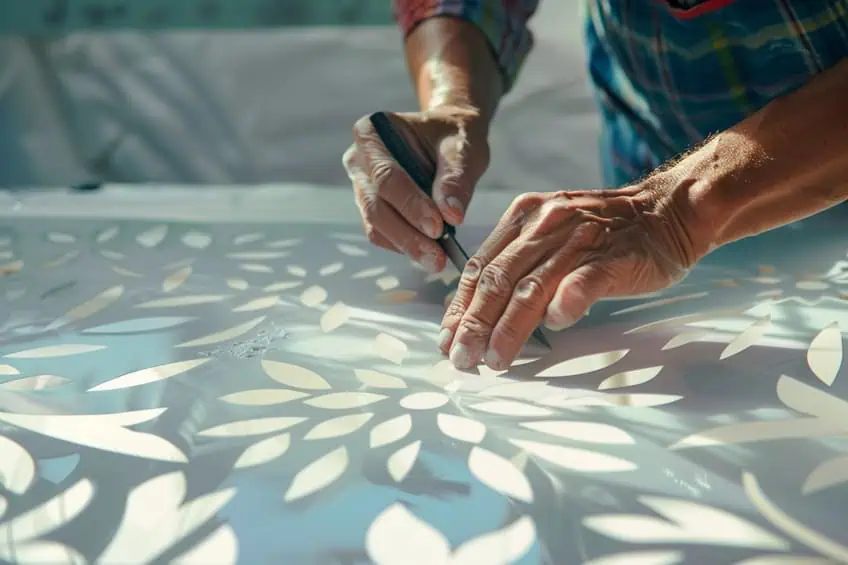
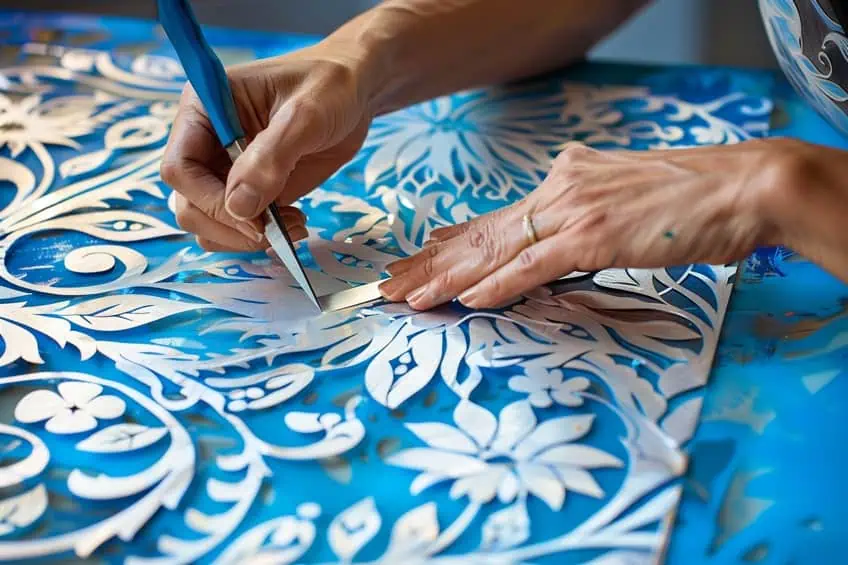
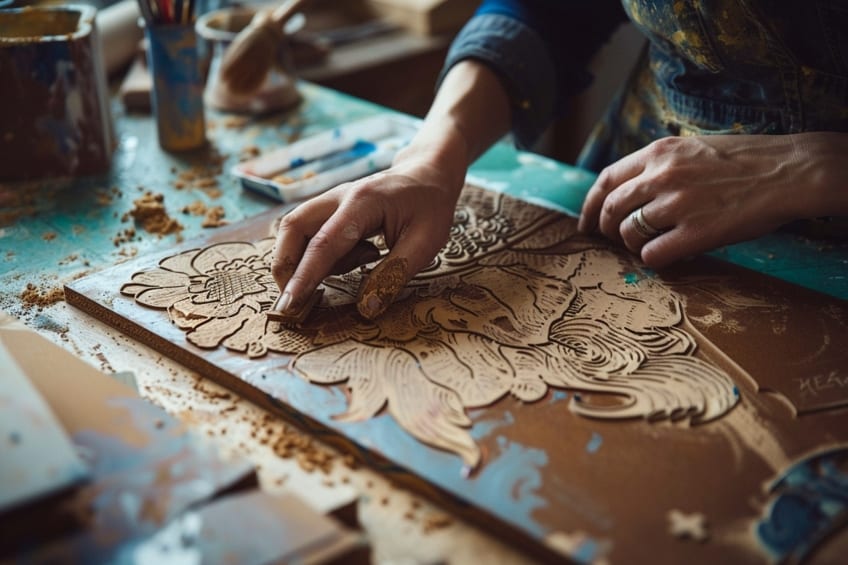
Cutting Your Stencil
The cutting process demands precision and patience, particularly when working with delicate patterns or lettering. For users without a Cricut or similar device, a craft knife and a cutting mat are essential tools. The design should be cut out meticulously, preserving delicate elements and ensuring smooth, clean lines.
For Cricut owners, Cricut stencil vinyl is the ideal medium, as the machine can accurately cut complex designs, drawing upon design space templates or user-uploaded creations.
The guidelines for cutting by hand are as follows:
- Keep the knife’s blade sharp for crisp lines.
- Use a ruler as a guide for straight edges.
- Rotate the material, not the knife, for curves.
Executing the Stenciling Process
In executing the stenciling process, attention to detail and proper technique ensure a crisp, eye-catching finish whether on walls, wood, or fabric. This step-by-step guide walks through substrate preparation to stencil application and final touches.
Preparing the Surface
Before making stencils adhere to a surface, ensuring that the base is clean and ready is crucial for an optimal outcome. For wood surfaces, sand with medium-fine grit sandpaper to smooth out any imperfections, followed by a wash with a cleaning solution to remove dust and oils. Metal surfaces demand a similar approach, with the addition of vinegar and baking soda treatment if rust is present.
When stenciling on walls, wipe clean from dust and allow time to dry. Fabric bases should be ironed to remove wrinkles, providing a flat stenciling canvas.
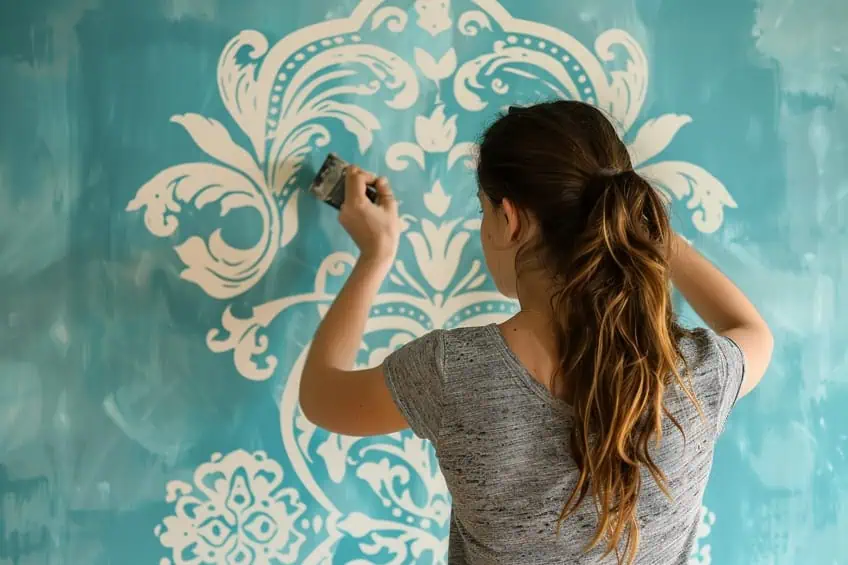
Stencil Application Techniques
Once the surface is prepped, the custom stencil can be secured with painter’s tape. For a wall, applying the stencil begins along the top edge of an accent wall, aligning the design precisely. DIY stencils cut from stencil paper or a printout can be used for a personalized touch. Transfer the design carefully, and secure the stencil with tape. If using a hot foil plate for a more ornate look, overlaying the stencil happens after the foil application. On fabric, one can iron on freezer paper stencils for a temporary bond that holds during painting.

Painting and Touching Up
The painting step requires a suitable tool such as a foam roller or a brush. Apply the paint in a dabbing motion for an even coat without bleed. Typically, 2-3 coats of paint or fabric paint might be necessary with drying time in between each coat. When painting on wood, ensuring that the stencil does not move is vital to maintain sharp edges. After allowing the paint to dry for at least 24 hours, carefully remove the stencil to reveal a clean design.
For any paint seepage or imperfections, touch-ups may be done with a small brush, applying the base coat as needed for concealing errors.
Finishing and Preserving Your Stencil
After completing the stenciling process, one must focus on proper finishing techniques to ensure the stencil’s longevity and the artwork’s durability. Preserving your stencil is crucial for maintaining its precision for future use, making it a cost-effective tool in your crafting arsenal.
Sealing and Protecting Your Work
To seal and protect the stenciled surface, acrylic sealers can be applied. Here’s how one should proceed:
- Ensure the paint is completely dry by waiting the recommended time; typically 24 hours.
- Apply a thin, even layer of acrylic sealer using a clean stencil brush or a spray sealer to avoid altering the design.
- For negative space designs, painter’s tape can help shield the rest of the area from excess sealant.
- Allow the sealer to dry entirely according to the product’s instructions.
Cleaning and Storage Tips
Cleaning should occur immediately after use to prevent paint from drying on the stencil. A stencil’s cleaning and storage process is outlined as follows:
- Paper towels: Gently wipe off any excess paint from the stencil using a damp paper towel.
- Cleaning solution: For water-based paints like acrylic, warm soapy water is sufficient. Use a soft-bristled brush if needed to lightly scrub away paint without damaging delicate designs.
- Drying and storage: Pat the stencil dry with a dry paper towel or let it air dry completely. Flat storage in a folder or between sheets of paper can prevent bending or damage.
- Reuse tips: Applying a light coat of adhesive spray before stenciling can extend the life of reusable stencils by reducing paint bleed. Always return stencils to storage promptly to retain their shape and prevent warping.
By closely adhering to these finishing processes and cleaning methods, one can preserve stencils for repeated use, which is both economical and environmentally friendly.
Congratulations, stencil maestro! You’ve now mastered the art of creating stunning stencils that are sure to impress. From customizing home decor to adding flair to gifts and crafts, your newfound stencil-making skills open up a world of creative possibilities. So go forth and stencil with confidence, knowing that your unique touch will make every project a work of art. Happy crafting!
Frequently Asked Questions
What Materials Can Be Used to Create a Paper Stencil for Crafts?
For paper stencils used in crafting, individuals can utilize various materials such as cardstock, mylar, acetate, or freezer paper. Cardstock is readily available and easy to cut, making it a popular choice, while materials like mylar and acetate offer more durability for repeated use.
What Techniques Are Available for Making Stencils Using a Computer?
To make stencils with the aid of a computer, one can employ design software such as Cricut Design Space. Here, users can select images from a library, upload SVG files, or create designs from scratch. Attaching and grouping features in the software help keep stencil designs intact during the cutting process.
Is It Possible to Use a Picture to Create a Custom Stencil and How Is It Done?
Yes, one can convert a picture into a custom stencil. This process typically involves uploading the picture into stencil-making software, where it is then converted into a suitable format, often a vector image or SVG file. Once the image is processed and edited for clarity, it can be sent to a cutting machine to create the stencil.

In 2005, Charlene completed her wellness degrees in therapeutic aromatherapy and reflexology at the International School of Reflexology and Meridian Therapy. She worked for a company offering corporate wellness programs for several years before opening her own therapy practice. In 2015, she was asked by a digital marketer friend to join her company as a content creator, and it was here that she discovered her enthusiasm for writing. Since entering the world of content creation, she has gained a lot of experience over the years writing about various topics such as beauty, health, wellness, travel, crafting, and much more. Due to various circumstances, she had to give up her therapy practice and now works as a freelance writer. Since she is a very creative person and as a balance to writing likes to be active in various areas of art and crafts, the activity at acrylgiessen.com is perfect for her to contribute their knowledge and experience in various creative topics.
Learn more about Charlene Lewis and about us.