Horse Head Drawing – Create a Majestic Horse Head Sketch
This post may contain affiliate links. We may earn a small commission from purchases made through them, at no additional cost to you.
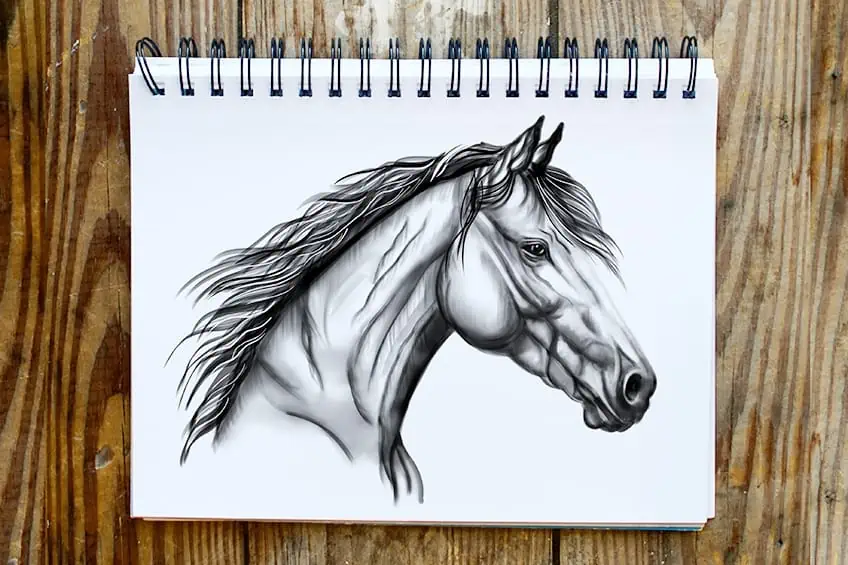
Horses are majestic creatures that have captivated humans for centuries. Their beauty, strength, and intelligence make them one of the most beloved animals in the world. From wild stallions galloping across open fields to elegant mares prancing in dressage competitions, horses have a unique ability to evoke emotions and inspire awe in all who witness their grace and power. Whether used for sport, work, or leisure, horses continue to hold a special place in the hearts of people everywhere, reminding us of the unbreakable bond between humans and animals.
How to Draw a Horse Head in 17 Easy-to-Follow Steps
Congratulations on starting your horse head drawing! You are about to embark on an exciting journey that will not only enhance your artistic skills but also allow you to create a stunning masterpiece. Horses are magnificent animals with flowing manes, soulful eyes, and muscular bodies. Capturing their essence on paper requires a keen eye for detail and a steady hand, but the result is worth it. As you begin your drawing, take your time to observe the intricate details of the horse’s features, from the curve of their ears to the texture of their mane. Use shading and proportion to bring your drawing to life and make it look like a majestic horse head that you can be proud of. Remember to be patient with yourself, enjoy the process, and have fun exploring this new skill.
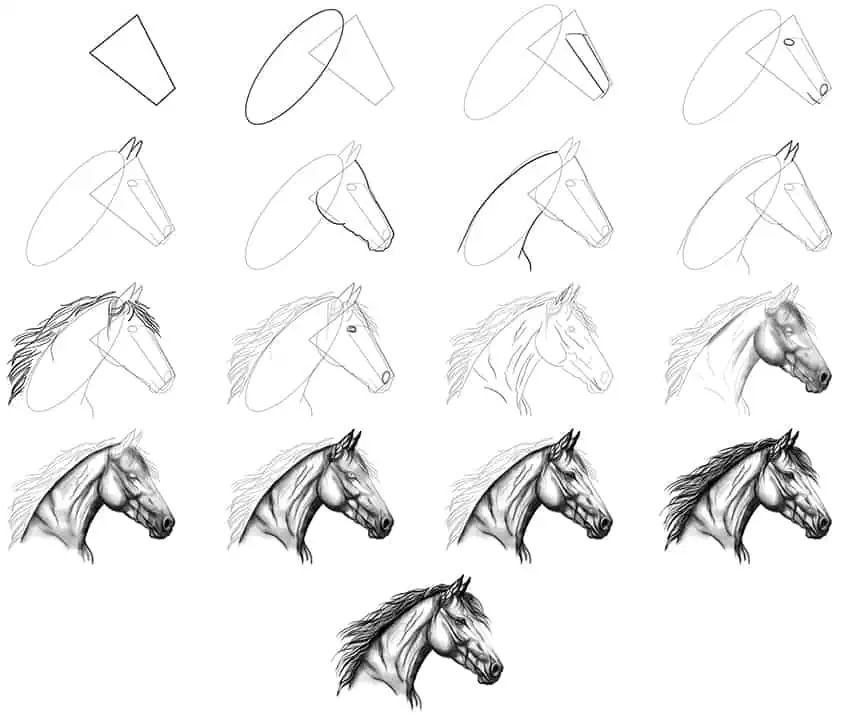
The below horse head sketch collage illustrates each step you will take to draw a magnificent and majestic horse head!
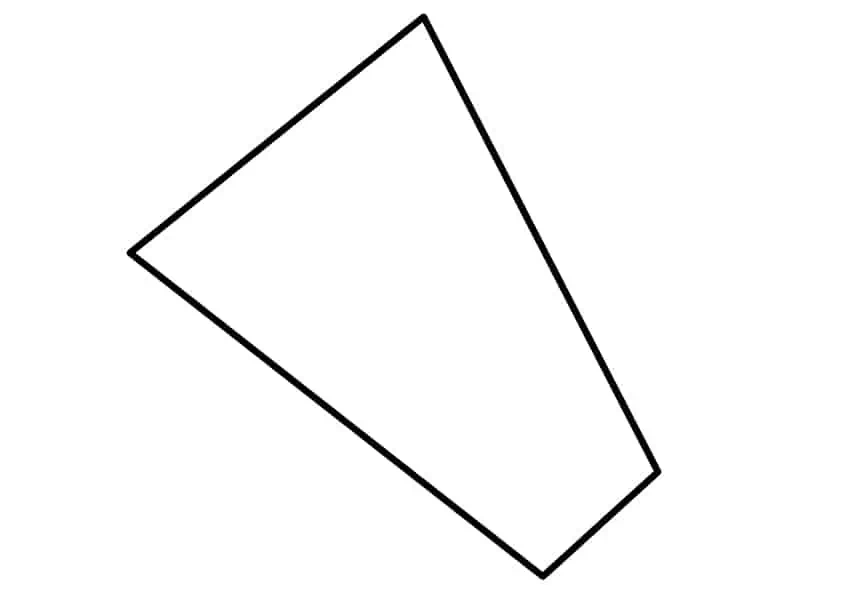
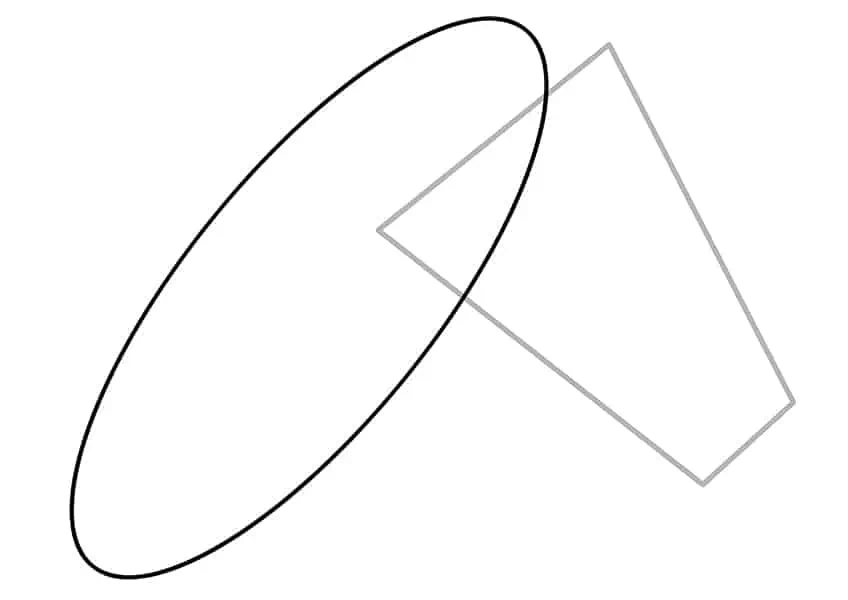
Step 1: Draw the Head of Your Horse Head Drawing
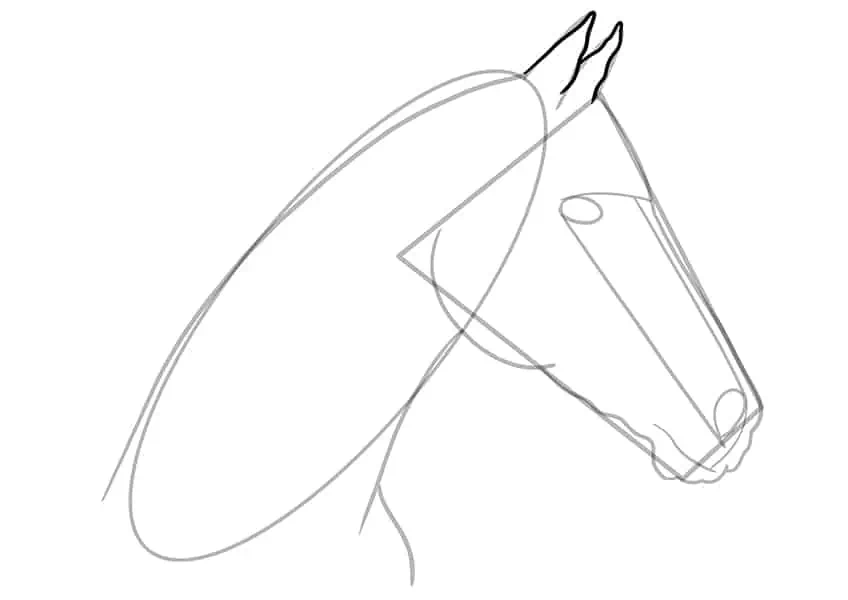
To start your drawing, draw the general head shape of a horse.
Step 2: Draw the Neck
Overlapping the previously drawn head, draw a tilted oval shape to represent the neck of the horse.
Step 3: Add the Facial Guidelines to Your Horse Head Sketch
Within the head drawn in step one, draw the facial guidelines to aid you in the upcoming steps.
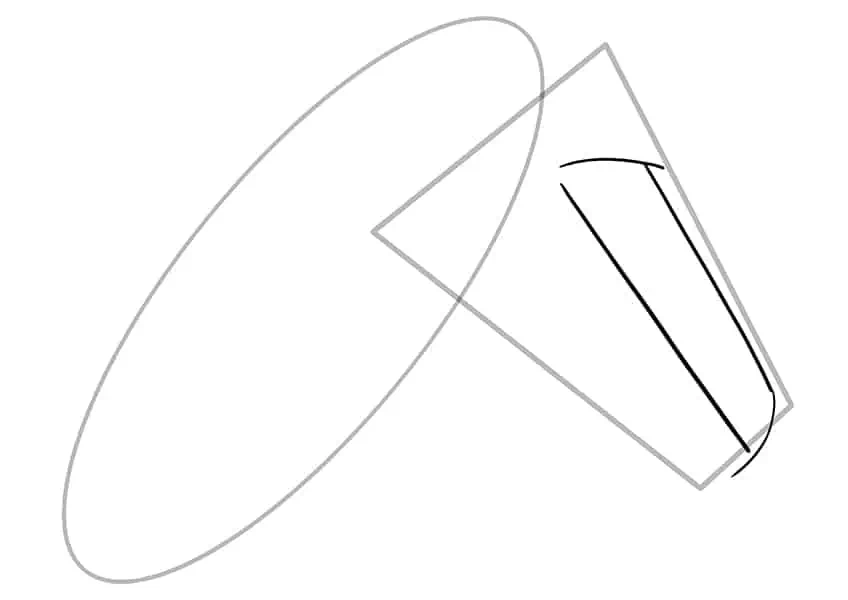
Step 4: Draw the Facial Features
Make use of the previously drawn guidelines to aid you in drawing the eye, nostrils, and mouth line to your horse head sketch.

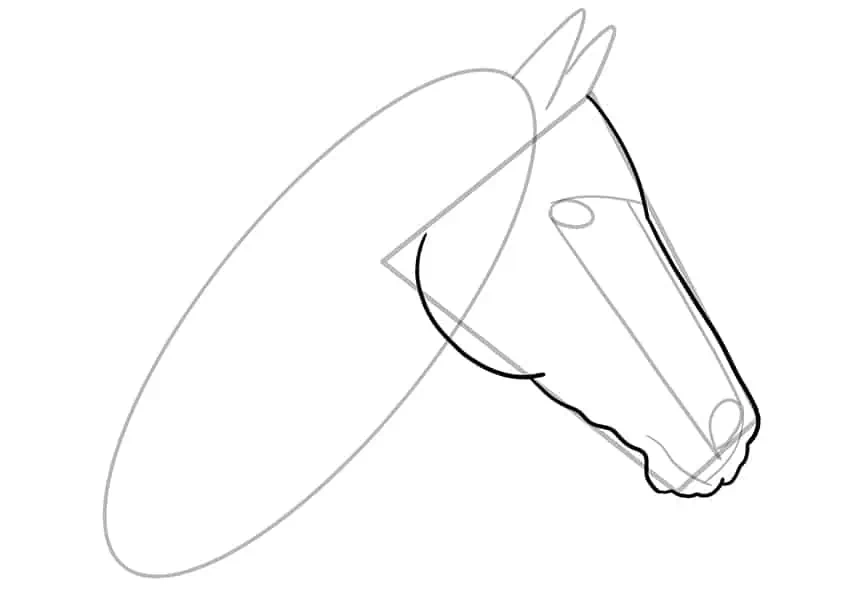
Step 5: Add the Ears
Above the head, draw two narrow ovals to represent the ears of the horse.

Step 6: Outline the Head of Your Horse Head Drawing
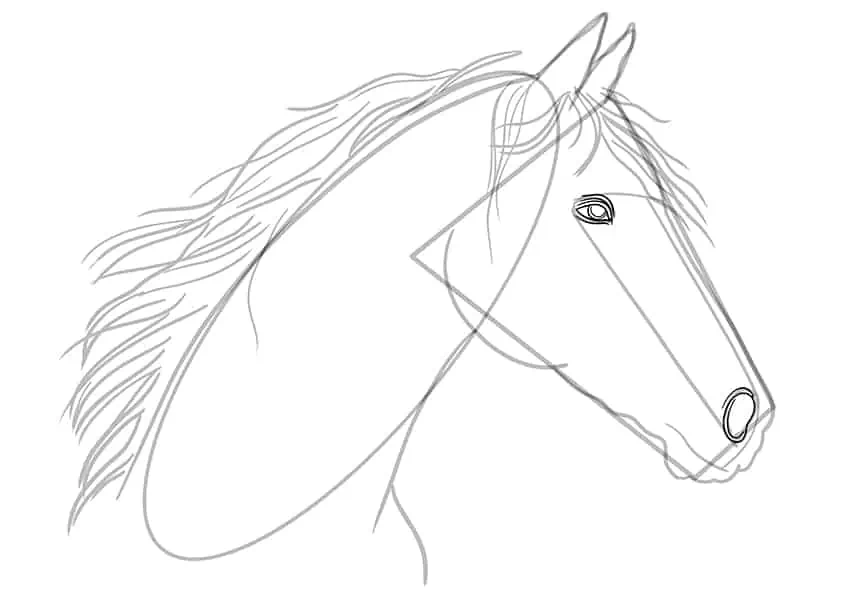
In this step, you will make use of the construction lines drawn in step one, to aid you in outlining a more realistic horse head.
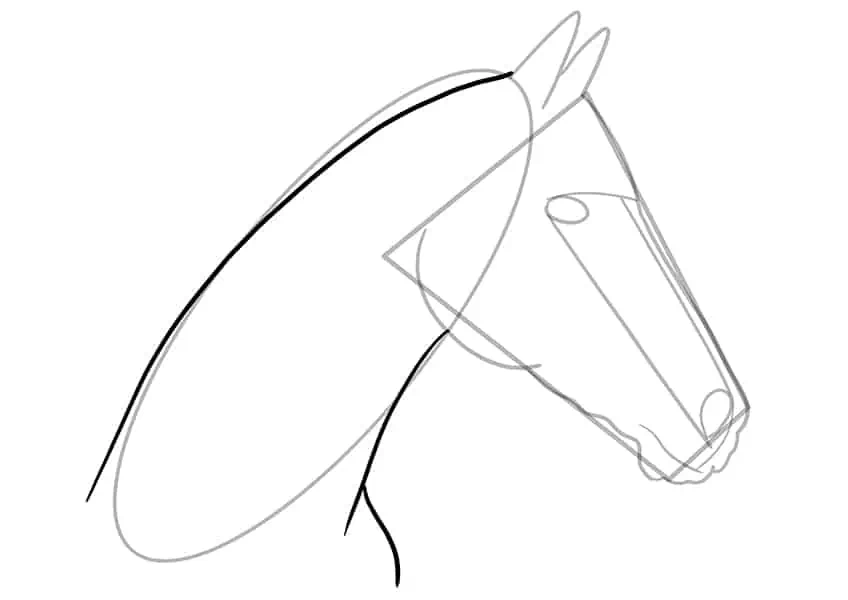
Step 7: Outline the Neckline
Begin to outline the neckline by connecting the neck to the head, both on the top and bottom necklines.
Note! You can use your previously drawn construction lines to aid you in outlining a more realistic neckline.
Step 8: Continue to Outline Your Drawing of a Horse Head
In this step, begin by outlining a more realistic pair of ears for your horse head drawing.
Step 9: Draw the Mane
Draw fine hairline brushstrokes from the rear of the ears leading backward. Continue to add several strands of the mane hair in front of the horse’s ears.

Step 10: Detail the Eyes and Nostrils
Within the eye’s construction line, simply outline a curving eyelid both at the top and bottom of the previously drawn oval shape. Within the eye draw the iris represented by a circle. Outline the nostrils with the oval shape drawn in four.
Once you have completed detailing your horse head drawing, erase any still visible and overlapping construction lines and guidelines.
Step 11: Structure the Horse
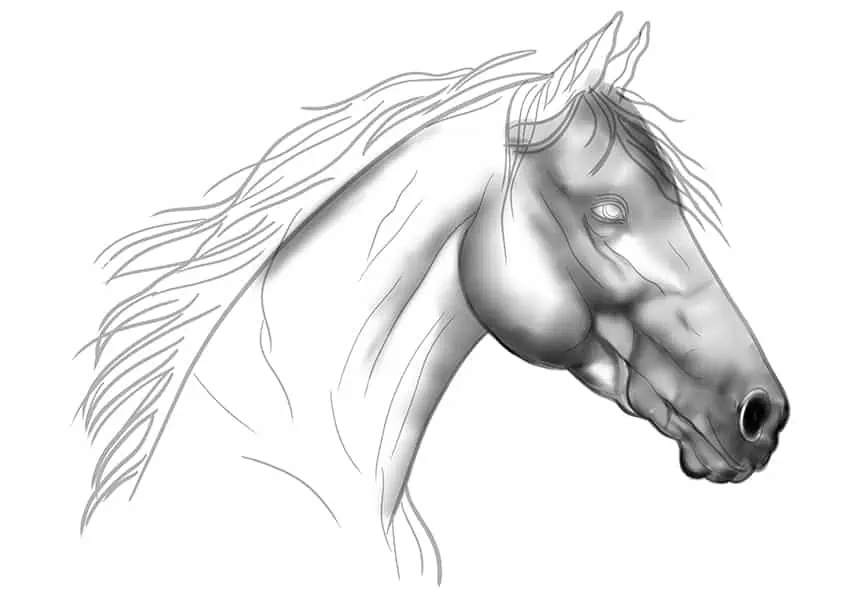
In this step, draw fine structure lines within the ears, neck, and face. These lines will help guide you through the shading and contouring process. Additionally, these lines should represent the muscular shape and tone of the horse.

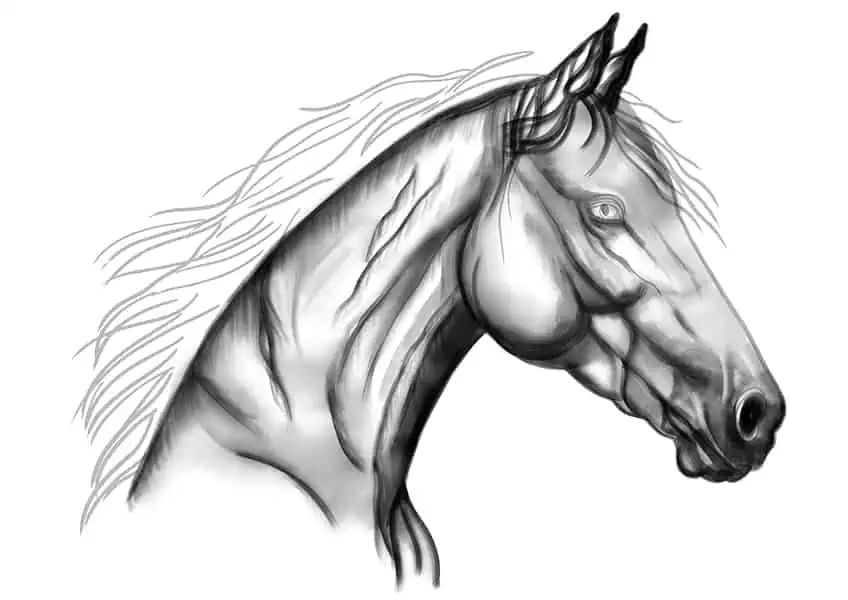
Step 12: Begin to Shade the Face
Start by using either a dark pencil or a thin brush with black paint, and shade the inner nostrils area. Continue using a blending brush to spread and soften the shading along the structure lines previously drawn. Several areas in this process may remain blank to act as a natural highlight.
Step 13: Continue Adding Shading Throughout the Neck
Repeat the previous step and enhance the shading along the muzzle and mouth line. Continue to add structural shading to the lines added in step 11. Switch to a blending brush to soften and spread this shading along the neck and head of the horse.
Step 14: Add Texture to Your Drawing of a Horse Head
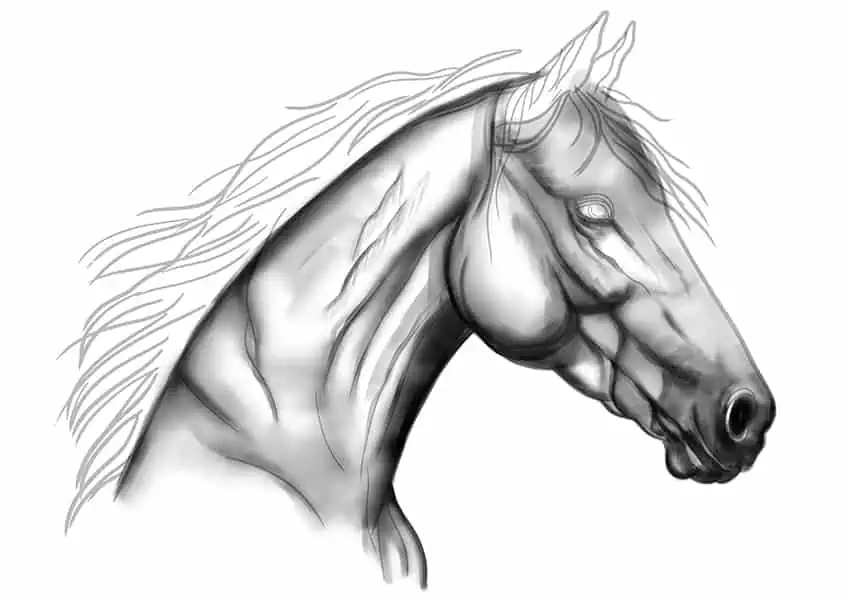
Select a fine, sharp brush and black paint, and apply fine hairline strokes leading with the curve of the top and bottom necklines. Repeat this step with the rest of the texture lines within the neck and face.
Continue this step, with an eraser to remove some of the shading added along the nostrils and facial structure. This will act as highlights but enhance the structure overall. Complete the step by shading the ears and iris of the eye.
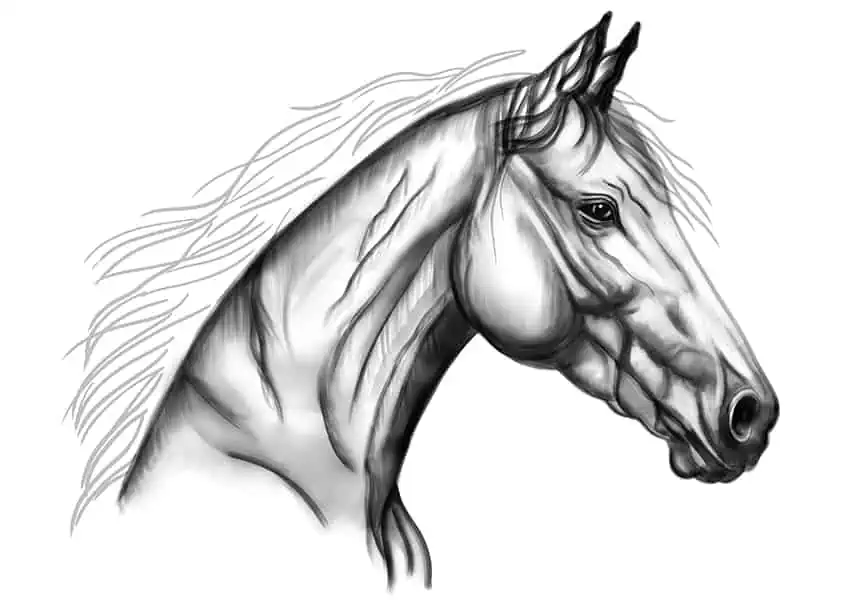
Step 15: Complete the Face
Begin by darkening the surrounding eye area and iris with a thin brush and black paint. Switch to an eraser, and simply erase some of the shadings within the iris to create a realistic shimmer to emphasize the pupil.
Repeat the above step along the muzzle of your horse head drawing.
Complete the step by adding final texture lines along the lower neckline.
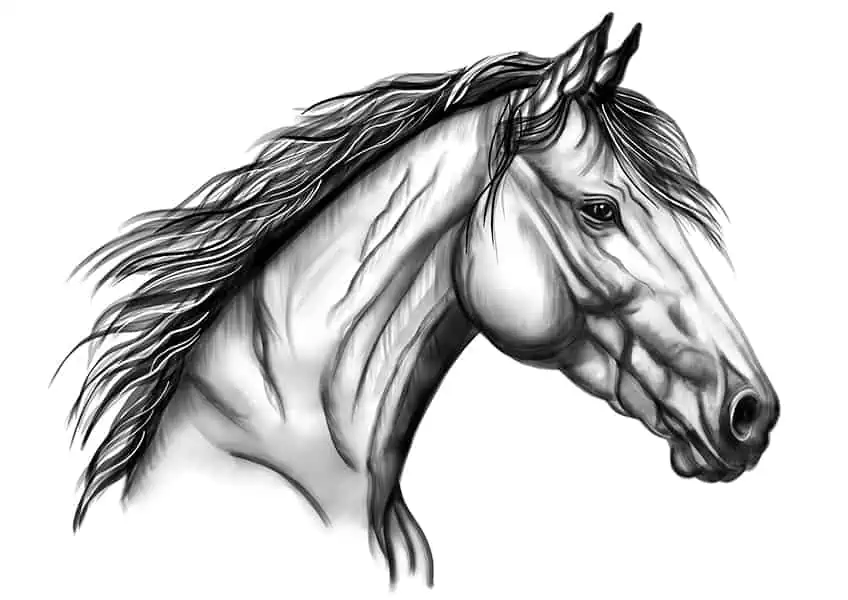
Step 16: Shade and Highlight the Mane
Fill the mane hairline drawing in step nine, with a fine, sharp brush and black paint. To add the highlights simply use a sharp eraser to trace over several of the hairlines that were shaded. This step can also be done using a fine sharp brush and white paint.
Step 17: Finalize Your Drawing of a Horse Head
This step is optional and depends on your preference for your horse head sketch. To do this step, simply erase any still visible harsh outline to create a more realistic sketched and shaded seamless horse drawing!
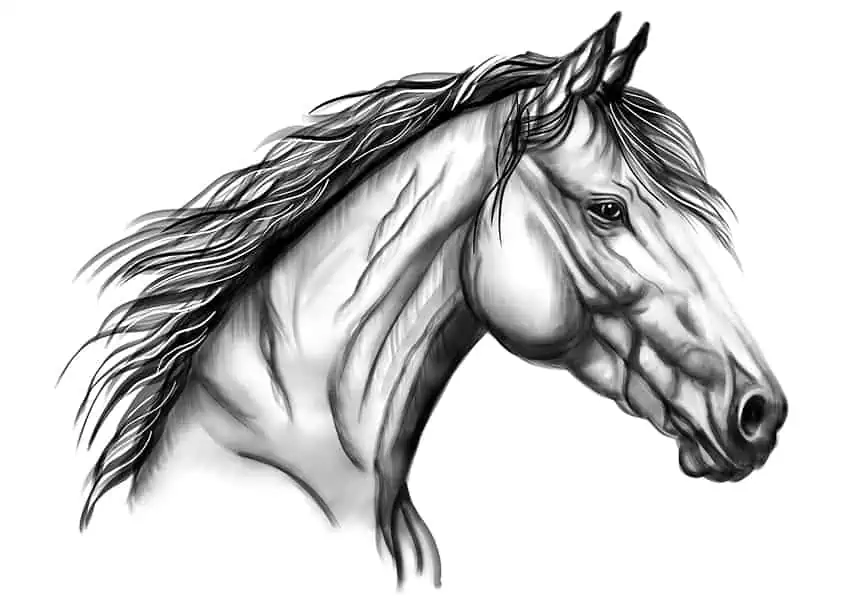
Congratulations on finishing your horse head drawing! You should be incredibly proud of yourself for creating such a stunning piece of art. Your dedication and hard work have paid off, and you have gained new skills that you can continue to develop in the future. Drawing a horse head requires a keen eye for detail, mastery of proportion and shading, and a steady hand, all of which you have demonstrated beautifully in your finished product. From the subtle shadows that bring depth to the horse’s eyes to the intricate texture of their mane, every aspect of your drawing reflects your mastery of this new skill. You have captured the essence of this majestic animal and have created a timeless work of art that you can cherish for years to come. Well done!
Frequently Asked Questions
How Do I Get the Proportions of the Horse Head Correct?
Getting the proportions of a horse’s head correct is crucial to make your drawing look realistic. One way to ensure the correct proportions is by using the guidelines demonstrates in our drawing tutorial on how to draw a horse head. These guidelines will help you place the eyes, ears, and other features of the horse head in the correct positions and proportions.
How Do I Create the Intricate Details of the Horse’s Mane and Eyes?
To create the intricate details of the horse’s mane and eyes, you need to pay close attention to the horse’s features and the textures in its fur. Use shading to create depth and shadows in the horse’s mane, and consider using different pencil strokes or brushstrokes to create the appearance of individual strands of hair. For the eyes, observe the shapes and colors, and use a light touch to add highlights and reflections that make them appear lifelike. Remember, small details can make a big difference in the overall realism and impact of your horse head drawing!

IzzyBll is a digital artist and content creator from Israel and currently residing in South Africa. Originally coming from videography, Izzy then turned to digital graphic art. He specialized in using digital drawing software such as Photoshop and Procreate. Drawing and photo editing has always been a sort of second nature for Izzy. In doing so, he can now look back on 5 years of experience in the industry, completing commissions for various well-known brands such as Audi.
Learn more about IzzyBll and about us.