How Long Does It Take Gesso to Dry? Our Complete Guide
This post may contain affiliate links. We may earn a small commission from purchases made through them, at no additional cost to you.
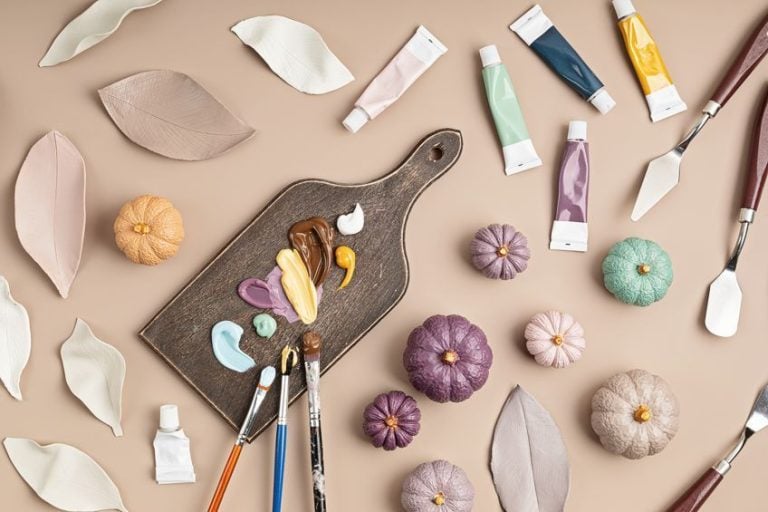
When starting a new hobby like acrylic painting, there are many things you have to learn and materials you need to buy. The obvious materials would be your paints, brushes, and canvas. However, there are added tools and materials, such as gesso, that are needed. We are going to help you discover what gesso is and how to apply gesso, to make your painting journey that much easier.
What Is Gesso?
Gesso was originally created for painting with oils onto canvas. Gesso is an Italian word, meaning gypsum, and was made from gypsum or chalk, glue (rabbit-skin), and a white pigment. The product was also known as “Italian gesso” as well as “glue gesso”. Gesso was applied to a canvas surface where it was absorbed into the canvas fibers and protected the surface from the oil paints. The gesso also provides a certain coarseness which helps the paint stick to the surface without absorbing it into the canvas. These helped painters use fewer oil paints and the colors remained vibrant. So, you can say gesso acts the same way as a primer.
The traditional gesso became quite hard when it dried and was only appropriate for more rigid surfaces. When applied to other less rigid surfaces, it would crack and fall off. To improve this situation, linseed was added to the gesso to improve flexibility. This was helpful to artists who, on occasion, rolled their artwork up.
Today, the gesso, or “jesso” as it is pronounced, is known as acrylic gesso and contains an acrylic polymer medium, chalk (calcium carbonate), and a white pigment. Other additives help with things like flexibility and improving durability. The modern gesso does not contain any glue as acrylic paints are not as corrosive as oil paints and are more stable. This product was developed by the company known as Liquitex in the 1950s.
Does one need gesso when painting with acrylics on canvas? You do not have to; however, it does provide a better absorbent surface for the paints. Today, you do not have to worry about priming your canvas surface as you can buy pre-primed canvases that already have gesso on them. Depending on what you want to achieve with your painting, you may even want to add another layer or two of gesso onto your pre-primed canvas.
How Long Does It Take for Gesso to Dry?
Gesso does dry in 10 to 20 minutes and should completely cure in about 24 hours. You can also speed up the drying using a hot air dryer.
However, certain issues can affect the drying time of gesso. Let us see what these issues are:
Temperature
When it comes to drying times, being in a warmer climate will help to dry the gesso out faster than if you paint in a cooler climate. The moisture evaporation times differ, so a cooler environment will slow down the drying time.
Humidity
Besides temperature, humidity can also play a part in drying times. Places, where there is low humidity, will help to increase the drying time as any moisture evaporates faster. However, if you are in a high humidity area, the gesso will naturally dry much slower.
Air Flow
Providing good airflow where you work inside can help to improve drying times. Indoor air conditioning or heating systems, open windows can all help to increase the drying time. You can also use a hairdryer or switch on a fan where you are painting. Make sure to dry the surface evenly by moving the hairdryer around and using a low heat setting. Painting outside, the wind can help to dry the gesso, however, extremely windy days might not be the best time to paint outdoors.
Various Forms of Gesso
Gesso is a mostly white or off-white color, but you can now also get products that are clear, black or colored. You can also use the white gesso and color it yourself, then you can make it whatever color you want. Take some acrylic paint and add it to your gesso before applying it to your surface. There are two main categories for gesso including your student-grade as well as the artist-grade.
Student-Grade Gesso
The student-grade gesso is a lot cheaper than your artist-grade as it has more filler than it does pigment. Also, the student-grade gesso mostly only comes in white. However, as mentioned, you can add color yourself by mixing in some paint.
Artist-Grade Gesso
Since artist-grade gesso contains more pigment, which is what costs more, the price is higher than your other types of gesso. The gesso has less filler and is thicker and offers better color. Many artists, even professionals, find the student-grade gesso suitable. Even though you might have to add more than one layer, the cheaper student-grade gesso will save you money.
Other Forms of Gesso
There are a few brands like Golden, Krylon, Liquitex, Winsor & Newton amongst others. The consistency will differ with each brand, as some are more liquid, while others are thicker. You might also find that on application, some offer smoother results, while others provide more texture. You can get a super heavy gesso that acts as a primer but also a texturing agent. The best way to find the right gesso for you is to experiment to find the best brand and product for you. The hard gesso is manufactured so you can sand it after you have applied it. This product is extremely thick and once you have sanded it using fine-grit sandpaper, you are left with a smooth surface.
You can find gesso in jars, squeeze bottles, and tubs; however, you can also get gesso spray paint. This makes for a lot easier application, but you cannot add any paint colors to this. So, you can easily squeeze or place some gesso directly onto the canvas or place some onto a palette, where you can add color if you wish. You can also add in a texturizing gel, which will help to make textured effects beneath the paint.
There is also a soy-based gesso that contains recycled soy products. The gesso is eco-friendly, and the binder is a combination of acrylic and oil. The oil makes the gesso more flexible, which might be a better option for oil painting.
Drying Times Between Gesso Layers
When working on canvas, two coats of gesso are recommended. The first coat will penetrate the fibers, while the second layer will adhere to the first layer and provide a more even surface. When applying a second coat, wait for the first layer of gesso to dry thoroughly. When applying a thin gesso layer, you can most probably get away with adding a second coat if the first coat is dry to the touch.
However, there can be a problem with thicker layers. The thick gesso will seem dry on the outside but can remain wet on the inside. So, if you apply a second layer too soon, it can lift the first layer, creating an imperfection on the surface. When painting, sometimes it is a good idea to try all kinds of things out to see what happens. So, try applying paints or other mediums to a wet or dry surface, maybe the different effects are what you are looking for.
 You can also use Gesso on porous materials like wood to prime it and make it paintable
Gesso and Acrylics
When painting with acrylics, you can begin once the gesso has dried to the touch. However, the gesso may not be completely dry and may lift off as you paint. The gesso will then add white to your acrylic paint. So, waiting a bit longer for the gesso to try is the best option if you do not want this to happen. However, many do not mind if this happens, so it is up to each person or artist. The recommended number of gesso layers is two, however, acrylics are not as difficult to work with as oils and even a single coat of gesso should work. When working with acrylics, the number of layers will depend on how much texture you want, or if you want to work on a smoother surface.

Gesso and Oil Paints
Should you use acrylic gesso for oil painting? Some might disagree as oil paints dry less flexible than acrylic paints. Nevertheless, most brands say their acrylic gesso is good for both acrylic and oil paints. To err on the side of caution, if you are painting an important art piece, rather consider an oil-based gesso. Any other less important oil paintings can remain using the acrylic gesso.
When using oil paints, it is best to leave the gesso to dry for 24 hours to 48 hours to ensure there is no moisture left once you begin painting. Many artists propose using at least three layers of gesso when working with oil paints. If moisture is present, it will hamper the paint bonding to the surface since oil and water do not work well together. After 24 hours, take the back of your hand and place it onto the surface, if the gesso feels cool, it could still have moisture present, and you should wait a further 24 hours.

You can prepare canvases beforehand if you want to save time. Apply the gesso and leave to dry and then use straight away whenever you are ready. Gesso helps the oil in paints from seeping through the canvas. So, if you have not applied enough layers or too thin layers, you should be able to spot some yellow marks at the back of the canvas after a while.
Drawing Mediums and Gesso
Not only can you paint over gesso, but you can also draw using pencils. When using drawing mediums, it is best to let the gesso dry thoroughly as you will not be able to draw effectively on the surface otherwise. You can try drawing on a wet gesso surface, but any work will be very light and dull, and drawing on the surface might not feel pleasant. Once the gesso has dried properly, it will form a hard surface which is much better for drawing.
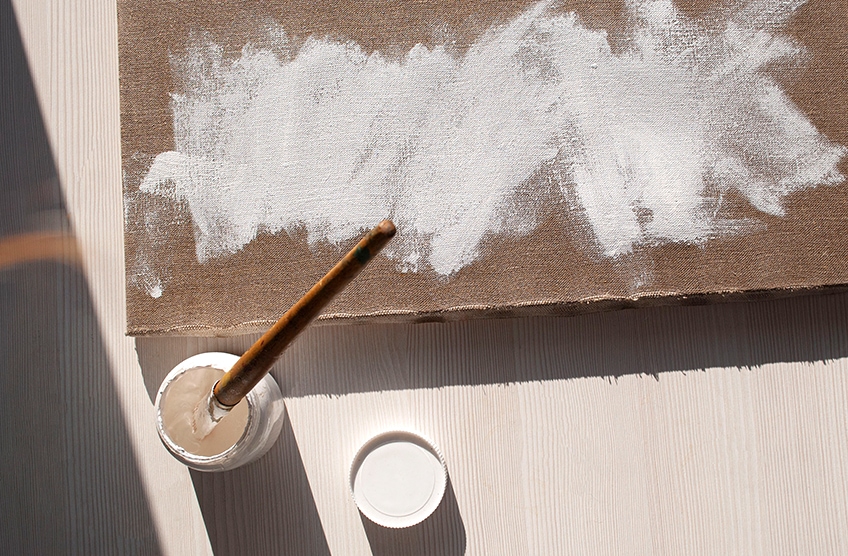
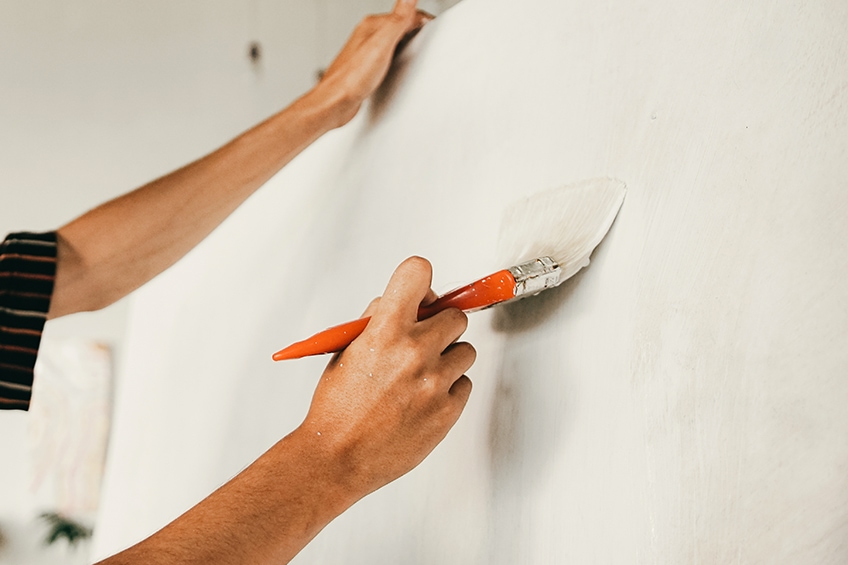
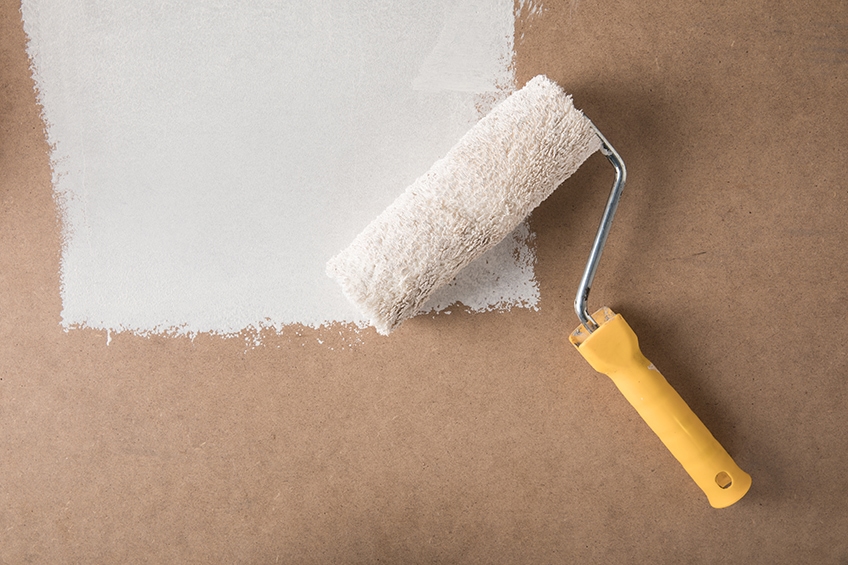
How to Apply Gesso
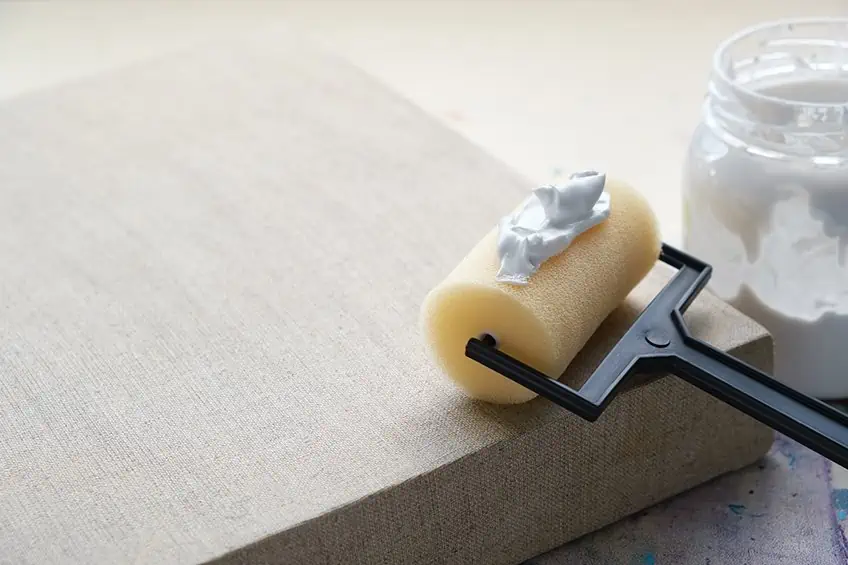
We mentioned that you can buy already primed or pre-primed canvases. However, if you do buy a raw canvas, or wish to create more texture on your canvas, priming is recommended. Learning how to apply gesso is simple, the only tool required would be a flat brush, and the bigger surface you have, the larger the brush should be.
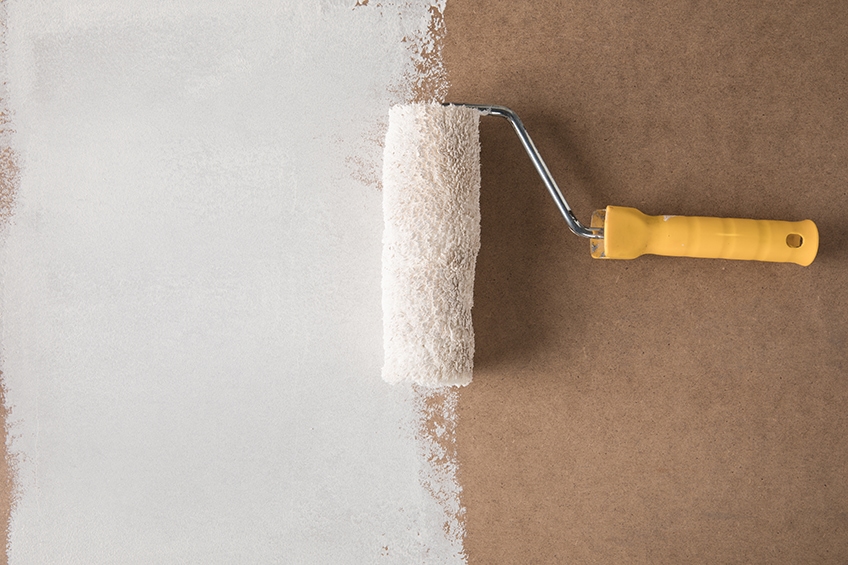
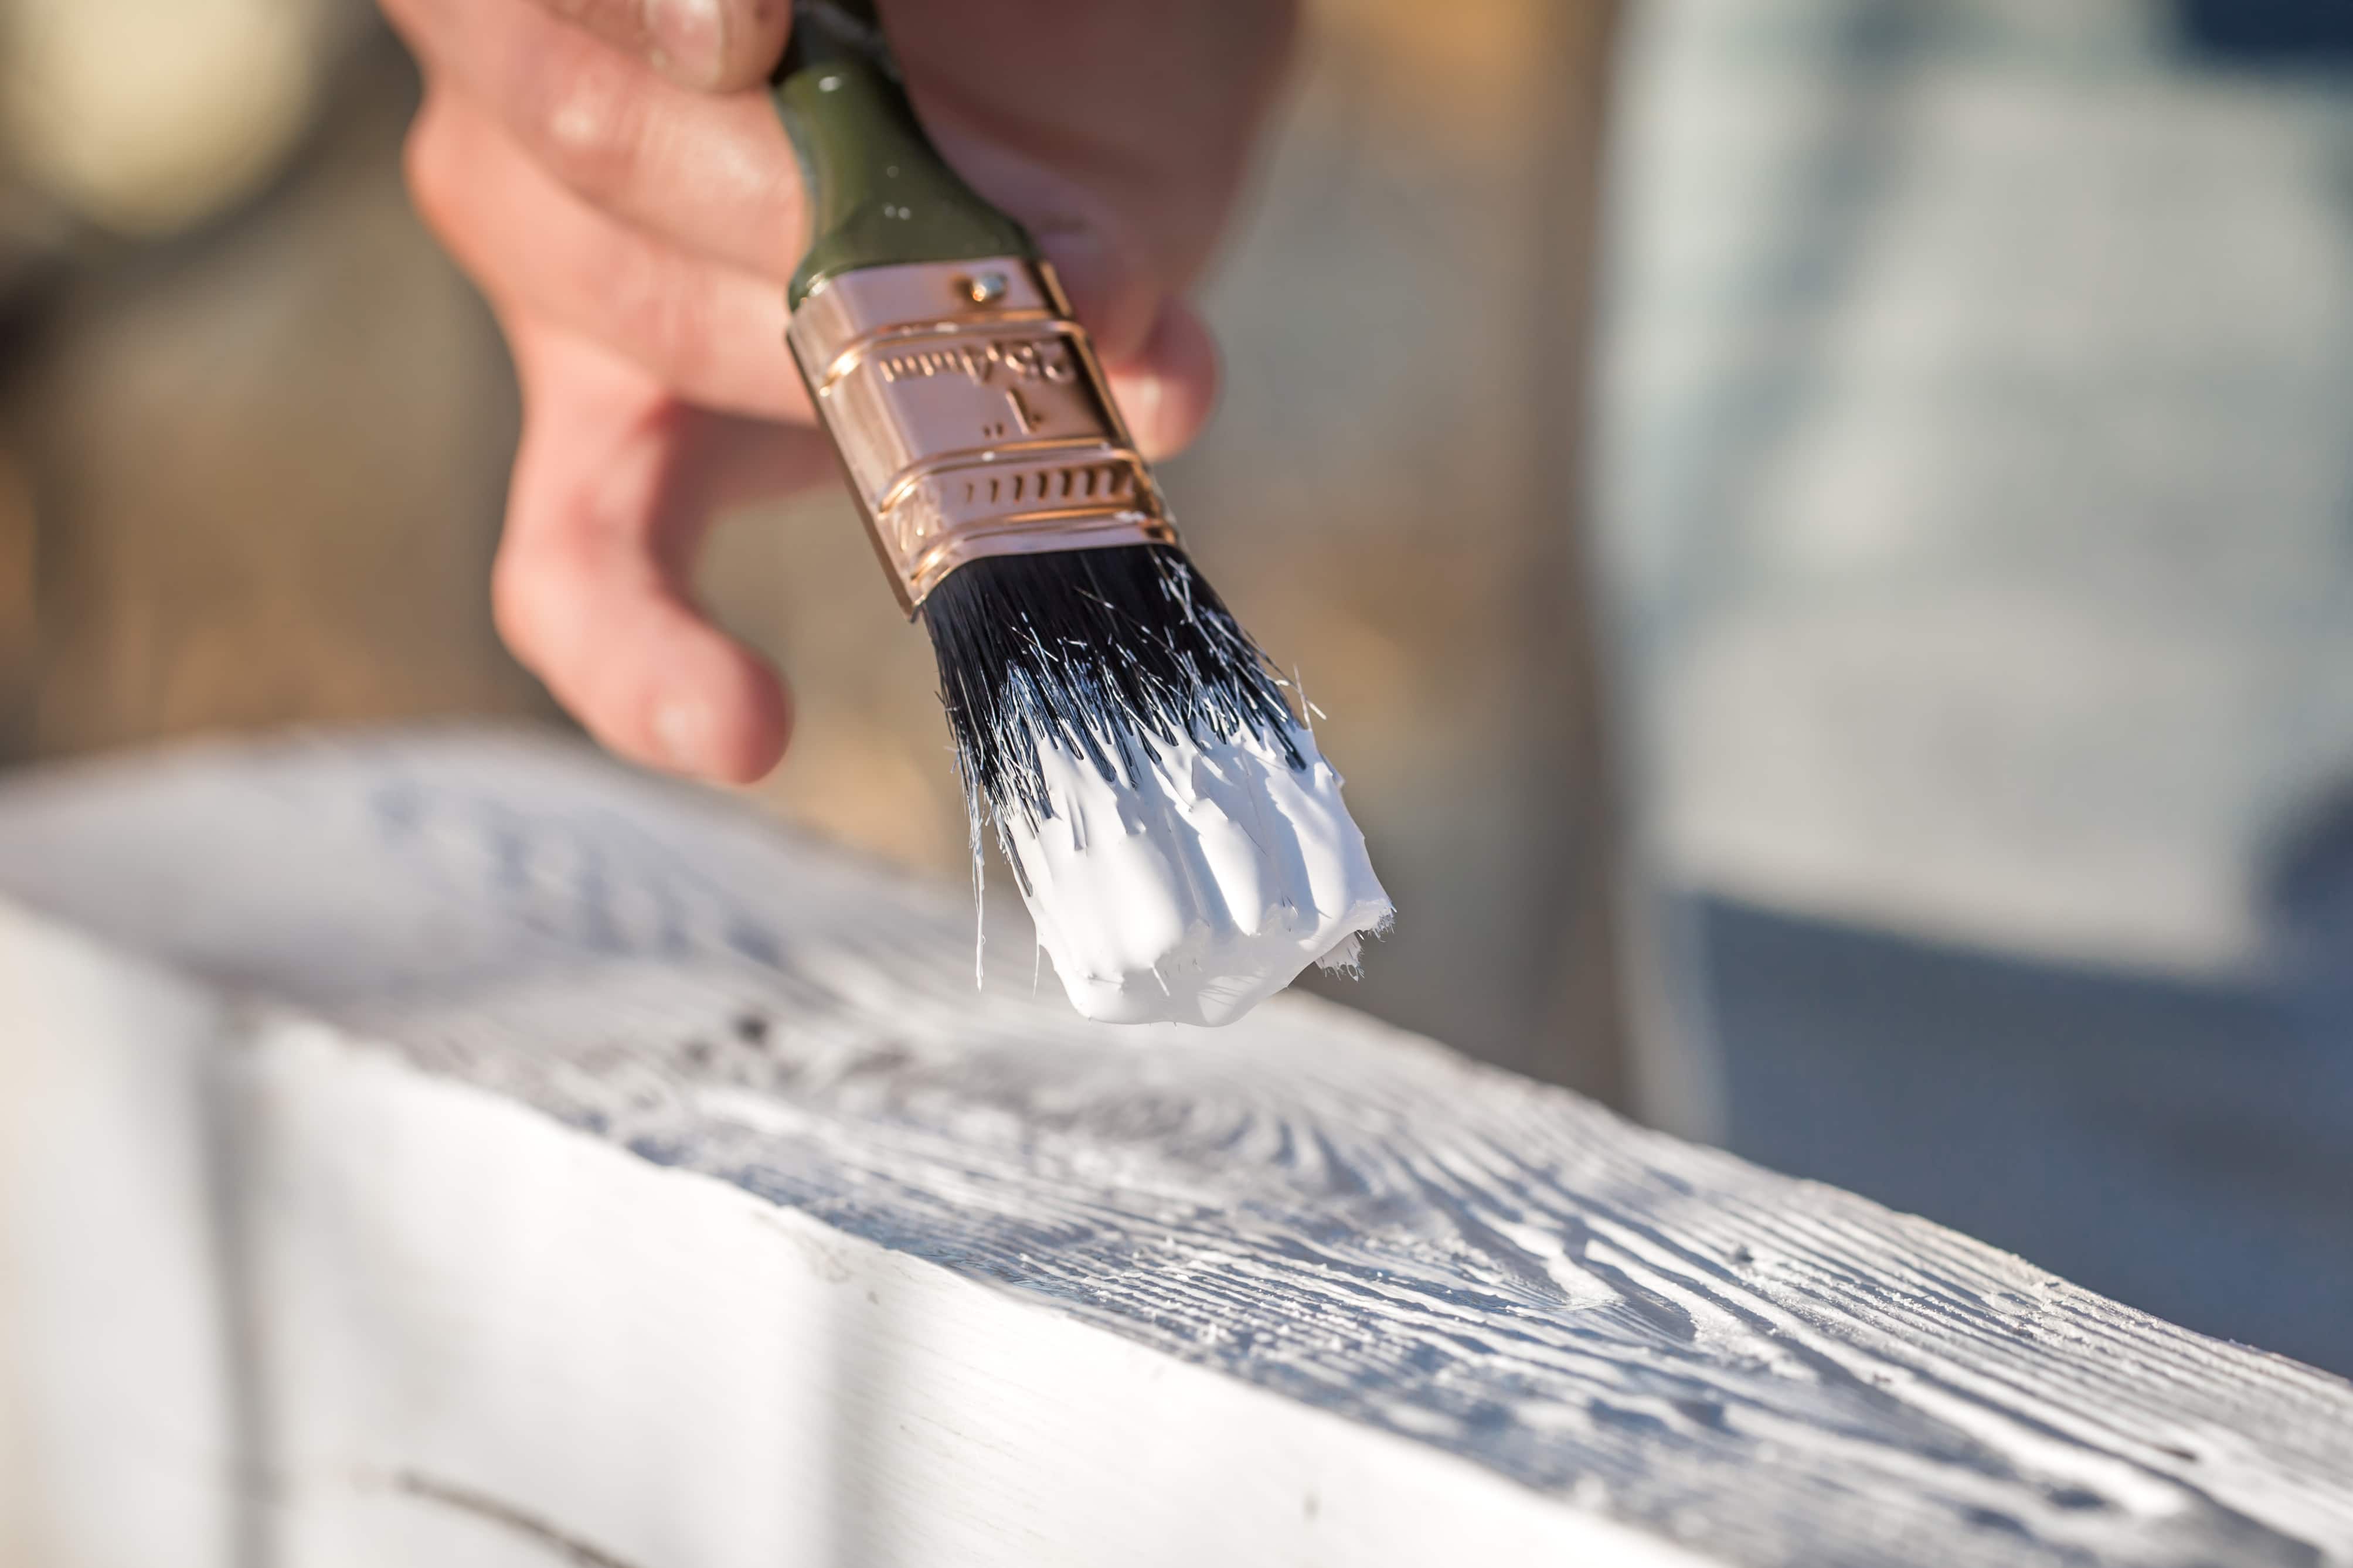
- Step 1: Load the brush with gesso and apply to the entire surface. Cover the whole surface using long and smooth strokes, and make sure the layer of gesso is evenly distributed. You cannot go wrong with applying gesso and is subject to what outcome you are looking for when painting. As mentioned, there is thinner and thicker gesso, tinted gesso, and other types of gesso you can use to create various effects. If your gesso seems too thick for you, use some water to thin it. Once the diluted or thinned gesso has been applied, it will produce an ideally smooth surface.
- Step 2: While you are busy, the gesso might build up alongside the bristles. Take another dry brush and simply flatten these out. When going for a smooth layer of gesso, allow each layer you apply to dry, and then lightly use fine-grit sandpaper to smooth it out. The gesso must be absolutely dry before you sand the surface. Wait for about 20 minutes up to an hour before moving on.
- Step 3: The general recommendation for how many layers you should apply is two. However, sometimes you only need one, especially if you are using acrylic paints. Oils paints require at least three coats, maybe more. If you are working with gesso for the first time, take note of how each layer affects your painting. When painting, a white canvas can be daunting, so applying a tinted gesso can help you create an underpainting that helps you move forward in the creative process more easily. There are also products like texture gels that provide a more textured surface.
How to Make Gesso Yourself
Why not try and make your own gesso? Depending on what you want to do, you can easily create your own gesso with simple ingredients. Once you have made your gesso, it is recommended you test it out before using it on an expensive canvas. Materials needed include:
- White acrylic paint
- White craft glue
- Water
- Talcum powder or calcium carbonate
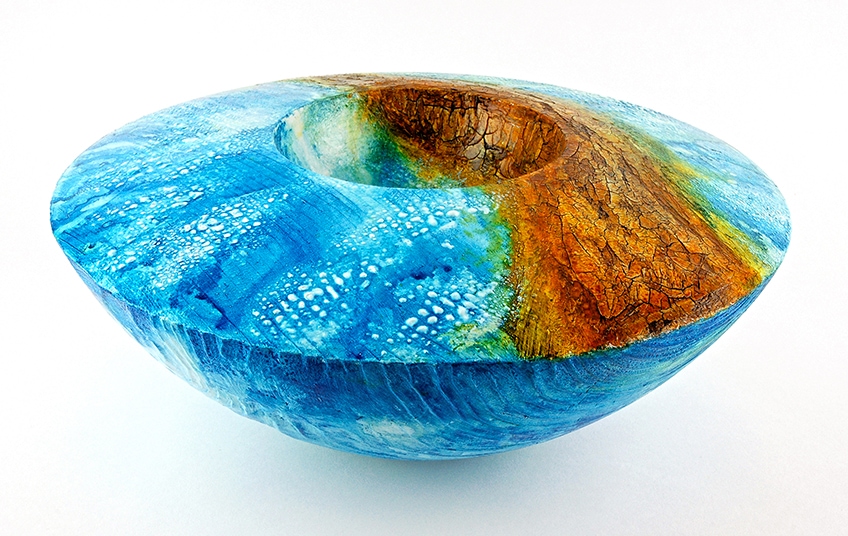 A good example of using gesso on a wooden bowl, before painting it with acrylics and inks
You might need to experiment with quantities added so you can reach the correct consistency and opacity required. The general suggested amounts are one-part glue, six-parts powder, two or three parts water, and add paint as needed. The quantity of water will be determined by how thick you need it to be. There you have it, dip a brush into the mixture and apply it to your surface.
Frequently Asked Questions
How to Apply Gesso Smoothly?
When applying the gesso, use long and smooth strokes, and once the layer is dry, you can smooth it out further with some fine-grit sandpaper. Complete the same procedure for all gesso layers you apply. You can also turn your canvas each time and apply the gesso in different directions each time. There is also gesso spray paint, which should apply the gesso more evenly than brushing it on.
Must Gesso Dry Before Painting?
Ultimately, it is up to each person what they want to do. However, it is recommended you first let each layer of gesso dry before painting, otherwise, you run the risk of the previous layer lifting off the canvas. Waiting at least 24 hours also works best if you are going to sand or draw on the gesso. When using oil paints, waiting even longer is best.
Is One Layer of Gesso Enough?
When working with acrylics, one layer of gesso should be fine. However, the recommended number of layers is two for acrylics and three or more for oil paints.
Is Mod Podge Similar to Gesso?
These are two different products and are used for different purposes. Mod podge acts more like an adhesive and seals surfaces in all kinds of craft projects. Gesso is more of a primer, to be used on canvas surfaces and other surfaces.
Is Gesso Only Used on Canvas Surfaces?
Gesso can be used on multiple surfaces including canvas. You can use gesso on wood, glass, plastic, and more. The surfaces are then primed to receive acrylic paints. The non-porous surfaces like a metal only require a single layer, while porous surfaces need at least two layers as the gesso is absorbed into the surface.

In 2005, Charlene completed her wellness degrees in therapeutic aromatherapy and reflexology at the International School of Reflexology and Meridian Therapy. She worked for a company offering corporate wellness programs for several years before opening her own therapy practice. In 2015, she was asked by a digital marketer friend to join her company as a content creator, and it was here that she discovered her enthusiasm for writing. Since entering the world of content creation, she has gained a lot of experience over the years writing about various topics such as beauty, health, wellness, travel, crafting, and much more. Due to various circumstances, she had to give up her therapy practice and now works as a freelance writer. Since she is a very creative person and as a balance to writing likes to be active in various areas of art and crafts, the activity at acrylgiessen.com is perfect for her to contribute their knowledge and experience in various creative topics.
Learn more about Charlene Lewis and about us.