How to make Resin Dice – Dice Casting Tutorial
This post may contain affiliate links. We may earn a small commission from purchases made through them, at no additional cost to you.
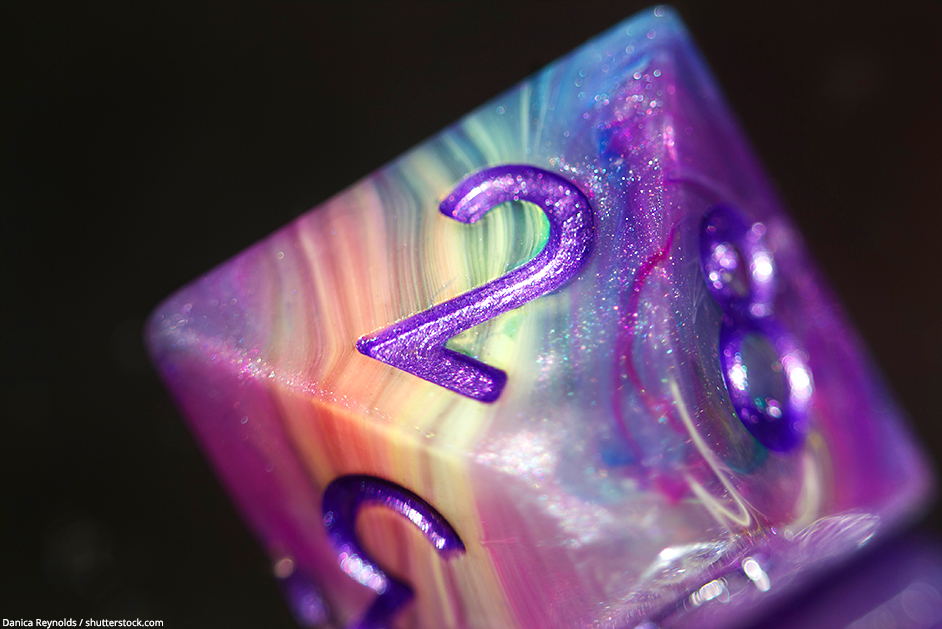
Boardgames are an excellent way to keep the family occupied and busy, but it can be most annoying when you take out a game and find that the dice are missing. There are even the oddest shaped dice for some games. So, here is a solution, we will show you how to make dice by using Resin. The sky is the limit as to what designs and patterns you can come up with, maybe even invent a new game yourself.
Table of Contents
What Kinds of Dice exist?
Numerous kinds or types of dice exist, some of these include:
- Color Dice that have different colors on each face
- Poker Dice that have pictures of a Jack, Queen, or King etc.
- Some board games use dice with negative and positive numbers on each face.
- Dice that have the yin and yang symbols.
- The dice used for Jumanji has pictures on each surface.
- The ordinary or standard dice, which has numbers or dots on each face.
What Kinds of Resin Dice Molds are available?
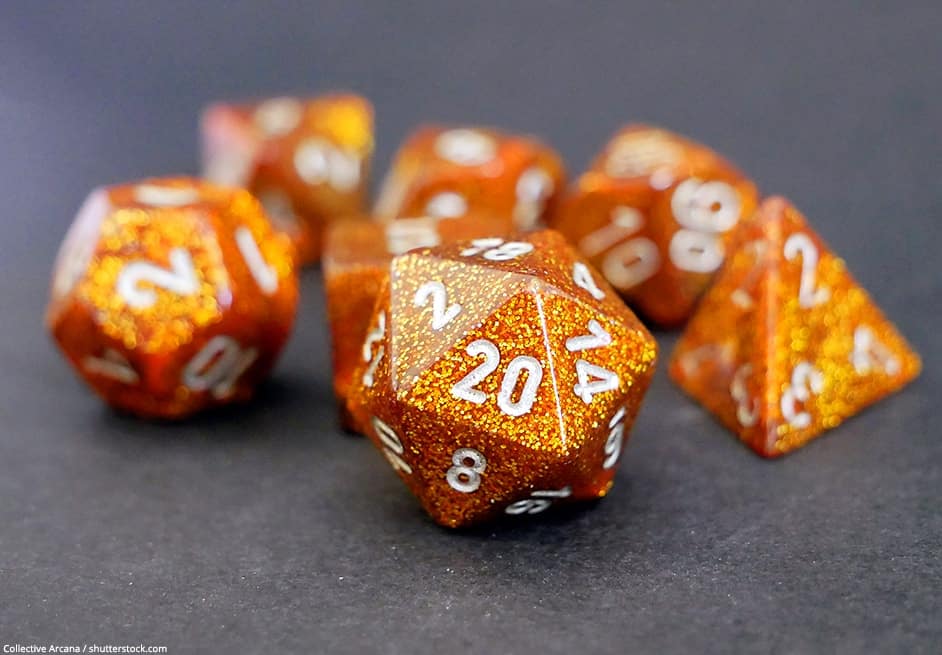
The standard dice molds consist of a set of 7 variations, these include:
- D4: 4 sided dice in the shape of a triangle, which has only numbers 1 to 4 on the faces. There are 3 numbers on each face or surface. The numbers are arranged at each apex, and the number found on each apex is the same on all faces. When the dice are thrown, the number that is on the upright apex is the value you play with. This type of dice is not very easy to roll, instead it is thrown up in the air.
- D6: 6 sided dice in the shape of a cube, this is the dice we are all familiar with. The dice has numbers 1 to 6, the total sum of the numbers on opposite sides adds up to 7.
- D8: 8 sided dice, each face is triangular with the whole dice bearing the resemblance of two pyramids. There are numbers 1 to 8 on all the faces or surfaces. The total when adding the numbers on opposite sides is 9.
- D10: 10 sided dice, the shape of a kite. The two sharp corners of the dice are where the top and bottom points of the kite meet. This dice is usually numbered from 0 to 9, which will give you a total sum of 9 on opposite faces. But if numbered from 1 to 10, The total when adding the numbers on opposite sides is 11. Usually, all the odd numbers on the faces meet on one side by a point and even numbers meet on the opposite point surfaces.
- D00: 10 sided dice, referred to as a Percentile Dice, as the result is calculated as a percentage of 100. This type of dice is usually used in pairs where one die is numbered from 0 to 9 and the other from 0 to 100 in divisions of 10. To differentiate between them, they are supplied in two different colors and are used mainly for roleplaying games.
- D12: 12 sided dice, each face is in the shape of a pentagon. The total when adding the numbers on opposite sides is 13.
- D20: 20 faces each in the shape of an equilateral triangle and is numbered from 0 to 9 twice or from 1 to 20. The total sum of numbers on opposite sides is 21.
- There is also a D100 golf ball size and shape dice, also known as a Bescon Polyhedral Dice. The dice has 100 small flat numbered surfaces but is seen more as novelty dice.
Needed Materials
Before you start with this project, it is advisable to get all your materials ready. Having everything prepared will prevent you from running around halfway through the project looking for materials you need.
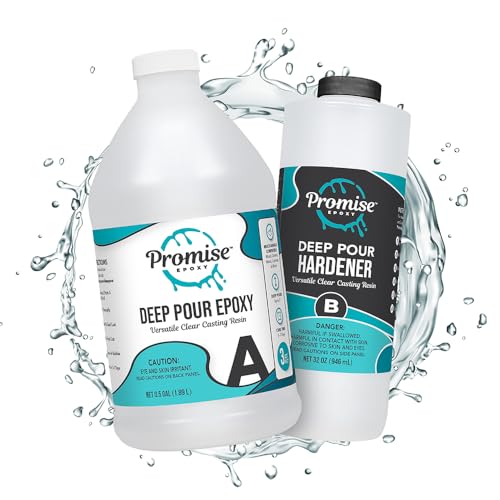
Best Resin for Dice – INCREDIBLE SOLUTIONS Deep Pour
Incredible Solutions offers high-quality products for deeper pours that produces crystal clear dice. It also works if you would like to color the resin to produce colored dices. The curing time is relatively long, but because of the slower curing, less heat is produced and therefore you will get better results.
- Custom formula causes minimal bubbles and avoids craters
- Epoxy when used and cured correctly it is safe with a low odor
- Mixes well with mica pigment powders and cures crystal clear
Best Dice Mold Set for Resin
Dice molds are available in different sizes and different shapes. If you are new to Dice making, we suggest starting with a Dice Mold Set from Funshowcase. That way you are covered with D4, D6, D8, D10, D12, D20, D24 molds in different sizes and have a lot of possibilities to pour your dices. This Dice Set offers good quality for a good price and you can try out all the techniques.
- Polyhedral mirror finished dices epoxy casting molds
- Multifaceted 3D dice silicone trays set. For role playing games, board games, table games, casino theme party favors and much more
- Transparent soft rubber tray, easy to unmold, gloss finish
Other materials
What materials you will need:
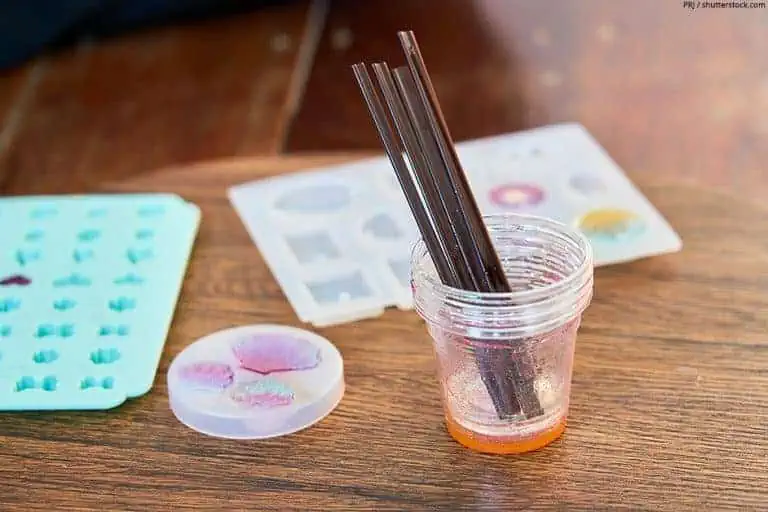
- The first thing you will need is a mold, you will have to decide if you are going to make your dice using a bought mold or if you are going to make your mold.
- Two disposable mixing cups
- Wooden spoon or another utensil for mixing
- Mold release agent to get the Resin out of the mold easier
- Toothpick, which is used for opening the hole in the mold. This allows the resin to flow into it, as well as to remove any air bubbles after you have poured your resin.
- You can use alcohol inks or mica powders. This gives your dice color or a glittery appearance.
How to make Resin Dice using bought Dice Molds
Preparation
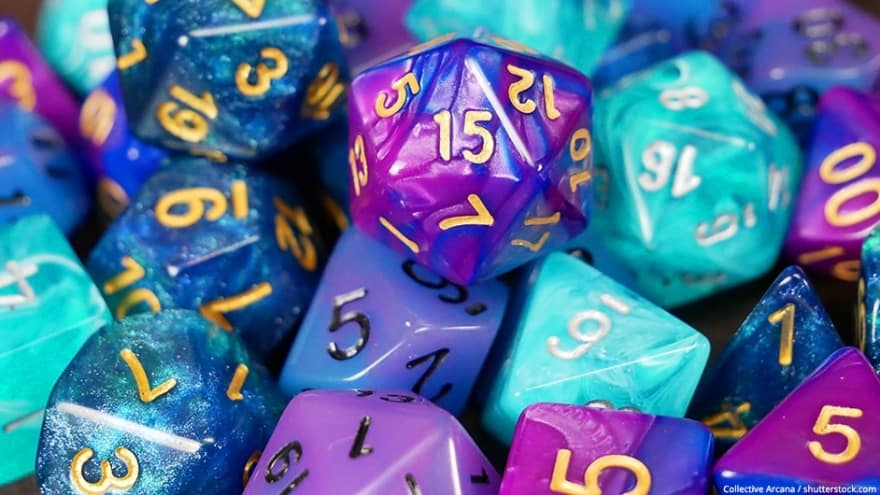
How to make your dice? Prepare your workplace making sure that you have a clear working area to avoid making a mess with your resin. Apart from getting all your materials ready, you will also have to decide what type of dice you want to make.
Once you have made this decision, you can purchase the mold for your choice of dice. Some suggestions where you can find them online include:
- Etsy
- Amazon
- AliExpress
It is important to buy good quality molds, the cheaper mold castings might not turn out as you expect.
Mixing the Resin
How to make polyhedral resin dice? All the standard resin molds available are listed above and are all polyhedral dice, which means a dice that has multiple flat surfaces, all equal in size. There is a choice of resins available on the market. You will have to try them out to find out which one works best for you. For example, you can try EasyCast Resin or Art Resin.
Follow the instructions on the package, this ensures you only mix the quantity you need for your project. Pour your two-part resin into the disposable cups and mix using the spoon or other mixing tool.
The disposable mixing cups do not need to be expensive; you can make use of a medicine cup or use a paper cup. If you intend to make more than one dice at the same time, you will need to have the same amount of mixing cups available. The mixing spoon or utensil can be anything you have in your kitchen, as it can easily be cleaned after you have finished using it.
Mix the resin thoroughly and position your mold in such a way that when you pour it, the air does not get trapped in any of the depressions. Make use of a toothpick to help direct the resin into the hole. Once you have poured the resin into your mold, set it aside and allow to cure. Remember, the resin may have a strong odor, so make use of a respirator and work in a well-ventilated area.
Adding Glitter or embedded Items
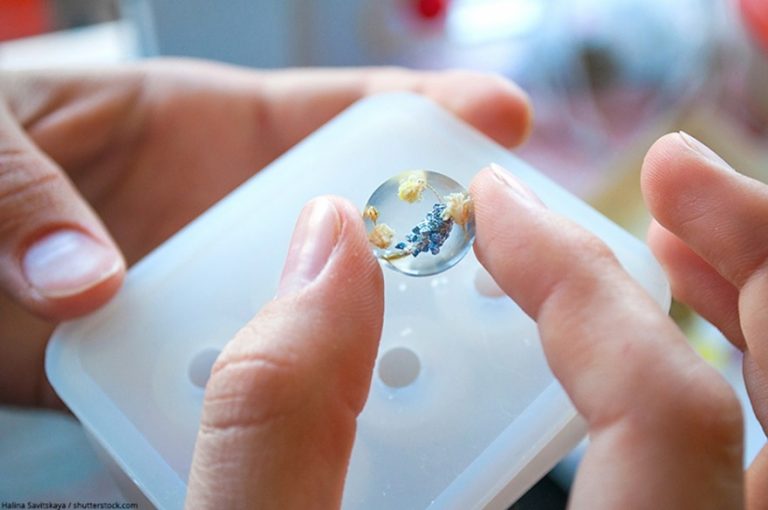
Before you pour your resin, you must decide if you want to leave your dice clear or do you want to add something extra? You could add alcohol inks or mica powders to give your dice color. If you fancy glittery things, you could add some glitter to the resin. Remember, to always mix thoroughly before pouring. You could even embed a small figure or item to make the dice more personal.
Examples of objects to embed:
- Small bracelet charms
- Paper
- Beads
- Plastic items
Let it cure
Allow the resin to cure, which should take about 24 hours before you can handle the mold. A good test to see if your resin has cured properly is to check if it is hard and smooth to the touch. Depending on your resin, it could take 48 hours up to 72 hours for slow curing resin. If it is wet and sticky, your resin has not cured properly. This could be due to incorrect mixing of your resin or something that you added caused the resin not to cure correctly.
Demold your Dice
Once the resin has cured fully, you are ready to start demolding your dice casting. Remember, if it has not cured properly, it will still be sticky. If this is the case, you can put the dice casting into your freezer overnight and if the stickiness is gone by morning, your project is a success.
However, if it remains sticky, you have no other choice but to throw it away and make a new one. Be careful when you de-mold your dice so that you do not tear the silicone mold. You will not be able to use it again if you do.
Polishing and Finishing Touches
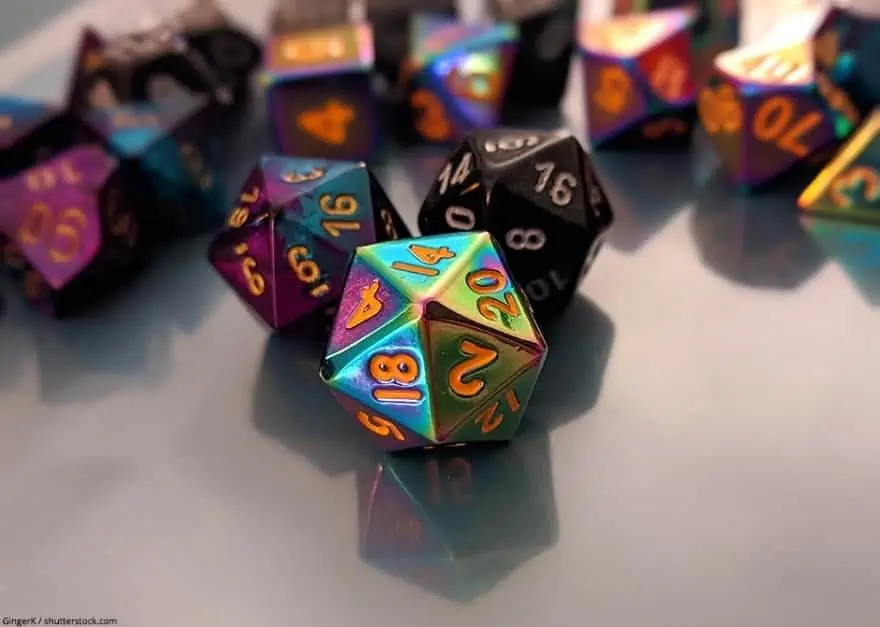
After you have successfully removed the dice casting from the mold, you may see a small amount of extra material still left along the edges of the dice. This extra material is called sprue and if you find this, it is a good sign. This means the polyhedral dice resin shrinks slightly while curing and your end product has perfectly formed.
If you fail to remove the sprue, you will soon discover that the dice cannot roll properly. Remove the sprue by making use of a utility knife or other sharp instrument. Your dice will still look slightly rough in that area, but you can use fine-grit sandpaper to sand it down until it is smooth.
We suggest using a P150-grit to start with. Sand your dice but be careful not to remove too much of the resin in the process. You need to continue with sanding, next using a P180-grit and then move on to a P220-grit. Continue with a P240-grit and so on until you are satisfied your dice is thoroughly clean and smooth.
To accomplish this type of finish, you will need to go all the way up to P3000 grit sandpaper, which will bring you to the final finish. To keep the dust to a minimum, you can use water between each sanding.
At this stage, although your dice is nice and smooth, it might still have a cloudy look. This is where you polish your dice, using a microfiber cloth and resin polish. You will then have a perfectly shiny finished product, which is ready to use. When using a polish, such as Headlight Cleaning Polish, make sure to follow the instruction printed on the bottle.
How to make your own Dice Molds?
First, you will need an original or master dice. Read further to discover how to make your own dice mold.
Preparation
Prepare the area where you want to work and make sure there is nothing that will hinder your process. Next, you need to decide if you are going to make a 1-part or a 2-part mold for pouring purposes. For this article, we will be concentrating on a 1-part mold. If you want to dive deeper into mold making, also check out our mold making tutorial.
Instead of having one side open, the whole mold is sealed off. You will have an opening where you will pour the resin in when making your resin dice. You will have to have an original or a master dice, which can be an old dice you do not mind pouring silicone over.
Materials needed
- Master or original dice
- Silicone resin material
- Cups or containers to place the original into
- Cups or containers to mix your silicone in
- Mixing spoon or tool
- Plasticine or clay
- Gloves to protect your hands
- Goggles to protect your eyes when pouring, as well as when sanding.
Molding Material
You can use silicone rubber for your mold. Some advantages of silicone rubber include:
- Silicone rubber is strong
- It is soft and flexible
- Serves as a releasing agent, allowing you to release your product easily.
- The silicone is non-toxic and harmless, it is used for baking molds and baby pacifiers.
- You can re-use it.
There are various products of silicone available such as Alumilite High Strength 3 or Smooth-On Sorta Clear.
Mixing and pouring the Silicone
Take your master or original dice and heat the tip of an ordinary pin with the flame from a candle, then push the heated pin into one of the sharp corners of your master dice. Next, take your cup or container and put a small piece of plasticine or clay at the bottom of the cup. Place the tip of your master dice onto the clay. Ensure that the container you use is not too big, otherwise, you will waste silicone.
Next, mix the correct amount of silicone you need in your mixing cups. Make sure to follow the instructions on the packaging, as not all types of silicone have the same curing ratio and times. Pour the silicone into the cup over the positioned master dice, ensuring that it completely covers it.
Continue to pour until your silicone is about 5 mm above the dice in the cup. To complete this process, you need to remove any air bubbles that have been formed by lightly tapping the cup, which releases the air bubbles. Allow the silicone to dry, which should take about 24 hours. Remove your mold from the cup, you are now ready to go and make the resin dice of your choice.
If you are still uncertain about what to do and how to go about making your own dice mold, then follow our tutorial of How to make a silicone mold for resin?
Inspiration for your own Resin Dice
Let your imagination be your guide, use the information in this article and make resin dice for your family, friends, or yourself. Great for all dice and game fanatics. Some ideas you can use include:
- Embed objects to personalize or customize your dice.
- Make resin dice for birthdays, weddings, baby showers or newborn babies.
- You can make resin dice for your colleagues at work.
- Create your own game with your very own DIY dice
Anything is possible, just let your imagination run wild. You will be surprised at what you are capable of.
In 2005, Charlene completed her wellness degrees in therapeutic aromatherapy and reflexology at the International School of Reflexology and Meridian Therapy. She worked for a company offering corporate wellness programs for several years before opening her own therapy practice. In 2015, she was asked by a digital marketer friend to join her company as a content creator, and it was here that she discovered her enthusiasm for writing. Since entering the world of content creation, she has gained a lot of experience over the years writing about various topics such as beauty, health, wellness, travel, crafting, and much more. Due to various circumstances, she had to give up her therapy practice and now works as a freelance writer. Since she is a very creative person and as a balance to writing likes to be active in various areas of art and crafts, the activity at acrylgiessen.com is perfect for her to contribute their knowledge and experience in various creative topics.
Learn more about Charlene Lewis and about us.
