How to Get Bubbles Out of Resin? – Epoxy Bubble Buster
This post may contain affiliate links. We may earn a small commission from purchases made through them, at no additional cost to you.
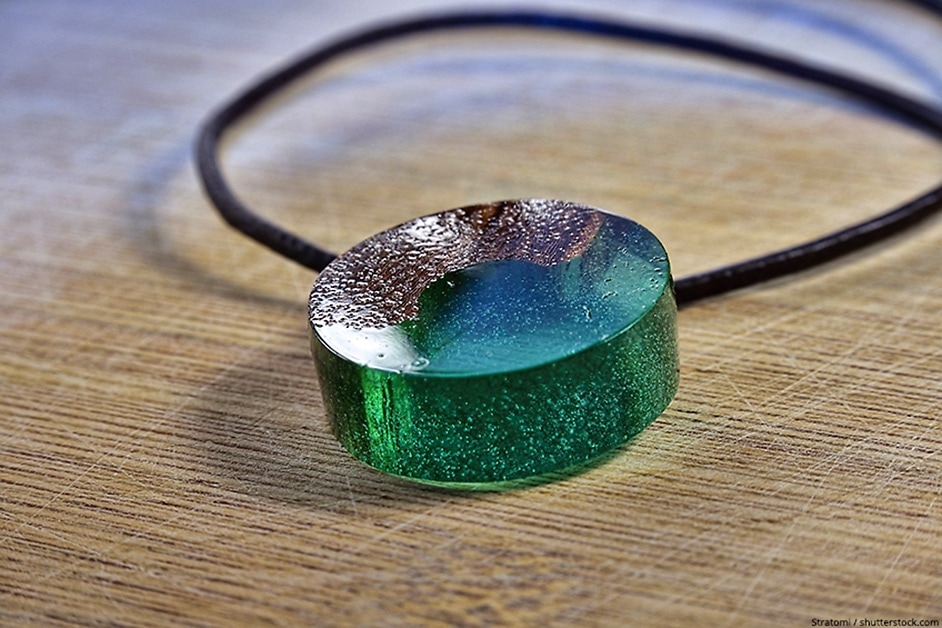
Resin casting is a fun activity that anyone can enjoy. It is relatively inexpensive, offers hours of fun regardless of what your age is, and your patience is rewarded with awesome resin creations that can be used to brighten up just about any space you can think of. This being said, it can be disappointing to find those little bubbles in your otherwise perfectly cured resin creation, but what are they? How are they formed? How does one get rid of them? Let’s have a closer look at these bubbles and how you can ensure that your next casting is devoid of any and all bubble-related imperfections.
How Are Resin Bubbles Formed?
It’s a great feeling getting your hands on a fresh set of resin and hardener, especially when your mind races about which mold to use what else you could add to the resin to spice it up a bit. You can picture yourself slipping your new casting out of the mold once it’s cured and feel yourself holding your new creation in your hand, but what if things went differently? What if you removed your casting from its mold but instead of the smooth seamless aesthetic finish you have a casting riddled with little bubbles on the inside? This can be extremely annoying especially when you have been extra careful to pour your resin into the mold slowly, and if your workpiece is dense, it can be impossible to remove these little bubbles especially if they are in the center of the mass.
If you have ever worked with resin, it pretty much goes without saying that seeing these tiny bubbles can be annoying and demoralizing (especially when your project is time-sensitive), but have you ever wondered how these little bubbles are formed? It’s actually pretty simple, bubbles are formed when the surface temperature of a given body of liquid is inconsistent throughout the area it occupies, or when air is being trapped and the surface tension of a given liquid is not enough to collapse these little air pockets. Put simply, the air becoming trapped in the mixture facilitates its presence during the curing process but is still unable to collapse once it has fully cured and/or set. Knowing how these bubbles are formed is all well and good but it doesn’t solve your immediate problem of them existing in your workpiece, so how do you collapse these air bubbles?
Well, with a soap bubble, you could simply pop them with your hand or a moderately pointy object, but unless you’re at peace with puncturing your freshly minted casting we don’t recommend doing this. There are a few techniques you could use to get around this issue so let’s have a look at some of them and how they work in practice.
How to Get Bubbles Out of Resin?
If you are wondering how to get bubbles out of resin, there are few ways you could go about this. Some are easier to do than others, but all of them will ultimately provide you with a seamless workpiece devoid of air bubbles ruining your aesthetic. Remember that these techniques cannot be applied retroactively to fully cured resin, but they can be used for your next project. Let’s have a look at how to get bubbles out of resin efficiently.

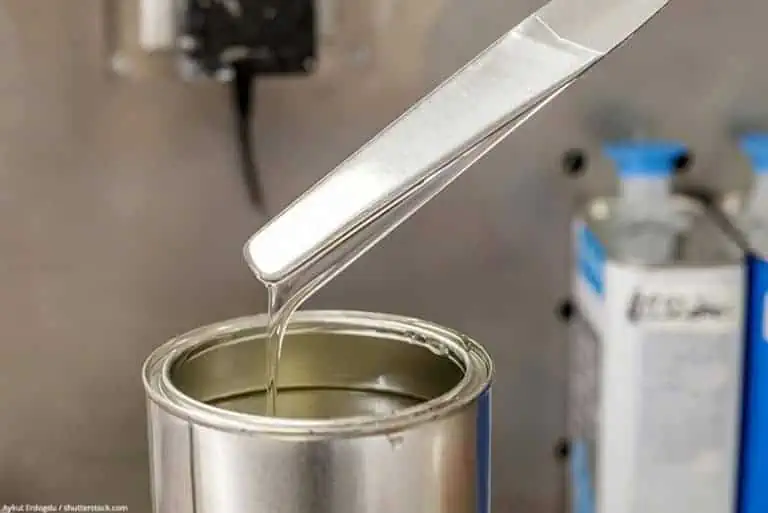
Warm Your Resin
This might not be the quickest way to go about it, but we have decided to list it first because it is the safest way to go about removing bubbles from resin without damaging your workpiece. Resin is a complex, yet staggeringly simple material that is quite susceptible to direct heat. When we say direct heat, we mean an exposed flame or element, but ambient heat or rather a warmth manipulates the chemical composition of resin less drastically and therefore allows it to retain its form far more easily than direct heat does.
This being said, an easy way to remove imperfections from resin is to simply submerge both the resin and hardener in hot/warm water before you use them. This process is known as degassing which is simply the practice of altering the viscosity of a liquid to ensure that any air present in the normally thick substance rises to the surface in the form of bubbles and they pop!

Using a Lighter
If you were wondering how to remove bubbles from dried epoxy the best way to do so is with a lighter. Previously we mentioned that using direct heat on a resin surface can cause some malleability on the surface of your workpiece, so we recommend only using this method if you don’t mind waiting a really long time for the workpiece to regain its shape retention.
Essentially what you will be doing is heating up the surface of the resin, which also happens to be in contact with the air bubbles since they are trapped inside, this causes the air molecules in the bubbles to expand and pop once the temperature is sufficient. Although your resin won’t get hot enough to burn you during this process, we do recommend using some tongs or simply setting your workpiece down on some wood while using a long end lighter (like the ones used to light candles or gas stoves) for this exercise.
The aforementioned is the good news, the bad news? You will have to wait for your resin and hardener to be reset before it will be anywhere near usable in the future. This process can take anywhere between a few weeks to three months depending on the type of resin you have chosen to use, so if your project is time-sensitive, we recommend taking the more direct approach of warming your resin well before you start the casting process.
Lastly, you should know that if you happen to be using a resin that creates a sheen/smooth finish, applying direct heat to the surface will cause it to lose this texture more or less permanently. Taking the above-mentioned into account, the answer to the question “how to remove bubbles from dried epoxy” is a tedious exercise, therefore you should ensure that you have prepared your resin and hardener well before you attempt casting.

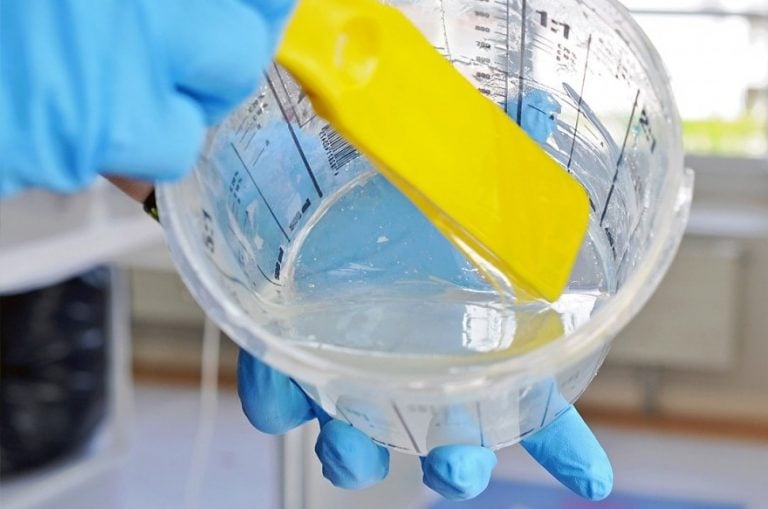
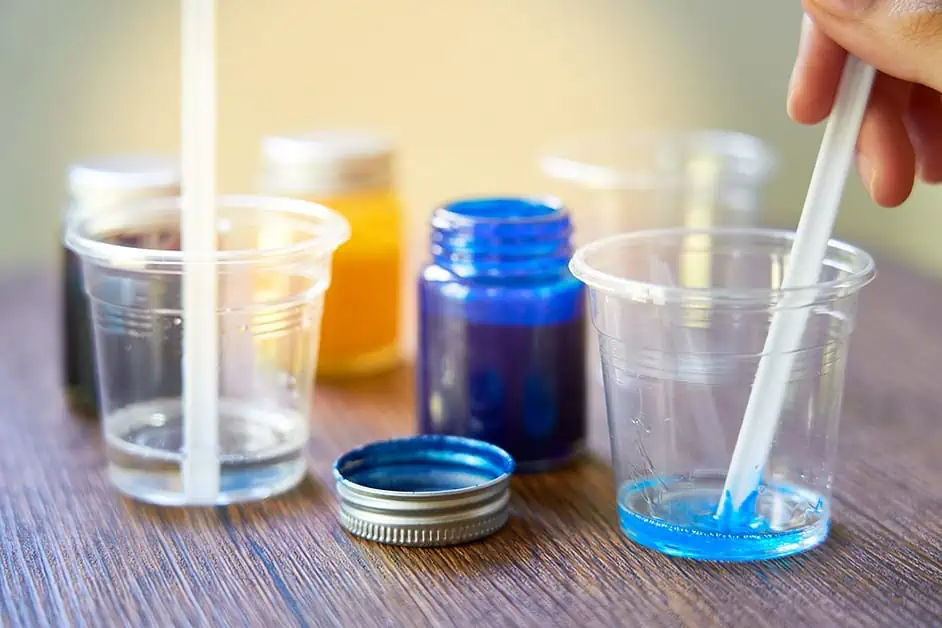
Mix Your Resin and Hardener Together Well
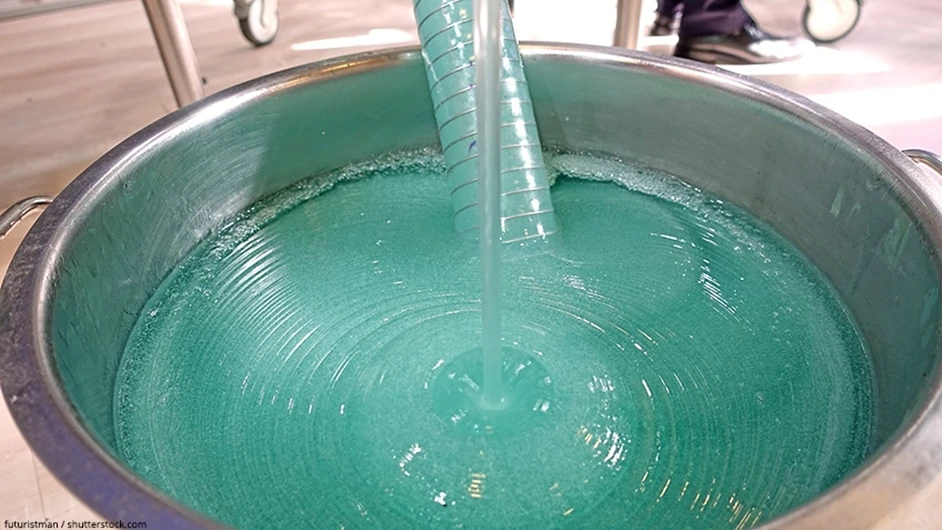
Okay, this one might seem a bit silly considering that you have to mix them together in an exact ratio for the resin to be even remotely usable but hear us out. If you have ever made scrambled eggs, you know that using a fork or a whisk will result in bubbles forming on the surface of the egg mixture, this is exactly what happens when you mix resin together with hardener too quickly.
Knowing this, instead of “whisking” the two parts together, you should try using your mixing stick in folding motion and allow the two substances (resin and hardener) to join together slowly so that no air becomes trapped in the resulting mixture. This method also ensures that any existing air bubbles that were created when you initially mixed the two parts together are collapsed under the folding motion, which means that the name of the game is patience when working with resin (if you want it to be bubble-free).
Warm Up Your Mold
This is one of the rather older techniques that ensures your resin does not stick to your mold, but it also helps to ensure that you do not have any unexpected bubbles form once you pour your resin into your mold. The principle is simple, by ensuring that both your resin and your mold are warm you are ensuring that there’s no difference in surface temperature, which will ensure that no surface tension is created and therefore no bubbles. You should always be careful when you are heating your molds, remember that molds are made of a variety of materials that can react differently to heat, especially depending on the manner in which heat is applied.
Depending on the materials that your mold is made out of you could simply place it in the microwave for a few seconds, or (as we recommend) submerge the mold in warm water for a few minutes. It should not take long for homemade or store-bought molds to warm up sufficiently for the casting process and you can rest assured that your castings won’t contain any surface bubbles.
Pour Your Resin in Layers
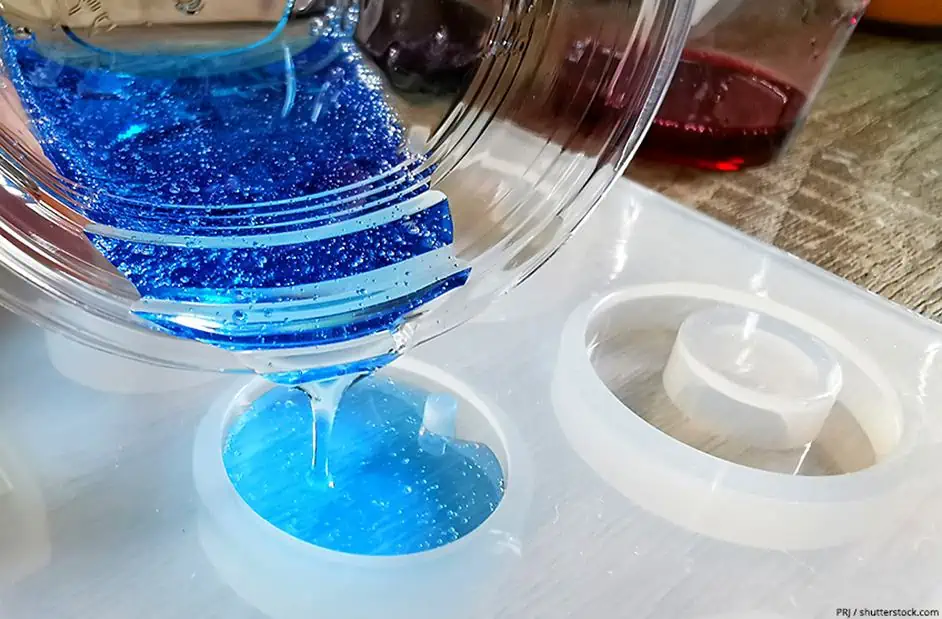
This is a combination of mold preparation pouring techniques used to reduce bubbles in your final casting. Most of the time bubbles are formed in resin when the resin is poured into the mold. Why? Resins have a fairly thick consistency and if it is poured into a mold too fast, air can easily be trapped in the mixture which then becomes a permanent part of your casting once the resin has cured completely. Always ensure that you pour your resin slowly, and if you really want to make sure that you have little to no bubbles in your casting, pour your resin into layers.
This might seem a bit excessive, but it works really well, simply pour a small amount of resin into the mold (enough to create a thin layer on the surface of the mold) and then allow it to set. This should only take a few minutes (do not allow the layer to dry completely), then simply pour in the rest of the resin and ensure it bonds to the initial layer you poured. This ensures that there is not enough resin initially to create bubbles in the mold, and once you pour the rest of the resin into the mold you are essentially pouring resin on top of itself.
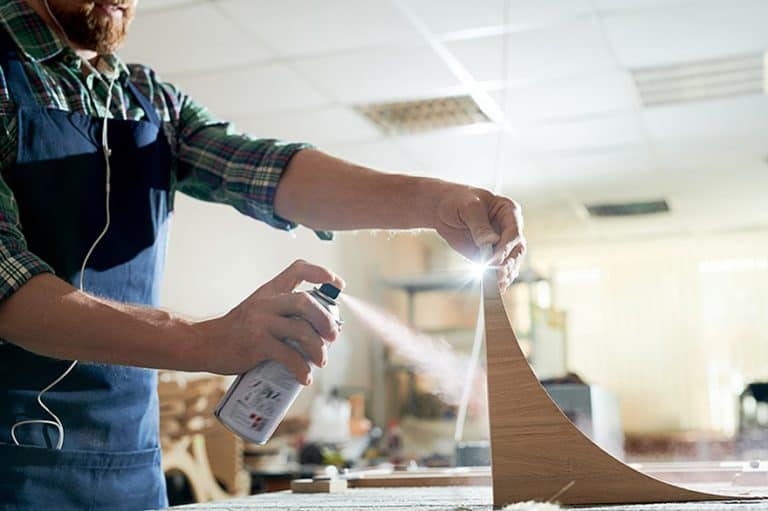
Use Epoxy Bubble Buster
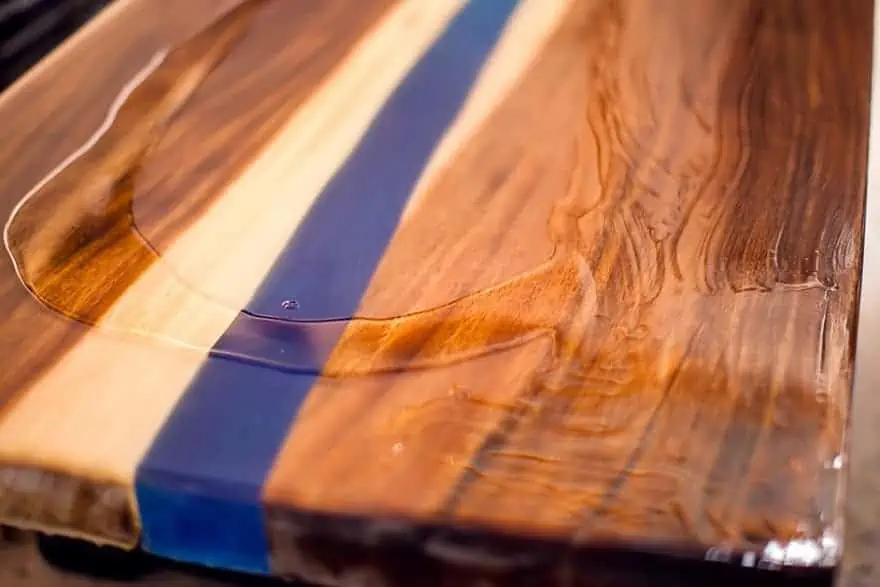
Using an Epoxy bubble buster is one of the easiest ways to get rid of bubbles in your resin. It was designed to assist with the use of tabletop pouring resin. The formula is sold in a little spray bottle that you would spray on top of the resin surface you have created, eliminating lots of the visible bubbles on your new tabletop. The downside of this product is that it does not allow you to tackle bubbles below the surface of the resin, allowing you to only remove the bubbles present on the few surface layers on resin when pouring for a tabletop. It is recommended that you use this product once your final layer has been poured for optimum results and that you do not spray this on the resin between layers to avoid complications in the curing process.
This product is perfect if you don’t have a heat gun available for the finishing touches on your workpiece and is relatively inexpensive compared to other methods, it also causes less damage and will not warp your workpiece in any way.
Use a Heat Gun
Using a heat gun for resin bubble removal is arguably the best way to go about the entire exercise. A heat gun can be purchased at most craft stores or online retailers like Amazon for roughly $10.00 if you are looking for a basic device. This device is used when your resin and your hardener have been mixed together, simply turn the heat gun on and pass it over the resin at a medium distance while you watch all of those annoying air bubbles disappear. As we mentioned previously, the heat causes the little bits of air in the bubbles to expand and pop, leaving your resin nice and clear for pouring into your mold.
If you are still unable to get rid of all the air bubbles once your resin has been poured into the mold you have chosen, try using a toothpick to bring all of the bubbles to the surface of the resin so they pop. Using a heat gun for resin bubble removal is quite easy, but you should ensure that you maintain a good distance from the container the resin is in, especially if you are working with a plastic container.
Now that you know how to fix epoxy bubbles, what causes the creation of bubbles in the resin, how to remove bubbles from resin, how to fix epoxy bubbles with a heat gun, and how to use an epoxy bubble buster, it’s time for you to go out and put your newfound knowledge to the test. Remember that resin can be messy to work with so always wear a set of gloves and a face mask when working with it.

Frequently Asked Questions
How Do You Get Bubbles Out of Resin Without a Heat Gun?
You have several options available if you don’t have access to a heat gun. Some of the most common practices are to use a straw and blow into your resin to dissipate the air bubbles, another is to use a wooden toothpick to raise the bubbles to the surface where they pop, or you could use a bubble buster solution if your bubbles are on the surface of your workpiece.
How Do You Fix Bubbles in Epoxy Resin?
If you don’t mind waiting a while for your resin to reset, the quickest way to get rid of bubbles once your resin has cured is with a lighter or butane torch. Your lighter should make contact with the surface for no more than a second at the tame or you will risk damaging your workpiece. The bubbles should disappear quickly.
How Do I Stop Resin Bubbles?
Strangely enough, the same technique that most of us use to stop castings from sticking to the inside of molds can be used to ensure that no bubbles form inside the mold once your resin has been poured. Popping some baby powder into the mold and patting it down before your resin is poured will minimize the probability of bubbles forming significantly.

In 2005, Charlene completed her wellness degrees in therapeutic aromatherapy and reflexology at the International School of Reflexology and Meridian Therapy. She worked for a company offering corporate wellness programs for several years before opening her own therapy practice. In 2015, she was asked by a digital marketer friend to join her company as a content creator, and it was here that she discovered her enthusiasm for writing. Since entering the world of content creation, she has gained a lot of experience over the years writing about various topics such as beauty, health, wellness, travel, crafting, and much more. Due to various circumstances, she had to give up her therapy practice and now works as a freelance writer. Since she is a very creative person and as a balance to writing likes to be active in various areas of art and crafts, the activity at acrylgiessen.com is perfect for her to contribute their knowledge and experience in various creative topics.
Learn more about Charlene Lewis and about us.