Pottery Painting Ideas – The Basic Concepts of Pottery Painting
This post may contain affiliate links. We may earn a small commission from purchases made through them, at no additional cost to you.
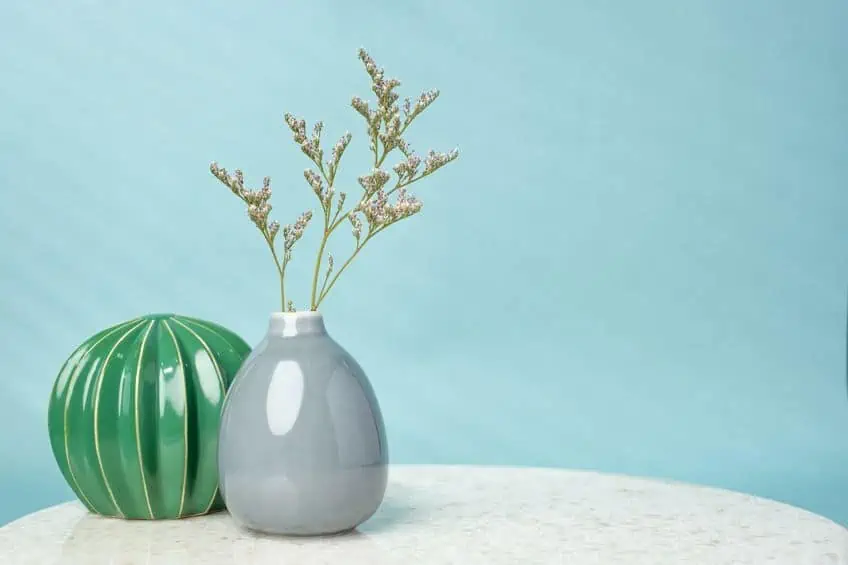
For many, having a kiln and pottery wheel to create their own pottery designs at home can be impractical and expensive. Painting your own pottery can bring store-bought ceramics to life and turn them into personal one-of-a-kind pieces or give something you love a second life. If you are looking for a three-dimensional canvas, pottery painting does not need many materials but provides hours of fun. We have compiled a list of simple but aesthetically pleasing pottery painting ideas to inspire your next project.
Basics of Pottery Painting
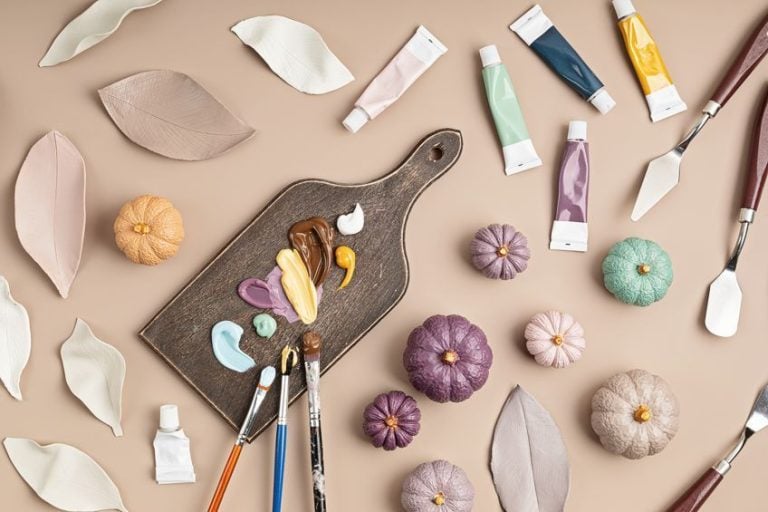
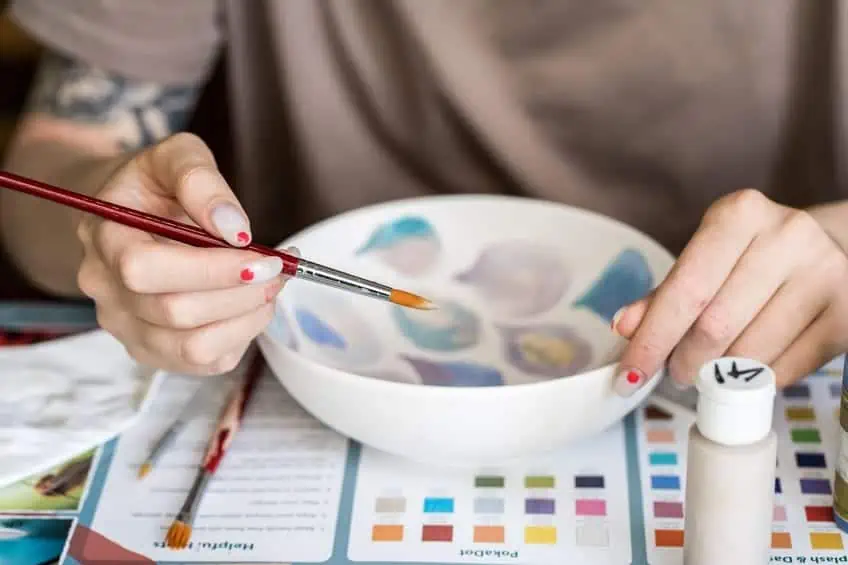
Before we delve into our pottery painting ideas it is important to consider some of the basics of painting pottery. Aside from something to paint, you will need different tools such as paint brushes or sponges in different shapes and sizes to paint with. You can also use other more unusual tools such as trowels, toothbrushes, elastic bands, or even your own fingers.
You may also need a palate for color mixing and, of course, some suitable paints. Although you can paint your own pottery with almost any paint, even nail polish, each type of paint has a different effect, application, or finish so the type of paint you use will depend on how you want the finished project to look or what you want to use it for. Almost all liquid paints such as enamel, acrylic, paint pens, or even nail polish paint can be used, however, some pottery paints such as glazes can only be used before firing the object.
Firing is when high temperatures are used to turn raw clay into ceramic, usually in a special oven called a kiln. The most common types of firing are glaze firing and bisque firing. Bisque firing is also known as the first firing. This process hardens the clay so it can still be painted, glazed, or polished, but leaves it porous. Glaze firing involves melting glass particles onto the piece either as stains for decoration or waterproofing. Glaze stains can be done with a sponge to create a wash or paint brushes for more detailed work. Oxides are another way to color pottery before firing.
Oxides come in powder form in many different bold colors and can be mixed with water and applied to bisque-fired pottery.
Things to Consider When Painting on Pottery
There are many factors that can affect your pottery painting projects as well as the look of the final piece. Characteristics such as the finish of your pottery surface, the color, how long you want it to last as well as what you will be using it for once it has been completed can all have an impact.
Glazed vs. Unglazed Pottery
How you paint your own pottery largely depends on if it is glazed or unglazed. The surface of unglazed pottery can usually be painted directly, and your designs tend to last longer than painting on glazed pottery surfaces. For example, terracotta pots can be painted to add your own personal flair to the simple pots. Because they are unglazed, terracotta pots are porous so any water that you use to water your plants will seep through and harm your painted pottery designs on the outside. Before painting them, be sure to wash terracotta pots, to remove dirt and dust, and allow them to dry completely before sealing the inside of them with a clay pot sealer to prevent water damage.
Glazed pottery requires a little preparation before you can paint them if you want your designs to last. Before you paint glazed pottery, you will need to lightly sand the surface to remove some of the protective glaze and create a rough surface onto which your paint can adhere.
Pottery Color
Unless you want to include the original color of your pottery in your piece, it could be a good idea to prime your pottery with a base coat of white or black paint. This will not only create an even blank canvas for your work but also make the paint easier to apply and long-lasting. Once the base coat has dried, you can then sketch out or stencil your design in pencil and use your paint to fill it in. Work with one color at a time and let each color dry before adding the next one.
How Your Piece Will Be Used
It is important to remember that, although acrylic paints and sealers are considered non-toxic, they are not food safe. You should only use them on surfaces that do not come into direct contact with food such as the underside of plates and half an inch away from the rim of mugs. There are special food-safe ceramic paints that can be used on surfaces that come into direct contact with food. These paints can also be glaze fired to properly seal them and protect them from dishwashers and scraping knives and forks. Acid-resistant glazes that are food-safe not only last longer but are also free from harmful chemicals.
If you do not want to get your own paint, there are many ceramic painting kits available that include all the tools you will need to paint your own pottery. Some kits even come with unglazed mugs or fun figurines to paint such as garden gnomes or money banks.
Longevity of Your Piece
If you want your painting designs to last, you should seal your pottery projects. Sealants protect your project from dust, water, and chipping. A clear acrylic sealant is the easiest choice for pottery and opting for a spray ensures a more even application. Acrylic sealants come in a variety of finishes from matte to glossy, which will affect the look of your final product.
Top Pottery Painting Ideas
If you are looking for some inspiration for your own pottery painting projects, we have put together a list of painting ideas for all skill levels to get you started. Try your hand at these pot painting ideas on a multitude of objects around your home.
Easy Pottery Painting Ideas
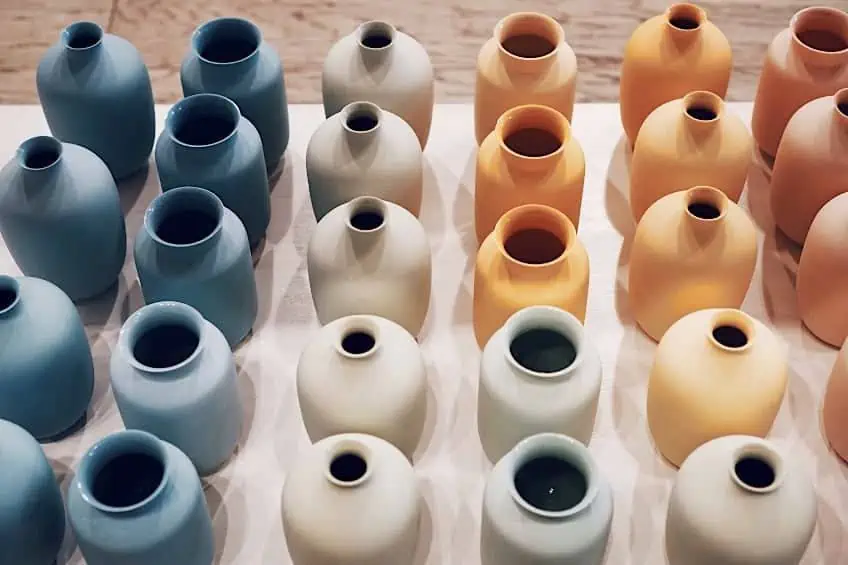
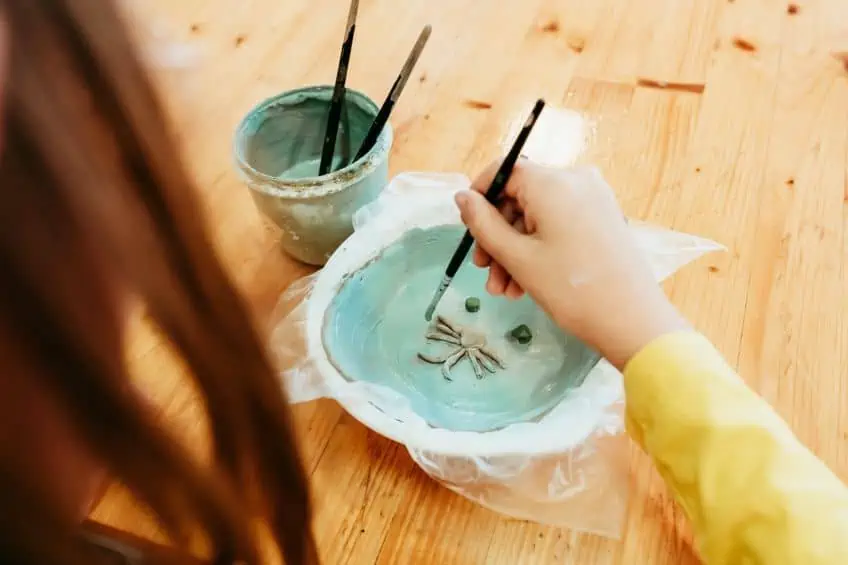
When you are just starting out, painting your own pottery can feel daunting. Using a simple color palette with minimal blending can produce beautiful pieces and is a great way to help you build skill and confidence. We hope to inspire you to have fun and experiment with some of these beginner friendly pottery painting ideas.
Abstract Pottery Painting Ideas
Abstract designs can turn your pottery into art without the pressure of avoiding making mistakes and gives you the freedom to experiment. If you are painting a large piece of pottery, then it is best to keep the design simple by using bands of color or large abstract shapes and patterns. Pops of color can brighten up your day and can be added using basic shapes to create a variety of styles and feelings.
Experiment with various combinations of dots, lines, and shapes of different lengths and colors. They can come together to make up a pattern or even be completely random.
Different paint thicknesses can also be layered on pottery to give your pieces more texture and are especially impactful with monochromatic or ombre designs. You can easily create a marbled look on your piece using nail polish and some warm water. Pour the nail polish onto the surface of the warm water and use a toothpick to gently whirl different colors together. Dip your pottery into the water and slowly lift it out while swirling it around and the nail polish will stick to your pot in a beautiful pattern.
Geometric Pottery Painting Ideas
One of the easiest ways of painting pottery is using simple geometric designs. Geometric patterns can be used on any pottery project from vases to mugs and instantly give them a professional modern feel. Color blocking is a simple yet striking geometric design that resembles a mosaic pattern and all you need is some masking or painter’s tape. On a blank base coat, use your tape to create some geometric shapes on your pottery, and then color each shape in a different hue. Remove the tape once the paint has dried completely and neaten up any edges with a paintbrush.
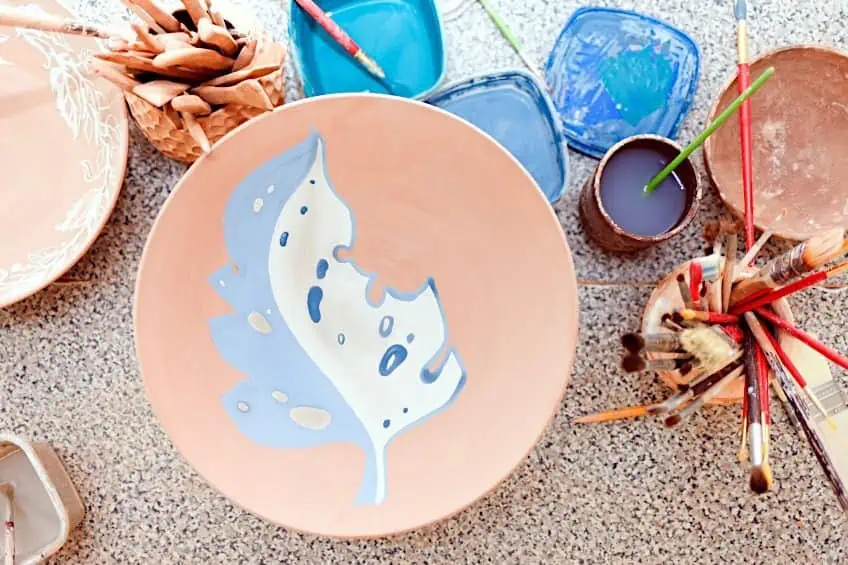
Minimalistic patterns such as strips, polka dots, or herringbone patterns are other designs that anyone can do. For example, a simple leaf pattern can give your terracotta pots a modern feel, and there are a variety of stamps and stencils available making it easy to produce a professional look with very little effort. The trick to making these patterns pop is your choice of colors. Pastels or monochromatic color palettes offer a more subdued look whereas complementary color schemes make the simple patterns more vibrant.
Experiment with using both the inside and outside of your pottery painting designs. Painting the inside of a bowl a solid color while incorporating the color into simplistic patterns on the outside is very effective for crockery on display.
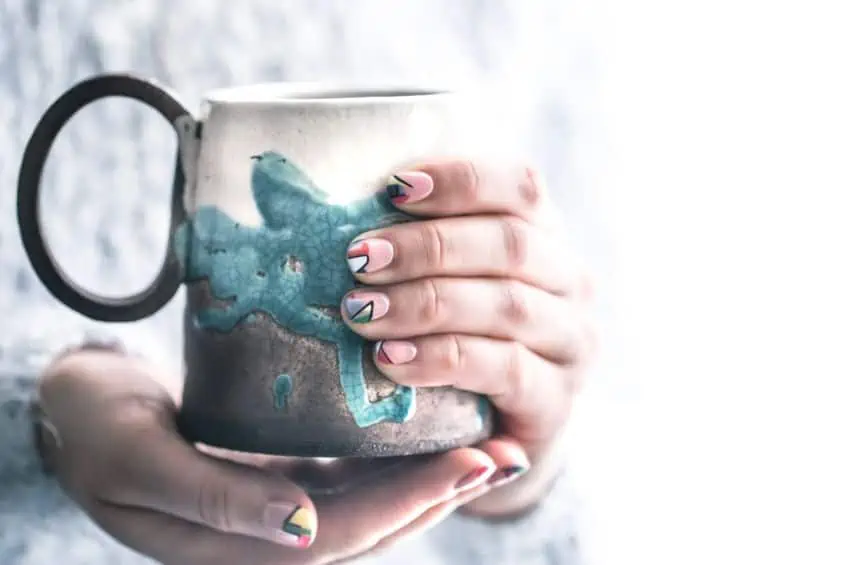
You could also opt to paint only the handles for a more understated look with simple patterns, lines, arrows, or even vines.
Messages on Pottery
Painted pottery messages are a great way to personalize your pottery projects. You can take inspiration from the pointillism art style and use small dots or spirals to add initials to pottery. This fun technique can easily be done with paint pens making it a fun kids’ activity. Gold foil paper can also be used alongside paint to add a metallic element to designs and messages painted on pottery. Both of these make amazing gifts for friends and family.

Painted messages can even be used to label or add some personality to your herb garden. You could add some silly puns onto solid-colored pots or encourage them to grow with some cute words of motivation. Some of our favorite messages are “it’s about thyme” and “cactus makes perfect”. If you cannot decide on a single message for your pots, you can paint them with chalkboard paint and change them as you want.
Simple Pottery Painting Designs
Sometimes the best designs are the simplest. A two-toned pot with each side painted a different color is both simple and intriguing. Alternate rows of dots and lines in different colors or random patterns of simple line art, such as different smiley faces or clouds, make perfect beginner ceramic paint designs for mugs. You can uplift basic pottery and ceramics with modern designs such as minimalist white or black line art or add hints of metallics like copper or gold.
In both cases, the brush strokes themselves can be impactful, for example, try painting a single spiral around the inside of a bowl or plate.
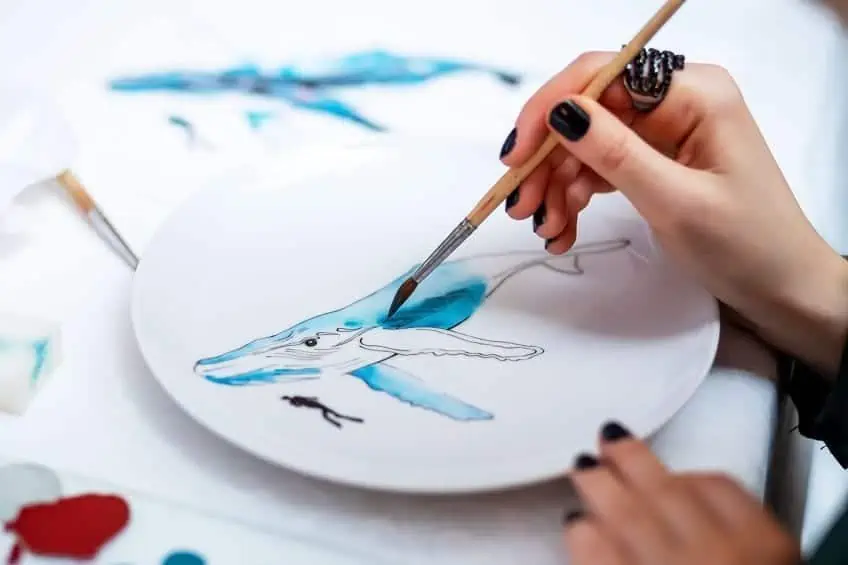
Constellation designs or initials are easy to map out and can add a personal touch for use as gifts, or one could use small drawings to memorialize special dates or events. Plants such as flowers, leaves, fruits, and vegetables are all simple to paint, and playing around with unusual colors or angles can give these familiar images a fresh twist. Mushrooms for example can be basic whites and red for a cottage core aesthetic while bright purples or pinks invoke a fantastical feel.
Tall succulents like Zebra Haworthias can become pineapple leaves on a yellow pot with a brown diagonal design while leafy or unusual plants like spider plants or ponytail palm trees become interesting hairdos with simple eye designs made of two semi-circles and a few lashes. Holiday décor can be especially fun with minimal difficulty as they can be simplified but remain recognizable. Christmas lights can be simple lines with pops of color for bulbs, cobwebs and snowflakes are made up of a few white lines, and some circles with a stem or carrot nose can transform into pumpkins and snowmen.
Landscape Pottery Designs
You can try your hand at some simple landscapes or scenes such as a sunset or sunrise, an ocean, a beach, or even a galaxy. One of the easiest scenes to paint is a forest silhouetted against the night sky. All you need is dark purple, dark blue, white, and black. Paint each color across your pottery horizontally in the order of black, purple, blue, and white. Next, use a sponge to blend the bottom of each color into the next making sure to almost completely cover the white with the blue. Finish the landscape by painting some simple trees in black and you can even use a toothbrush to splatter the white paint to create stars.
If you prefer a more minimalist look, you can create a landscape using two contrasting colors and simple line art. Paint two or three of the main elements of your scene in complementary colors, such as the outline of a mountain range in a dark blue with the sun behind it outlined in a burning orange.
Acrylic Pouring Pottery Painting Ideas
Another method to use to paint your pottery pieces is acrylic pouring. A pouring medium is added to acrylic paint until it has a flowing consistency. Acrylic pouring does not require you to have any painting skills to create complex and beautiful art and there are many acrylic pouring methods that are simple to do on pottery making it great for beginner ceramic paint designs.
The two most popular acrylic pouring methods are acrylic dipping and acrylic dripping. Dipping entails layering paint colors in a container deep enough for your piece to fit and then slowly lowering it into the paint and lifting it out again. This technique creates a marbled or tie-dye look on your pottery pieces depending on the colors used and is perfect for painting ceramic spoons and terracotta pots. Experiment with only dipping one half of the piece or even doing it on a diagonal for a more interesting look. If you are looking for some bowl painting ideas, acrylic dripping looks good on pottery with rims or openings.
Acrylic dripping involves using a spoon or another tool to gently pour the paint down the side of the piece creating a dripping effect. This technique also looks great on vases and mugs.
More Difficult Pot Painting Ideas to Try
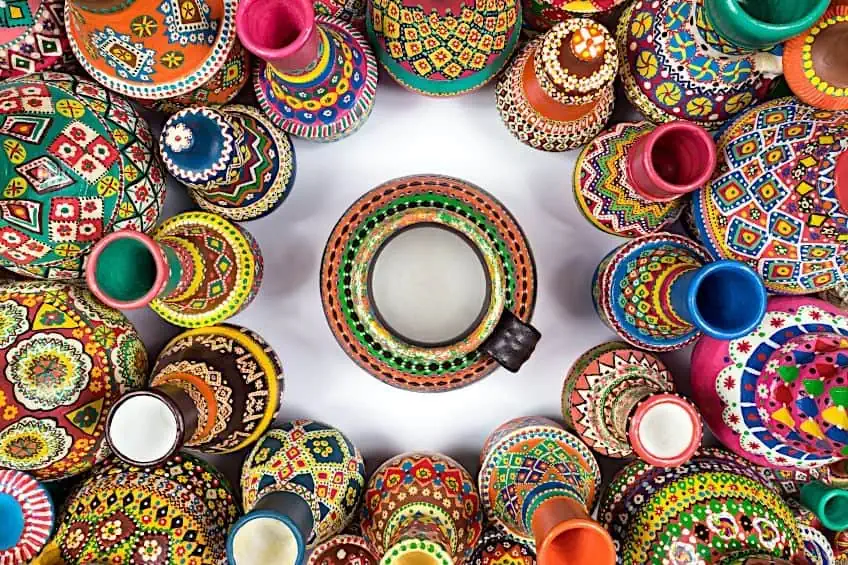
For more advanced painters looking for some ceramic painting ideas, there are many different designs that are great to use on pottery. Japanese painting is a distinct style that is striking and relatively easy with some practice and perfect for painting a cohesive crockery set. Mandala and Ikat patterns are striking and intricate bowl painting ideas. The key to this style is symmetry so it is useful to trace out the design on your pottery with a pencil first.
Feather burning is another fun idea to try, however, it does require some experience and a kiln. After you have bisque fired but before it cools, carefully place feathers onto its surface so that an impression is burnt into it. Once the piece has cooled, blow what remains of the burnt feather away and glaze it.
Unusual Tools for Pottery Painting
There are a variety of tools and materials that you can use in your ceramic painting to enhance your pieces. Many of these tools can be found around your home and make for easy and fun ways to enhance your art in a cost-effective way.
Toothbrushes and Sponges
Toothbrushes and sponges are the most common and can be used to create different effects such as splatters or soft flowers. Different materials such as doilies can also be used as stencils to create a delicate lace effect and glitter or sequin can be layered on top of the paint to give your designs a more playful look.
Rubber Bands
Rubber bands can be used to create unique designs by wrapping them around your pottery, painting over them, and then removing them like masking tape to reveal some cool designs or the base color shining through. You can give an aged or antique look to your pottery using a thin layer of embossing cream and then painting over it with an old cloth or even bubble wrap.
Paper Napkins
Printed napkins can be used to create decoupage terra cotta pots. After painting a base coat of color, apply a thin coat of mod podge and allow it to dry slightly before applying either the whole napkin or only the sections you want. Then, use plastic wrap over the napkins to firmly press them to the pot and to prevent the paper from tearing and ruining the design. Lastly, use a paintbrush dipped in water to easily remove the napkin edges you do not want in your design.
Wait for the mod podge to dry and then seal the decoupaged with a waterproof sealant.
Straws
A straw can make bubbles on your pottery using the bubble-blowing method. To do this, mix together paint, water, and dish soap in a cup and blow the mixture with a straw to create bubbles until it reaches the brim of the cup. Next, tilt the cup over and allow the bubbles to flow out onto your pottery, and allow it to dry.
Do not be scared to mix and match these different methods, the greatest thing about art is that you are only limited by your imagination. We hope we have inspired your next pottery painting project and shown that you can create masterpieces with simple techniques using a little creativity and some fun playing around with different methods, colors, styles, and combinations.
Frequently Asked Questions
Can I Use Acrylic Paint on Pottery?
Acrylic paint is perfect to use on unglazed pottery. Simply clean any dust or dirt from the surface of the pottery and allow it to dry completely before painting. If you are using acrylic paint on terracotta pots, remember to seal the inside of the pot with an acrylic sealant before painting it to ensure that any water poured into the pot does not seep through the terracotta and damage your painted pottery design.
How to Paint on Glazed Pottery?
Because pottery glaze is made from melted glass, you can use glass paint to paint on glazed ceramics. Glass paints come in a variety of colors and finishes and many can be baked to seal them making your designs dishwasher safe. When painting glazed pottery with acrylic paint, lightly sand the surface of the pottery to create a surface for the paint to adhere to better. After you have painted your pottery, remember to seal the designs so that they are protected from the elements.
How to Seal Paint on Pottery?
If you would like to seal your pottery designs so that they are more durable and protected from dirt and dust you will need a sealant. The type of sealant you need will depend on the paint that you used on your piece. Water-based sealants should be used with water-based paints, such as acrylic paint, whereas stronger oil-based sealants should be used with enamel and ceramic paints. When you have finished painting, allow the paint to dry completely, and then coat your piece with a thin layer of sealant. Allow the sealant to dry completely before handling your pottery.

Megan is a writer and researcher who graduated from the University of Cape Town with a degree in Social Sciences, specializing in Psychology and Environmental Science. Her passion for knowledge and leaving a positive impact has fueled her current work in conscious and sustainable growth in Southern Africa. Megan’s love of nature has also led her to train as an animal behaviorist. She works part-time training and rehabilitating dogs. Megan is interested in the physical and psychological effects of colors in our environment on our mood and well-being. In addition, she is concerned with how art and creativity have been an integral part of human society. Megan van Schoor has been writing blog posts on the topics of painting, drawing, and color theory for acrylgiessen since 2021.
Learn more about Megan van Schoor and about us.