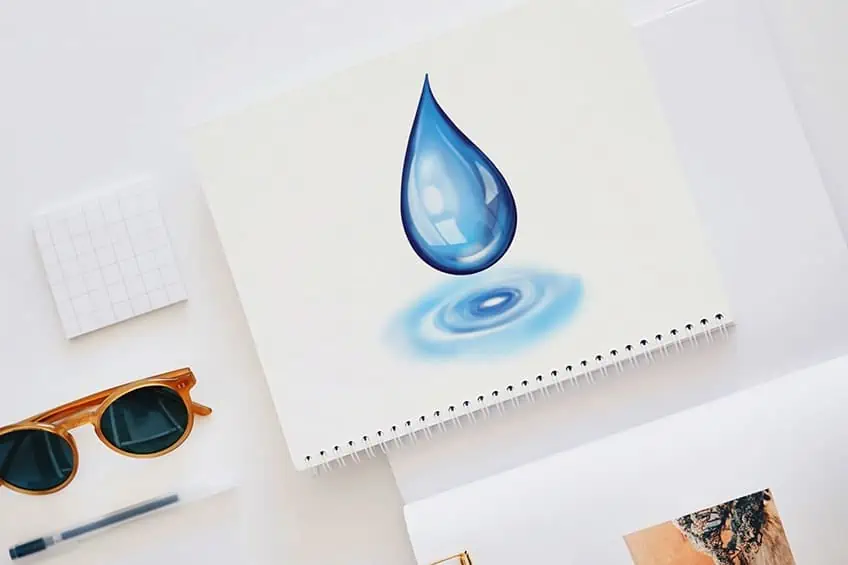
Water Drop Drawing – Learn to Draw Crystal Clear Water
This post may contain affiliate links. We may earn a small commission from purchases made through them, at no additional cost to you.
Water is one of the most fascinating substances on our planet. It is essential for life, covers over 70% of the Earth’s surface, and exists in three states – liquid, solid, and gas. From the depths of the oceans to the frozen poles, water is a powerful force that has shaped our world for millions of years. It can carve out canyons, create thundering waterfalls, and sustain delicate ecosystems. Yet, despite its importance, we often take water for granted. So next time you turn on the tap or dip your toes in the ocean, take a moment to appreciate the remarkable properties of this incredible substance!
How to Draw Water Droplets Step-by-Step
Starting a water drop drawing can be an exciting and rewarding experience. Not only will you create a beautiful piece of art, but you will also develop new skills along the way. Drawing water droplets requires a keen eye for detail, an understanding of light and shadow, and a steady hand to create perfect curves and reflections. As you work on your drawing, you’ll learn to observe the world around you in new ways, noticing the intricacies of how light interacts with different surfaces. You’ll gain confidence in your abilities as you perfect your techniques and see your drawing come to life. And who knows, you may even discover a passion for art that you never knew you had. So don’t be afraid to dive in and start drawing those water droplets. You’ll be amazed at what you can achieve with a little practice and patience.
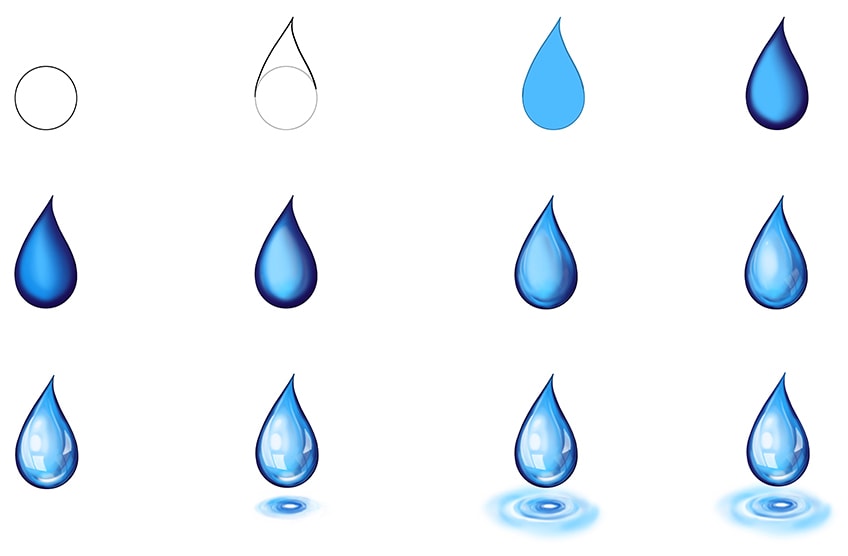
The below water drawing collage demonstrates each step you will take to reach your end goal!
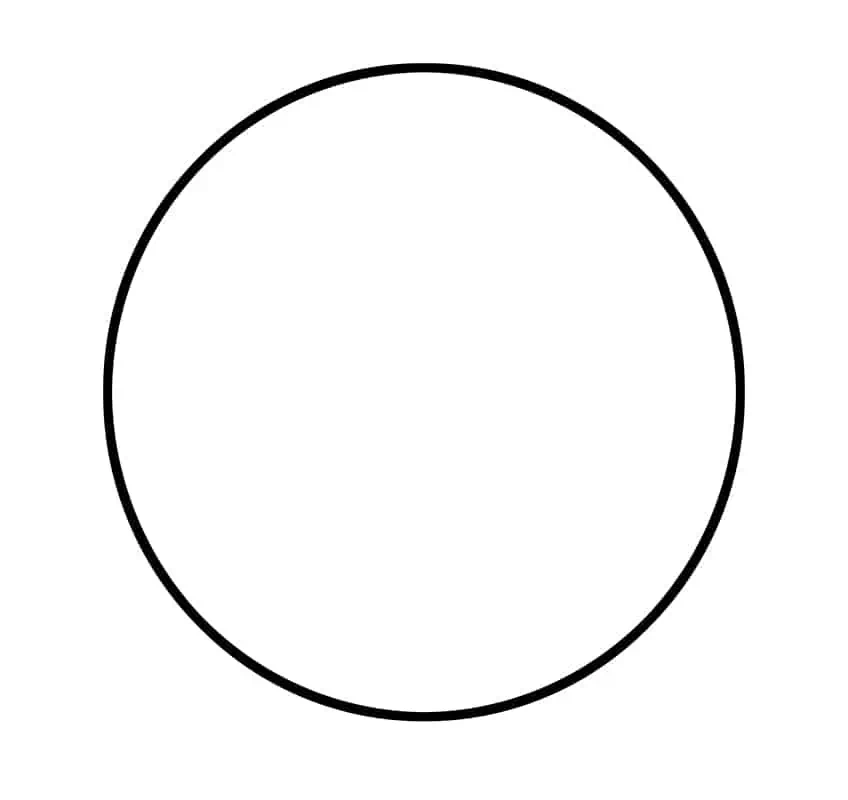
Step 1: Draw the Main Shape of Your Water Drop Sketch
Begin by finding the center of your drawing area, here draw a circle to represent the main shape.
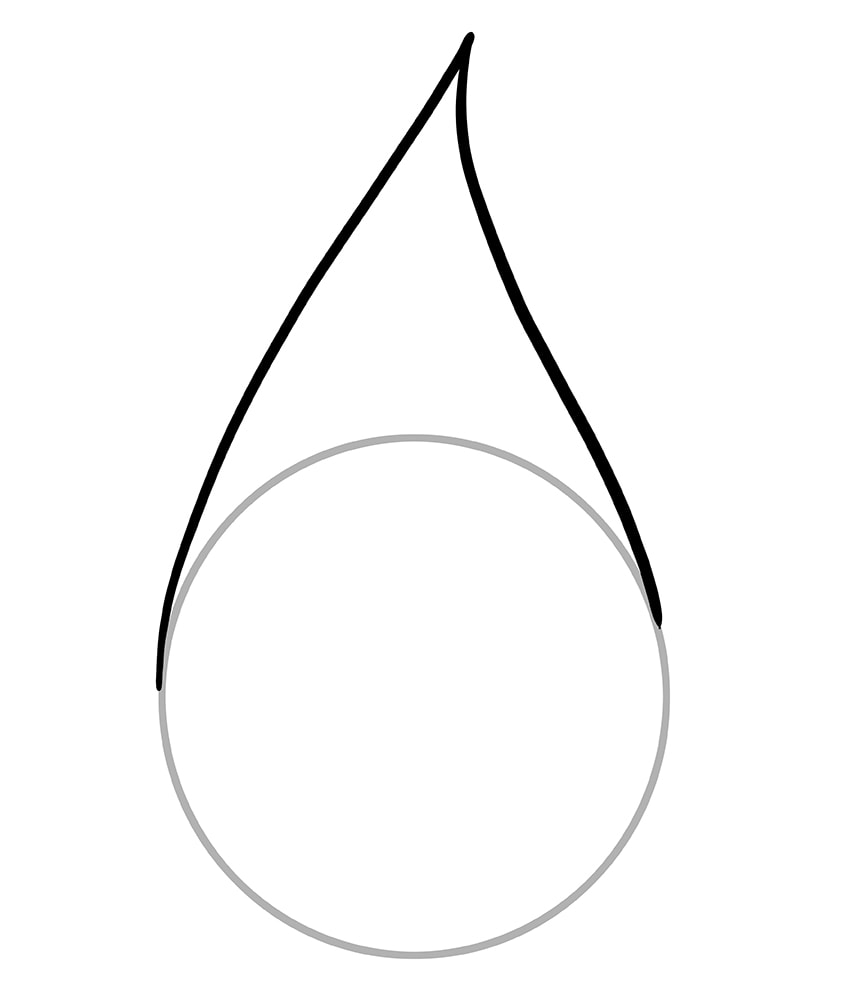
Step 2: Add the Water Droplet Tear
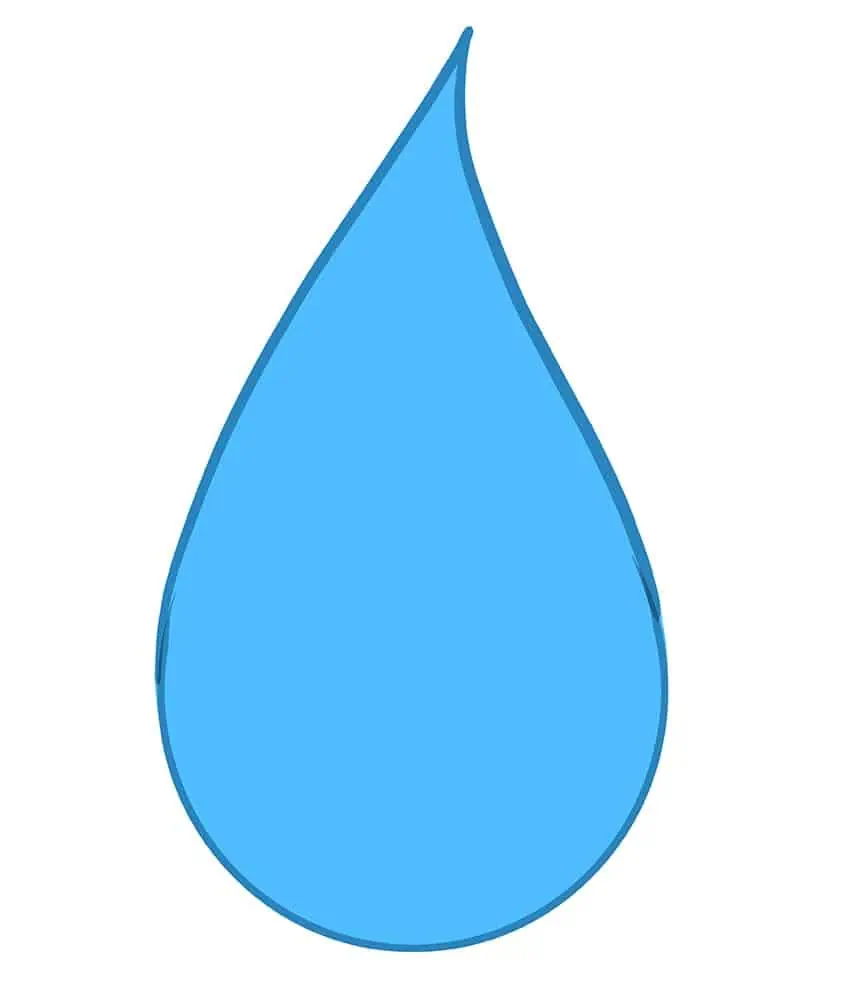
Extend the water droplet shape by drawing a sharp curving top attached to the circle previously drawn. This will create a realistic-looking teardrop. Once completed, erase the visible inner overlapping line.
Step 3: Add the First Color Coat
Select a fine, sharp brush and light blue paint, and evenly coat the water droplet.
Step 4: Shade Your Water Drop Sketch
Use a soft brush and a dark shade of purple paint, and apply shading along the edges of the water droplet. Switch to a blending brush to soften and spread the shading inward.
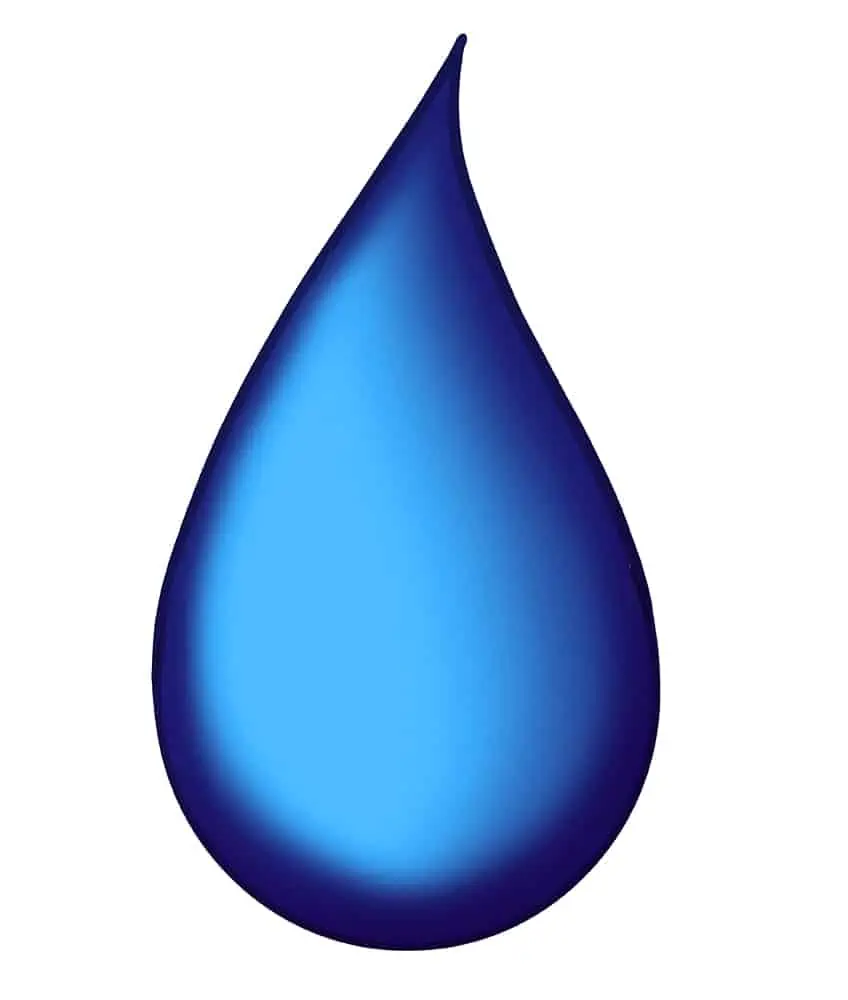
Step 5: Color Blend Your Water Drop Sketch
In this step, you will apply soft brushstrokes surrounding the center area of your water droplet, using a soft brush and a brighter shade of blue paint. Switch to a blending brush, spread and soften the color coats together, trying to blend the colors in a curving motion.

Step 6: Soften the Water Droplet Drawing
With a small, soft brush and white paint, apply soft swirls to the center of the water droplet, shaping the brushstrokes into a somewhat egg-like shape. Make use of a blending brush to further soften and spread the lightened coat.
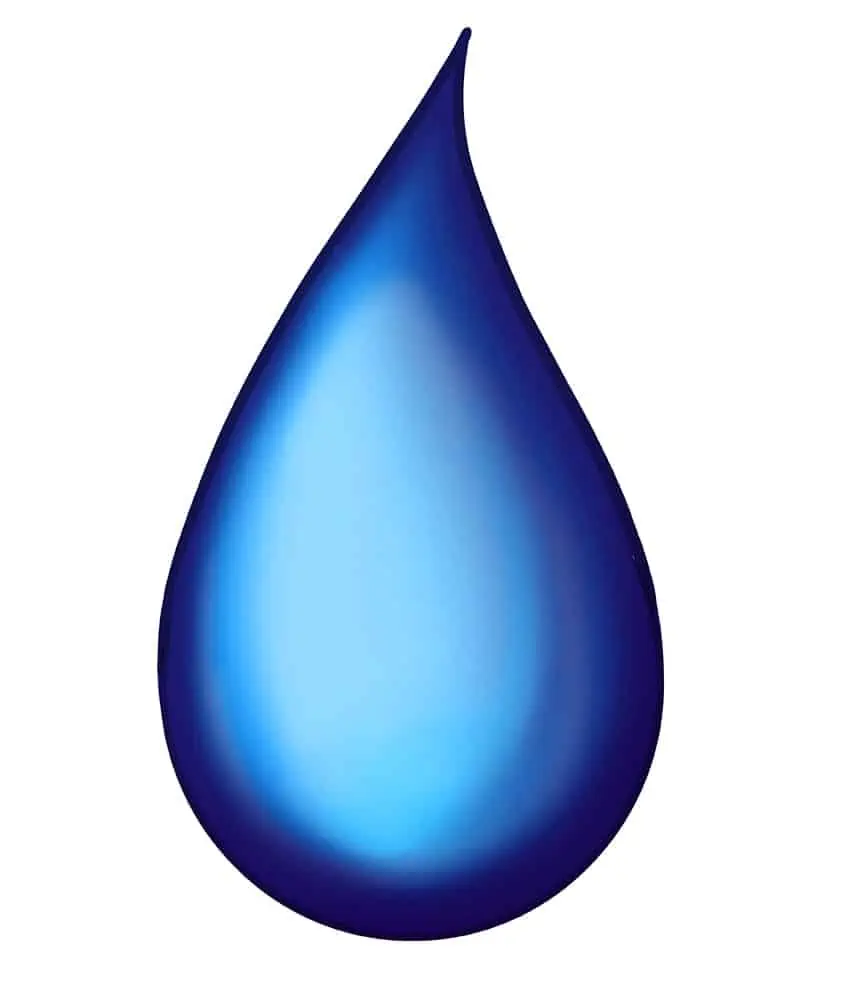
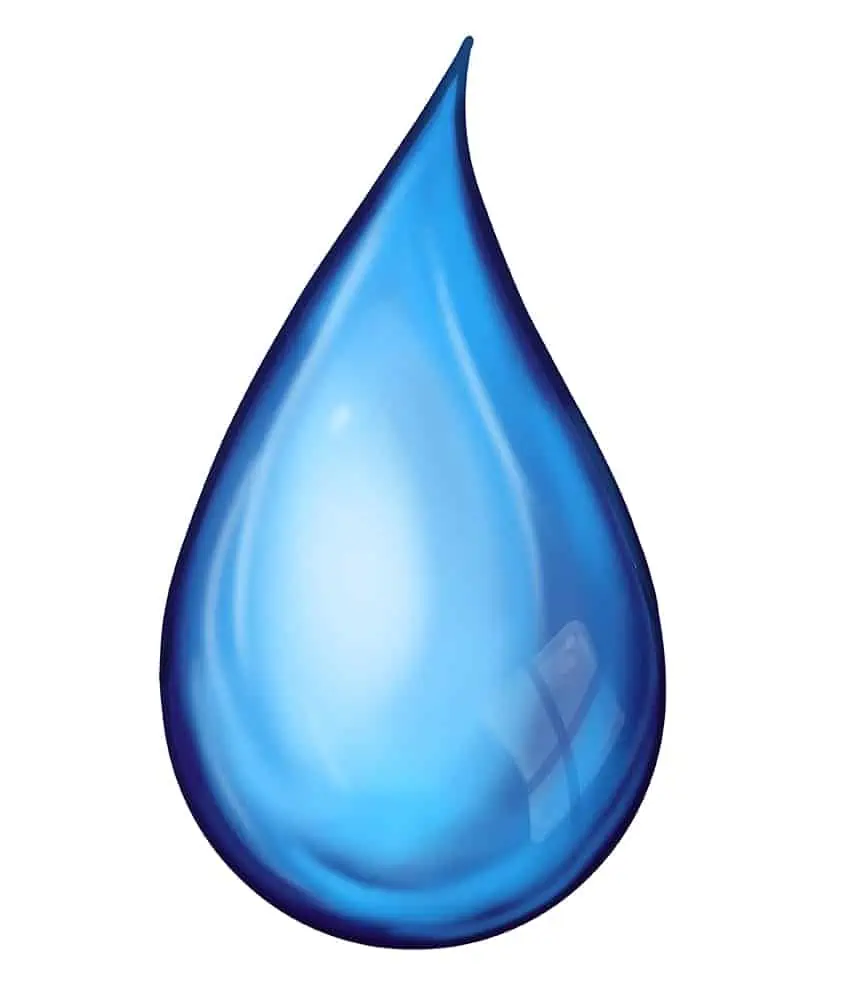
Step 7: Add Highlights to Your Water Droplet Drawing
Begin by using a soft brush and bright blue paint, and add soft brushstrokes leading from the top sharp end towards the bottom of your water drop drawing. Repeat this around the center area. The shading and first color coat should still be somewhat visible.
Complete the step using a thin brush and white paint, and add fine highlights along the curvature of the water droplet.
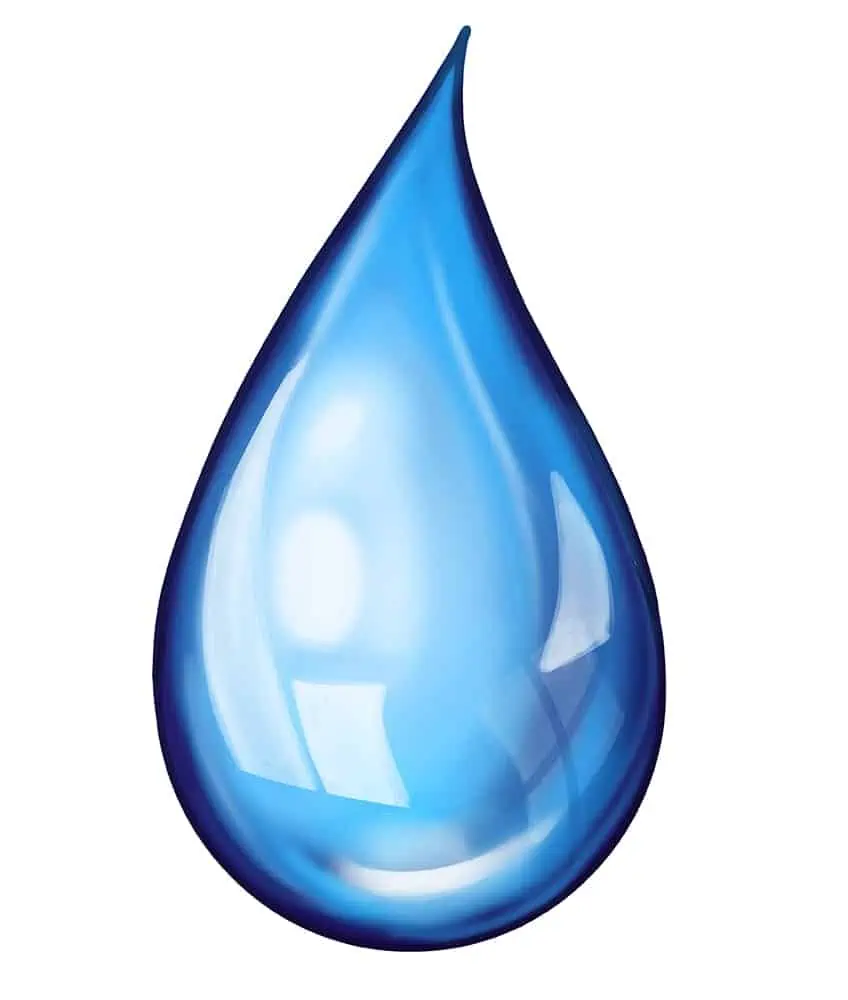
Step 8: Add Reflections to Your Water Drop Drawing
In this step, you will apply a soft spot slightly off-center with a soft brush and white paint. Repeat using a thin brush and add a fine reflection spot above the center area.
Continue using light gray paint, and add four cubes representing a window reflection to the bottom right of the water droplet.
Step 9: Enhance the Reflections
Add fine hairline reflections and shapes along both sides of the water droplet, using a thin brush and white paint. Complete the step using a blending brush to spread and soften the reflections.
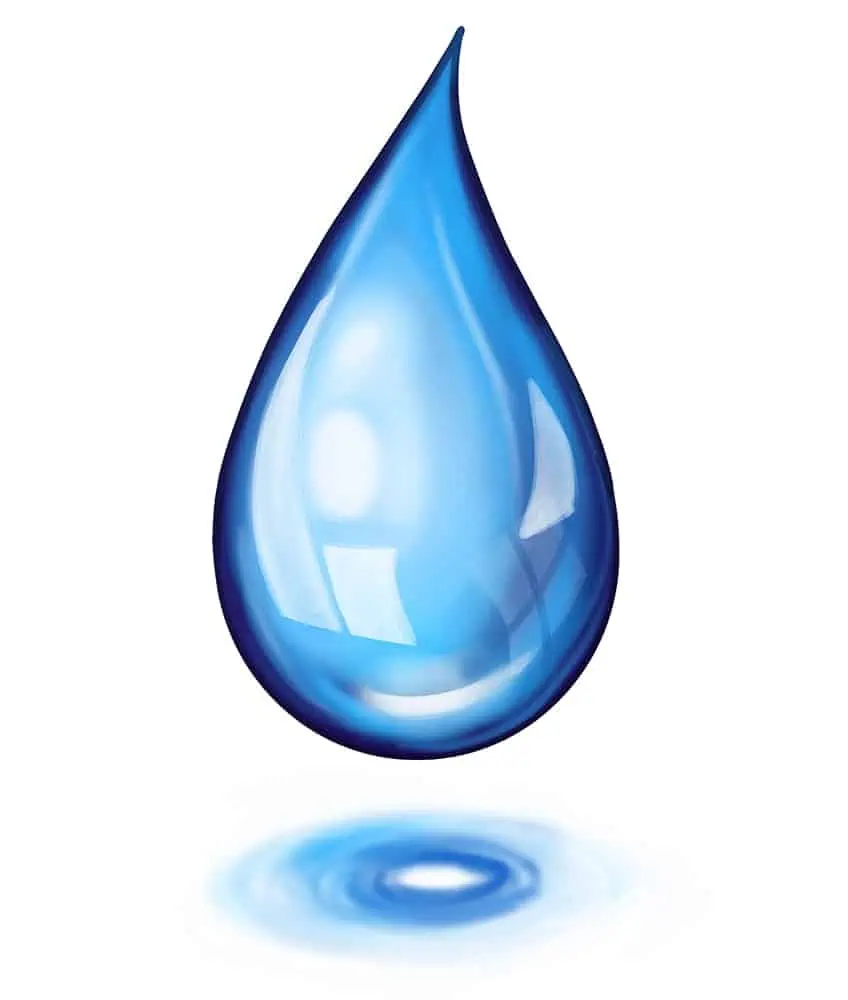
Step 10: Add a Water Reflection Below
Select a fine, sharp brush and a combination of dark and light blue paint, and begin painting a circular shape below your water drop drawing. Fill in the center with white paint.
Step 11: Complete the Water Reflection
Repeat the previous step by widening the circular reflection on the water using a lighter shade of blue paint. Repeat this step, using a small, soft brush and white paint to add highlights within the circle.
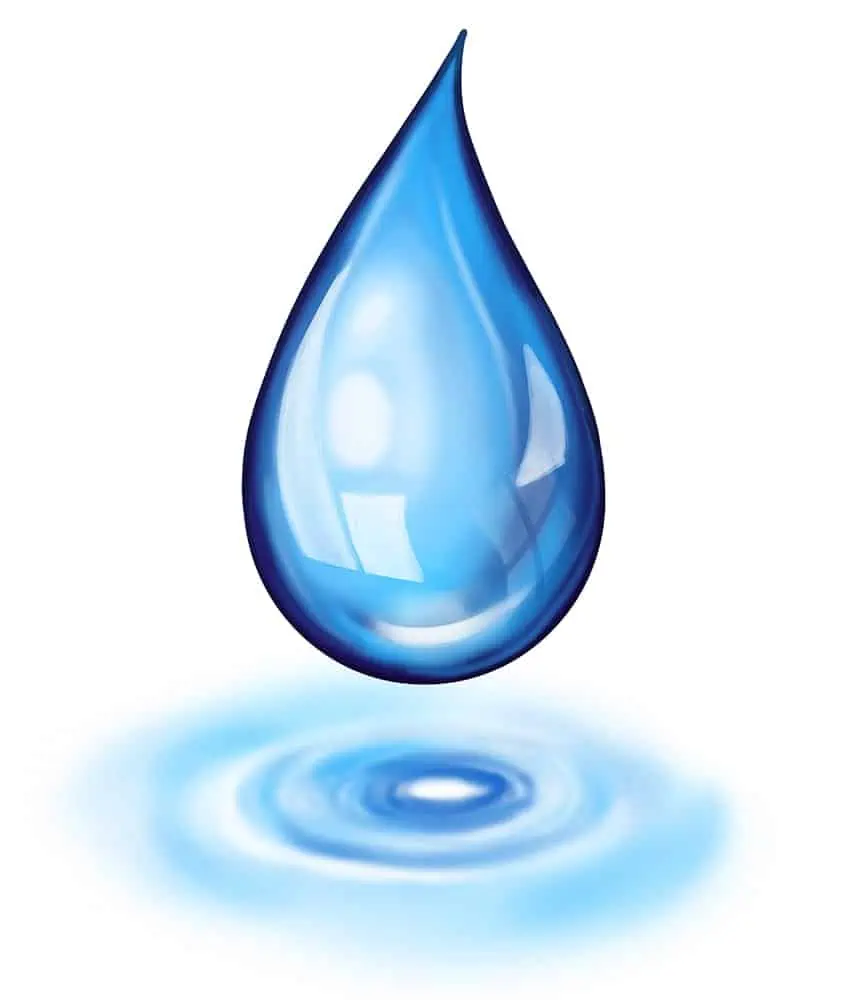
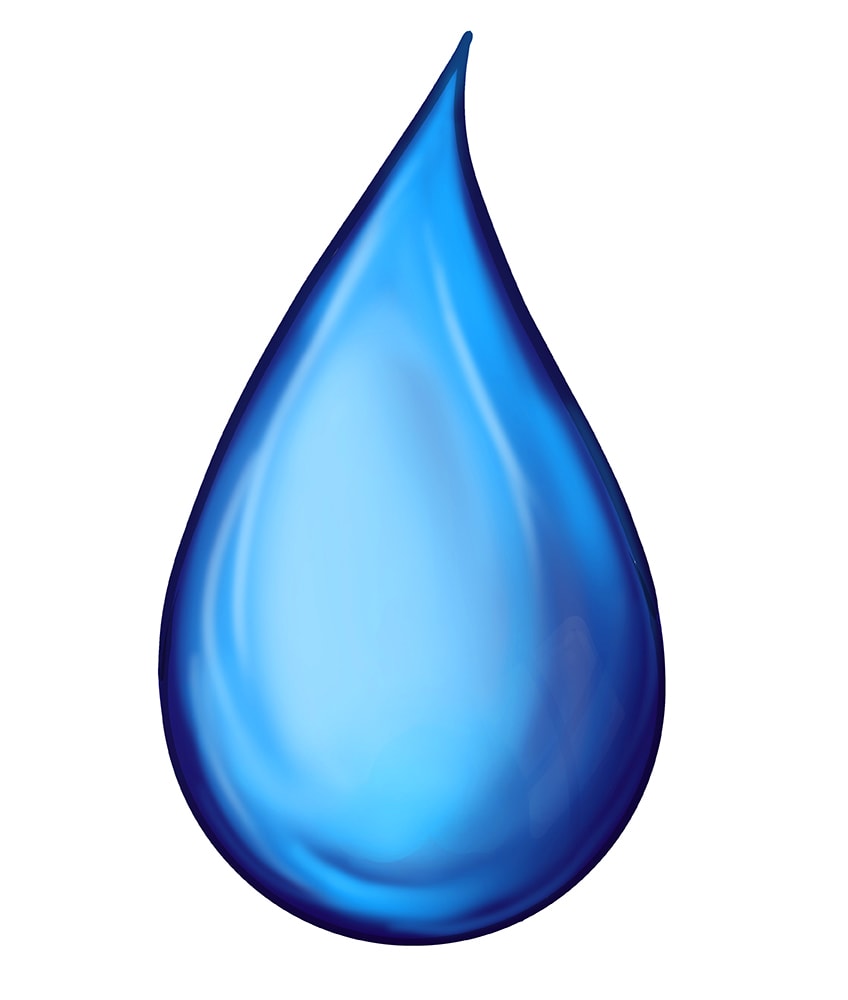
Step 12: Finalize Your Water Drop Drawing
In this step, you will begin to erase the visible outline surrounding the water droplet. This will help you to achieve a final seamless result and a realistic-looking water droplet drawing!
Well done on completing our tutorial on how to draw water droplets! The level of detail and precision in your artwork is truly impressive, from the intricate curves of the droplets to the realistic reflections and shadows. Your hard work and dedication have paid off, and the result is a stunning piece of art that showcases your skills and creativity!
Frequently Asked Questions
How Do I Create a Realistic-Looking Water Droplet?
To create a realistic-looking water droplet in your drawing, it’s important to pay close attention to the details. Start by sketching the basic shape of the droplet and then add subtle curves and indentations to mimic the way light reflects off of the surface of the water. Next, add in the highlights and reflections on the surface of the droplet, being careful to make them look natural. Finally, use shading and blending techniques to create the illusion of depth and dimension, giving the droplet a three-dimensional appearance.
How Do I Draw the Reflections on the Surface of the Water Droplet?
To draw reflections on the surface of a water droplet, observe the objects and environment around the droplet and draw them as they appear in the reflection. Make sure to pay close attention to the way the light reflects off of the objects and how it interacts with the surface of the droplet. Use a light touch when drawing the reflections, as they should be subtle and slightly distorted to accurately represent the curved surface of the droplet.

IzzyBll is a digital artist and content creator from Israel and currently residing in South Africa. Originally coming from videography, Izzy then turned to digital graphic art. He specialized in using digital drawing software such as Photoshop and Procreate. Drawing and photo editing has always been a sort of second nature for Izzy. In doing so, he can now look back on 5 years of experience in the industry, completing commissions for various well-known brands such as Audi.
Learn more about IzzyBll and about us.