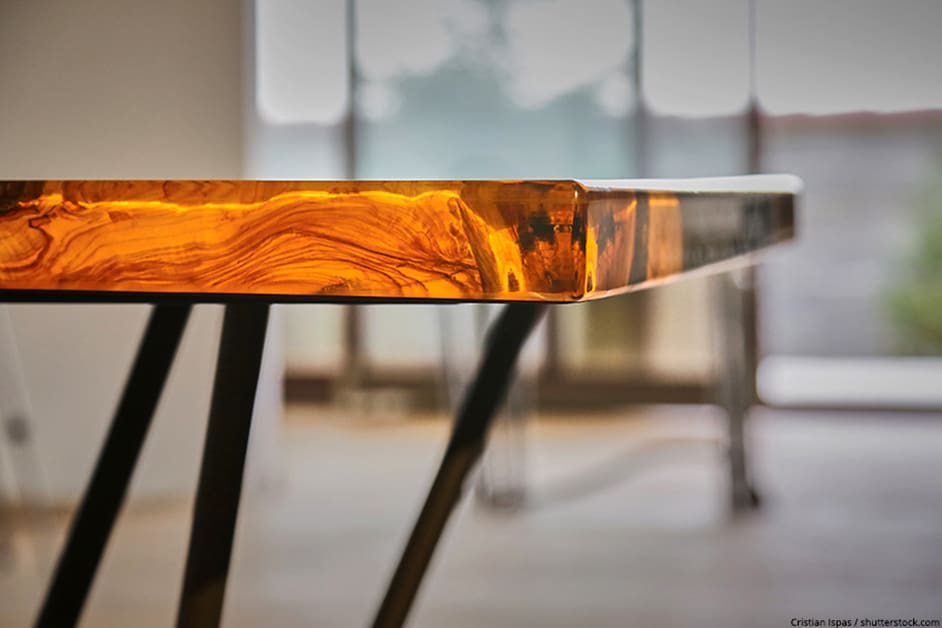
Epoxy Countertops DIY – How to make Epoxy Resin Countertops
This post may contain affiliate links. We may earn a small commission from purchases made through them, at no additional cost to you.
Many homeowners want to transform their countertop surface in their homes, but they don’t want to spend too much money or hire a professional to do the job. This is where epoxy countertops come in, it is fairly reasonably priced, and you can pour it yourself over any of your existing countertop surfaces. When it is complete it provides a whole new refreshing look to your countertop and is also tough and will last a long time. In this blogpost, we will be telling you more about epoxy countertops, and how you can save a lot of money by pouring your own Epoxy Resin Countertop.
What are Epoxy Resin Countertops?
These are countertops for use in your home, they are exceptionally resistant to wear and tear, as well as to damage from stains and spills. This type of surface is often found in laboratory environments, as it is resistant to damage from many chemicals and other solutions.
For this reason, an Epoxy Resin Countertop is an excellent surface for your home, especially if you tend to use the surface a lot. Just remember, before you decide to install an epoxy countertop, you need to look at certain aspects include the price. This product is primarily used for refurbishing purposes and will renew and refresh those old damaged countertop surfaces in your kitchen, bathroom and can even be used on your floors.
You can purchase a pre-made Resin-based Countertop that will cost in the region of $50 to $150 per square foot. If it is a fairly large Countertop it could cost $200 per square foot or more. The only drawback is that it may not be exactly what you wanted.
However, you must understand that an Epoxy Resin Countertop cannot be bought as a pre-made item, like a granite slab form, laminated or marble countertops. The genuine epoxy countertops need to be poured or made in place.
Epoxy Resin is referred to as a ‘solid-surface’ material, but to confuse things, so is Corian. However, Corian is man-made from acrylic polymers and other materials and can be purchased in a solid sheet form of ½ inch thick.
Epoxy resin countertop material is extremely popular because of its durability. The surface is designed to withstand scratching and will last for many years before the surface color begins to fade. Another advantage, the epoxy resin surface material can handle most cleaning materials and will never lose its gloss and shine.
Pros and Cons for Epoxy Resin Countertops
Applying an Epoxy Resin to your home’s countertops is a great idea, as it has many advantages. However, you need to seriously consider the disadvantages as well before you tackle your project.
Pros
- The design potential is unlimited
- You are provided with a high-shine finish
- The surface is durable and tough
- It can withstand a certain amount of heat and if you select the correct product it can be heat-resistant as well
- The surface, once cured, is food safe and non-toxic
- The surface is easy to keep clean
- Due to the seamless surface, your patterns and colors can be continuous
Cons
- The process of application is very time-consuming
- The surface can be stained
- A certain amount of skill is required to apply it
- Once you have applied, it is extremely difficult to remove
Choosing the Best Epoxy Countertop Resin
You will put in a great amount of time, effort, and money to create an epoxy countertop that you can be proud of. Thus, it is well worth investing in a top-quality epoxy resin that will ensure that your end-result is successful. We have chosen the best brands of epoxy resin according to the best quality, the best value for money, and the most affordable option.
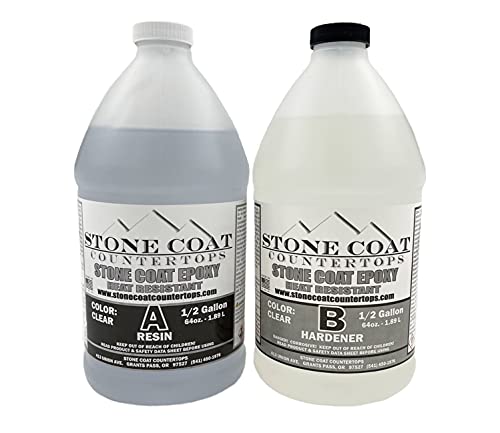
Best Quality: STONE COAT COUNTERTOPS Epoxy Kit
This gallon-sized epoxy kit offers a premium product that, although simple to use, will yield outstanding results. You can expect a coating that is as clear as crystal when you use this product. This resin produces no volatile organic compounds (VOCs), and when cured is highly durable and UV-resistant. This epoxy resin is so easy to use due to its detailed instructions and simple 1:1 mixing ratio. When adding color, you must ensure that you stir the pigment thoroughly for 2 minutes. Once the resin and hardener have been combined, you will have 45 minutes of working time with your epoxy mixture before it begins to harden. The surface will become dry to the touch within just 24 hours, and will be ready for light kitchen use within a period of three days. However, the epoxy will only cure fully after 30 days.
- Cures in 24 hours, self-leveling
- Heat resistant up to 425°F, crystal clear and UV stable
- Scratch-resistant, food-safe, zero VOC's
Pros
- Easy to use
- Durable, crystal-clear finish
- No VOCs
- UV-resistant
Cons
- Long curing time
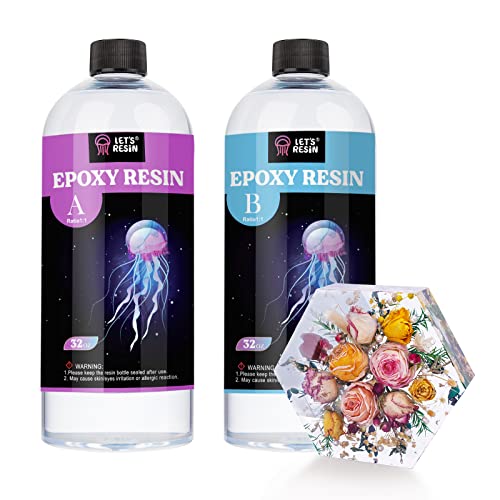
Best Value for Money: LET’S Resin Table Top Epoxy
This tabletop epoxy kit is formulated specifically for use with tables, countertops, and bar tops. You can mix most color pigment types with this resin. This product is easy to use and will level itself automatically. You will receive a durable, glossy finish that mimics a mirror’s surface when using this resin. It is also easy to clean and will resist both water and UV light. Once fully cured, your resin surface will be entirely safe for contact with foodstuffs.
- Super clear Table Top Epoxy for Wood
- Formulated for River Tables, Bar Tops and Countertops for hard surfaces
- Highest UV resistance, low VOC's and solvent free
Pros
- Food safe
- Self-leveling
- Scratch- and water-resistant
- UV-resistant
Cons
- Prone to forming bubbles due to thick consistency
Most Affordable: INCREDIBLE SOLUTIONS Table Top Epoxy Resin
PRO MARINE Crystal Clear Bar Top Epoxy Resin Coating is a premium, high-gloss resin designed for bar tops, tabletops, and other surfaces requiring a durable, crystal-clear finish. This epoxy resin offers excellent UV resistance, preventing yellowing and maintaining its clarity over time. With its self-leveling properties, it ensures a smooth, glass-like surface that enhances the natural beauty of embedded materials, such as wood, photos, or memorabilia. Easy to use with a 1:1 mixing ratio, PRO MARINE’s epoxy resin is ideal for both DIY enthusiasts and professionals looking to create stunning, long-lasting surfaces that are resistant to scratches, stains, and moisture.

- High-quality crystal clear Table Top Epoxy
- 100% Solid Material with no VOC and solvent additives
- When mixed using a 1:1 ratio
Pros
- Crystal Clear Finish
- UV Resistance
- Durable and Scratch-Resistant
Cons
- Mixing Precision Required
- Long Curing Time
Installation Costs
The installation cost is an important factor to consider before you go ahead with the project. Installing an epoxy resin countertop is not all that difficult, but you need to remember that it may require considerable effort from you. You may have to consider the cost of possibly getting a professional in to help you.
Whatever you decide, you may find that the installation cost may go beyond the complete cost of the countertop. This includes the cost of your own time or that of a specialist. To be safe, it is advisable to add on an extra few hundred dollars to the cost of your materials for the installation.
This applies to epoxy countertops in your kitchen, which is the normal size for a residential installation. On the other hand, if it is going to be more than one countertop or if the area is large, you will need to add a bit more money to your material costs.
More Cost Factors to consider
The cost of installing an epoxy resin countertop is indeed more expensive than many other countertop materials like laminates or plastics. However, an epoxy countertop is of a much higher quality than the other countertop materials.
So, an epoxy resin countertop offers durability, and it will give you a surface that needs little maintenance. Over time, it will cost you less and will last for many years. This means that the resin countertops will outlast any of the other countertop materials and will require no replacement for a long time. The extra cost for an epoxy resin countertop could be well worth it over the long term for many.

Epoxy Countertop Costs as a DIY Project
If you intend to refurbish your countertop surface using epoxy, the cost is unbelievably reasonable compared to other countertop materials, such as granite or marble. To provide you with a rough estimate, epoxy countertops can cost around $3 to $8 per square foot when pouring your own epoxy countertop surface.
The final figure will be dependent on the following aspects:
- The total surface area that you want to cover on your countertop.
- How thick you make your layers and how many layers you want to pour.
- Not all epoxy material is the same, so the quality of your epoxy resin will make a difference.
So, if you want to use a cheaper type of epoxy countertop material, it will cost you about $4 per square foot, but if you use a better quality type of epoxy material you could pay around $7 to $8 per square foot.
The cost of installing an epoxy countertop as opposed to granite or marble is a lot less, and if you are on a tight budget, this option is the answer for you. Another option to consider is the laminate countertop material, which is also a more economical choice.
Epoxy Countertops and how to apply it
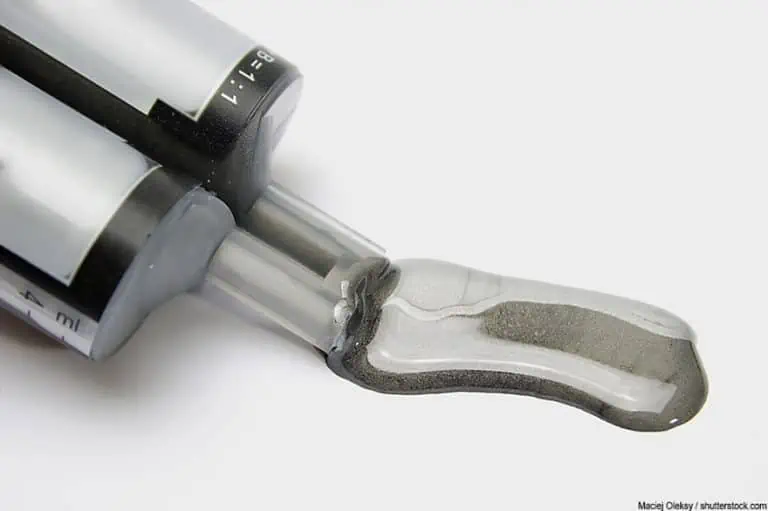
The DIY epoxy resin countertop consists of a resin and hardener. Both of these two substances are liquids, but when mixed they form a solid surface. Some disadvantages of epoxy countertops are that they can harden fairly quickly, can be quite messy and sometimes it is difficult to work with.
After you have installed your epoxy countertop, you will have a shiny and crystal-clear surface. But if you have used a textured epoxy material, your final result will be whatever texture you have chosen. Once you have finished pouring your epoxy countertop, you may also be able to pour a final protective coat of around 1/8 of an inch thick, this you can do this after the previous layer has properly cured.
When installing your own epoxy resin countertop in your kitchen or bathroom, you will be saving a great deal of money and you will be able to make unique designs. However, there is a word of caution here, it is going to take a lot of hard work and you may not be completely satisfied with the final result.
If you decide to install your own epoxy countertop, you will be able to buy a complete kit. Otherwise, if it seems like too much work, you can hire a professional to do the job for you.
How to go about Pouring an Epoxy Countertop?
Clean your old Countertop Surface thoroughly
The surface needs to be thoroughly cleaned with no dust or dirt, as these will be permanently sealed in the epoxy. Also, if you used a clear epoxy, then these particles will be visible and may even cause a rough finished surface.
Shield Furniture and Floors
When you pour the epoxy, ift comes out in a thickish liquid and can very easily run over the edges of your countertop onto the floor. The epoxy can also run down the cabinet doors, so you need to lay down plastic sheeting to protect your floors and other surfaces. Many people, when pouring their epoxy, put a piece of wood around the edges of the countertop to form a barrier. This barrier will stop the epoxy from running over the edges.
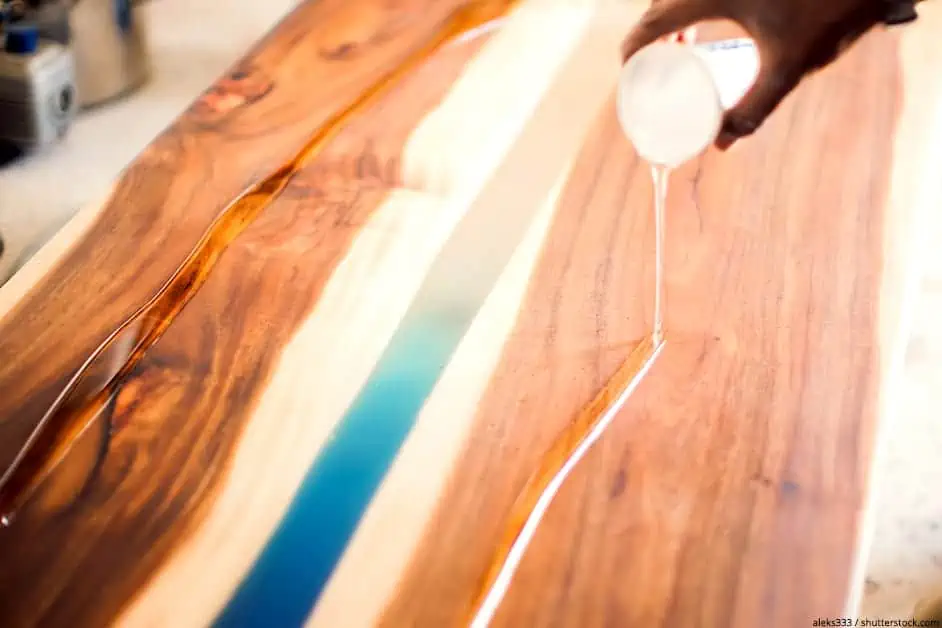
Pour a thin Layer of Epoxy to form a Seal
First, mix your resin with your hardener in a separate container and then pour it out over the countertop. This first thin layer of epoxy acts as a seal and is referred to as flooding. The aim is to lower the number of bubbles when you pour.
The Resin Mixture begins to harden fairly quickly
The epoxy will begin to harden within 20 to 30 minutes, so you need to work quickly. If you notice any air bubbles forming, you need to get rid of them as soon as you can. You can do this by using a blow torch or dryer, which causes the bubbles to rise to the surface.
Before adding a second Layer allow the first to harden
Your first epoxy layer should be hard enough within 4 to 20 hours to pour a second layer, according to the manufactures instructions. After 48 hours, your epoxy should have properly cured, and you will be left with a brand-new beautiful epoxy finished surface on your countertop.
Applying an Epoxy Countertop Coating over a Laminate Surface
When you have discolouration or stains on your laminate countertop, it can spoil the appearance of your countertops in your kitchen or bathroom. The countertop does not need to be removed or replace. This is where Epoxy Countertop Coatings come in, as they offer you a fairly inexpensive method of restoring the appearance of your old countertops. If the epoxy coating is applied correctly, it will provide you with a durable and beautiful surface finish.
Preparing your Laminate Countertop Surface
Before you even think of applying an epoxy coating over your laminate countertop, you need to remove the surface finish of the laminate. You can do this by sanding it down with 80-grit sandpaper, this ensures that the entire top sheen finish of the laminate has been removed.
Once you have done this, you need to put on a pair of rubber gloves and wash the whole countertop surface using a mixture of one teaspoon of Trisodium Phosphate (TSP) with one gallon of warm water. You need to make sure that all the dust particles and residue has been carefully removed.
Next, take some clean water and rinse the countertop off. Make sure to use masking tape or a piece of wood around the edges of the countertop to stop any epoxy running over the edges, and to protect your floor with some plastic sheeting.
Mixing and Priming
We do suggest that you apply an adhesive primer onto the surface of your countertop, using a sponge roller before you mix the epoxy coating. Another primer option available is a primer that has been labelled for use on shiny surfaces. This primer coating will ensure a tough finish for your epoxy coating.
When you are done with the primer coating and allowed it to dry properly, you can mix your epoxy coating. The epoxy coating comes in a 2-part package, a resin, and a hardener. You need to read the manufactures instructions carefully to know how much epoxy you must mix to cover the entire surface of your countertop.
Try not to mix too much epoxy, as you will not be able to use it later or store it. Be careful to only mix the epoxy coating directly before you want to apply it, as it begins to harden fairly quickly.
Applying your Epoxy Coating
As soon as you are satisfied that your primer has dried properly, as recommended by the manufactures instructions, you can start applying your epoxy coating. Start by first applying an even thin layer, using a good quality synthetic or natural paintbrush or a foam roller.
Commence at one of the outside edges of your countertop and then spread the epoxy resin in the direction of the center of your countertop. Wait until you can see the epoxy beginning to set, but is still soft, then using a handheld metal scraper or straight edge, smooth the surface area removing any high spots or bumps.
Next, let the first coat cure properly before you apply the second layer. After you have applied the second coat, use the handheld scraper or straight edge to give you a smooth finished surface by moving over the surface from left to right. Now, let the epoxy cure completely before you make use of your new countertop. Your new epoxy surface will cure to the touch within 24 hours, but you need to wait for around 2 to 3 days before it fully cures, and you can use it.
Finishing your Project
Once you have completed the second layer of epoxy you can remove the masking tape or piece of wood around the edges of your countertop. After the epoxy coating has fully cured, you can apply a top coat of polyurethane to protect your countertop surface.
Take note that when you first apply the polyurethane coating, it may look slightly cloudy to start with. Allow it dry properly for about 5 minutes, and it will become clear. Now, you can apply 4 or 5 more coats of polyurethane, allowing each coat to dry properly before you apply the next one. We suggest you leave your countertop for about 12 hours before you start making use of it.
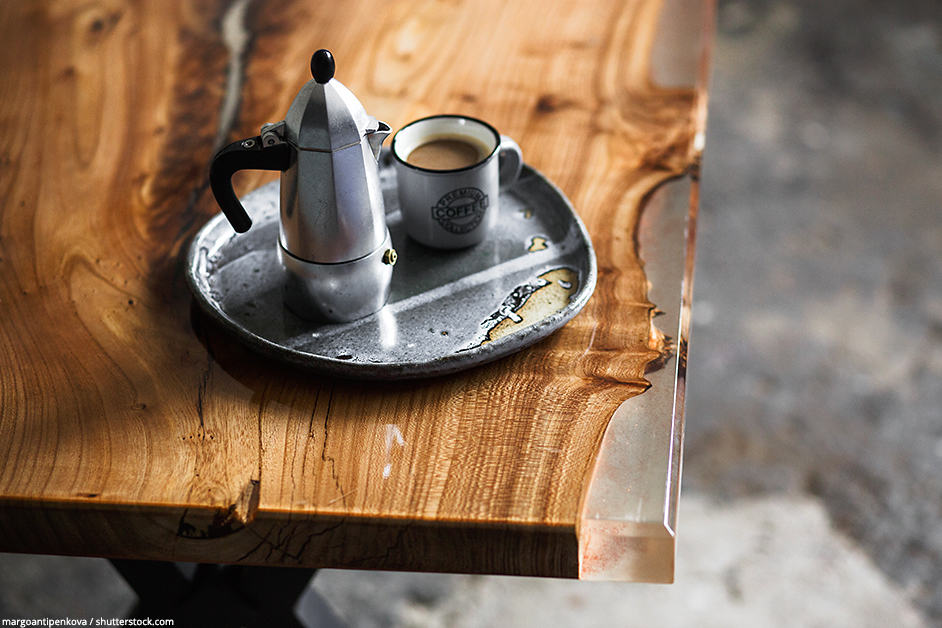
Different Types of Countertop Designs
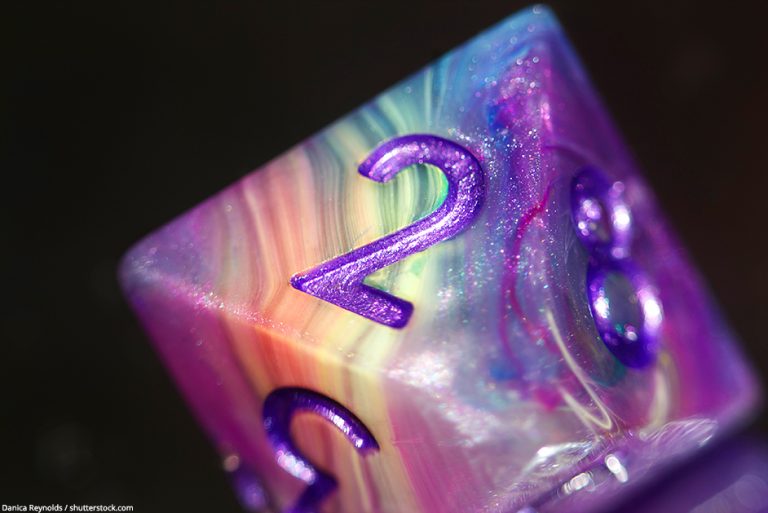
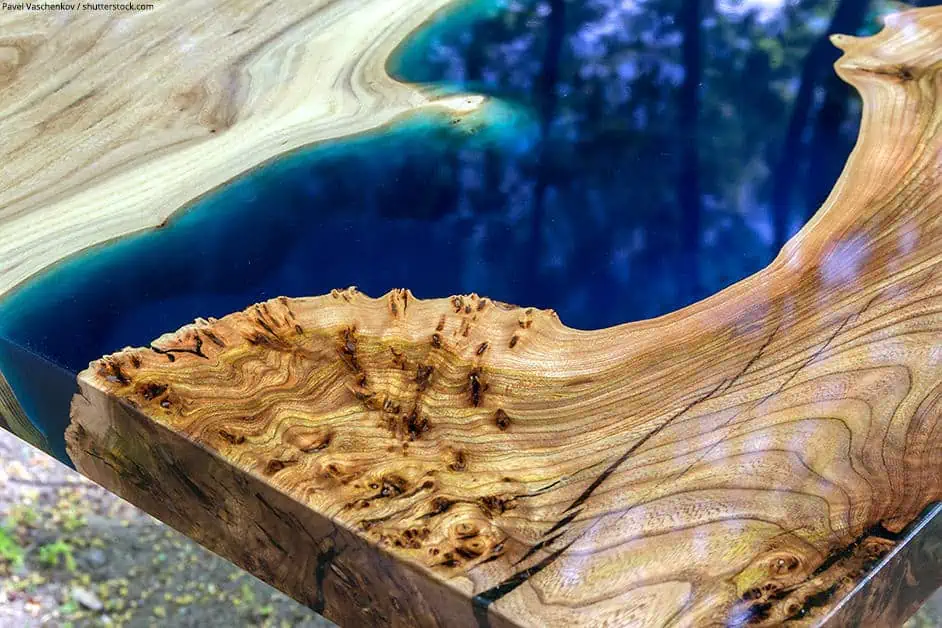
The use of epoxy resin countertops provides some breath-taking options when it comes to color, designs or patterns. You can accomplish this by taking your old countertop and create special designs and patterns on the surface or add special effects inside the epoxy.
Furthermore, you can embed certain objects into your epoxy resin. Many homeowners use pieces of old tiles, coins, or bottle caps to create a mosaic effect in the epoxy. Some have even gone a step further and embedded LED lighting in the resin, which gives your countertop a glowing effect.
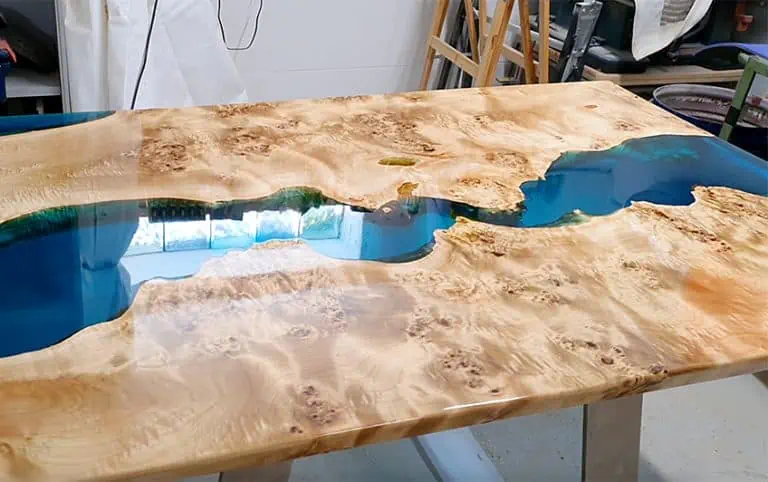
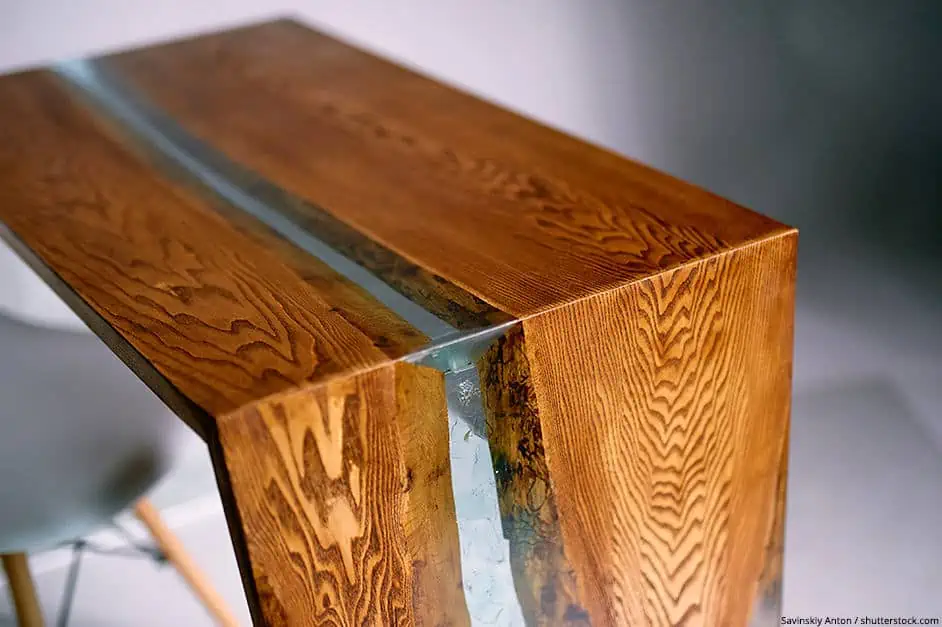
This may all be nice, but nothing beats the look of a clear epoxy coating that covers a beautiful hardwood countertop. Not only is this true of wood, but epoxy coatings can be applied to many other surfaces, such as Formica or Laminate, which give it an added gloss finish and shine.
Using Epoxy Resin to create various Color Designs
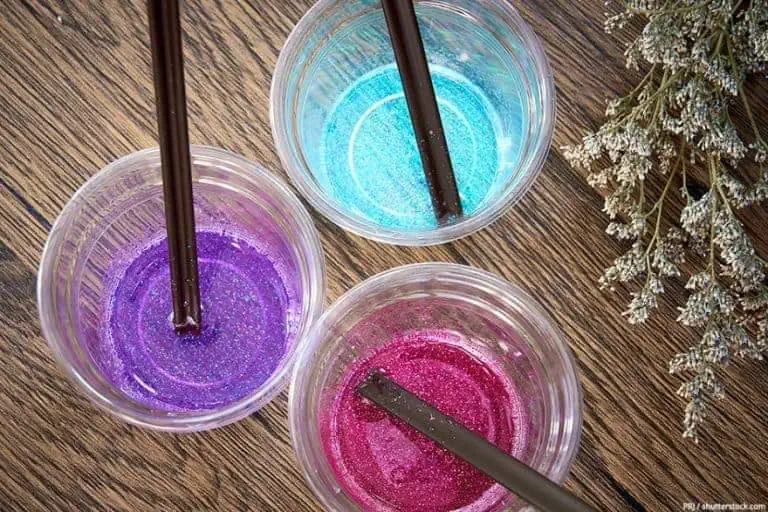
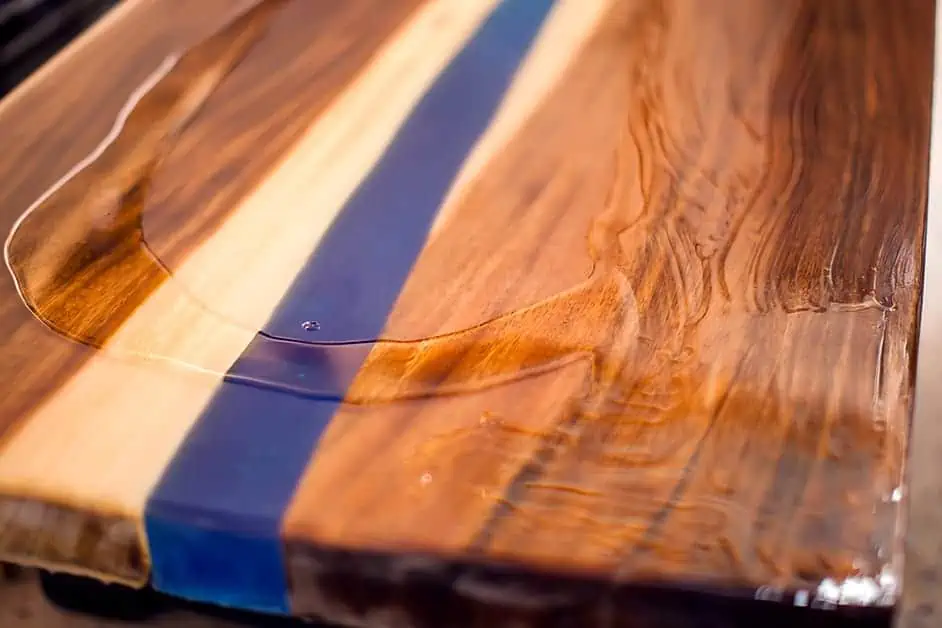
The epoxy resin and hardener are transparent materials, but you can add different colors to make various patterns and designs. Many manufactures of epoxy resins give their customers the option of choosing various color finishes by providing them with resin tints.
This process begins by choosing a base color, then you can add another color, also known as an accent color, which enhances the base color. This process allows the finished surface to look like natural stone. The most common base colors are silver, red, gray, white, copper, and green. To enhance this base color, you can then add a metallic powder.
Many manufactures also add glitter to their epoxy resins, these are used for greater effect when combined with a basic color. So, if you are looking to produce a marble or granite-like finish with your epoxy, the choice of color combination is just the start of the process. You will need to apply special techniques to give you the veins, patterns and swirls that are found in a piece of real marble.
Keeping your Epoxy Countertops clean
Keeping your countertops clean is easy, as you can use most types of cleaning products as well as cleaning methods without causing any damage to the surface of your countertop.
How to keep the Shine and Lustre of your Epoxy Surface
Just apply a small quantity of mineral oil to the epoxy surface once a week or even once a month. The mineral oil keeps the epoxy surface bright and shiny, but if you use too much oil it will cause the surface to become dull and cloudy. So, if you find you have applied too much oil, take a clean cloth, and wipe the excess off. Take care, as your epoxy surface can easily stain, depending on the quality epoxy material you used. However, if you have used a good quality top brand epoxy, then you should not have this problem.
Avoid using abrasive Cleaners
Abrasive cleaning materials leave scratch marks and cause the epoxy surface to become dull and lose its brilliance. They also tend to show the swirl marks you used when cleaning. We recommend you avoid using polishes, waxes or scouring pads when cleaning your countertop surface. The best-recommended product we suggest for your countertop is Puracy Cleaner.

Try to avoid Stains
When a spill occurs on your countertop, wipe it up straight away using a washcloth or paper towel to avoid any staining. If you only become aware of the stain later, you still have an opportunity to fix it before any permanent damage is done.
Here is what you need to do:
- Mix 4 parts of baking soda to 1 part water
- Spread the mixture directly onto the stain and let stand for 5 minutes
- Take a clean cloth and wipe the paste mixture off and hopefully, the stain will be gone
If the stain is still there, you need to:
- Dip a clean cloth in some paint thinner or acetone
- Gently rub over the stain in a circular motion
- If the stain does not come out straight away, just add a little more pressure while rubbing
Note: Never attempt to remove the stain from your countertop by using bleach, as the bleach will cause a stain of its own.
Questions and Answers
Can Epoxy Resin be used on Countertops?
Yes, if you apply the epoxy resin correctly on your countertop, it will give you a durable and tough surface. Because the epoxy is not porous it will be resistant to any moisture. The normal Epoxy countertop is also heat resistant to a certain degree, which means you cannot place a hot pot straight from the stove onto the surface. There is, however, an epoxy resin that is specifically manufactured to resist excessive heat.
Is the Epoxy Countertop scratch-free?
Although the normal epoxy countertop is extremely durable, it may show signs of scratch marks if you did not treat it properly. By choosing the correct product, it will not only be moisture resistant but also scratch-resistant. This is why an epoxy countertop is great in a kitchen environment.
How much does epoxy Countertop cost compared to Granite?
Yes, a granite countertop is more expensive. However, an Epoxy countertop gives you a durable and non-porous surface and lasts a long time, while granite countertops do not offer all of this. Let us compare prices; how much does epoxy countertop cost? It will range from $70 to $130 per square foot, whereas a Granite countertop ranges from $95 to $225 per square foot.
Is it possible to lay an Epoxy Countertop over a Laminate Surface?
If your laminate countertop has become discolored or damaged there is no need to replace it. By applying an Epoxy coating over the laminate surface your countertop will look as good as new. You will also have a more durable and long-lasting countertop surface.

In 2005, Charlene completed her wellness degrees in therapeutic aromatherapy and reflexology at the International School of Reflexology and Meridian Therapy. She worked for a company offering corporate wellness programs for several years before opening her own therapy practice. In 2015, she was asked by a digital marketer friend to join her company as a content creator, and it was here that she discovered her enthusiasm for writing. Since entering the world of content creation, she has gained a lot of experience over the years writing about various topics such as beauty, health, wellness, travel, crafting, and much more. Due to various circumstances, she had to give up her therapy practice and now works as a freelance writer. Since she is a very creative person and as a balance to writing likes to be active in various areas of art and crafts, the activity at acrylgiessen.com is perfect for her to contribute their knowledge and experience in various creative topics.
Learn more about Charlene Lewis and about us.