How to harden Sticky Resin – What to do if Epoxy doesn’t harden
This post may contain affiliate links. We may earn a small commission from purchases made through them, at no additional cost to you.
When using epoxy resin, sometimes you may find that after the curing time you are left with a sticky resin. When mixing your resin and your hardener, there is a chemical reaction. In the case of sticky resin or possibly tacky, or runny resin, this reaction did not occur as it should have. This is mainly caused by not measuring your two ingredients correctly, or not mixing it thoroughly. Luckily, there are ways to fix this problem.
Table of Contents
How to harden Sticky Resin?
When you find that the resin mix is sticky in a few spots after curing, you can simply add another layer of resin on top to solve the problem. However, you will have to take other measures if the resin is runny or has tacky or smooth spots.
You cannot leave the sticky resin, as it will not harden after time, it will remain sticky. You will have to either throw your item away or fix the problem. In order to avoid the problem all together make sure to do the following:
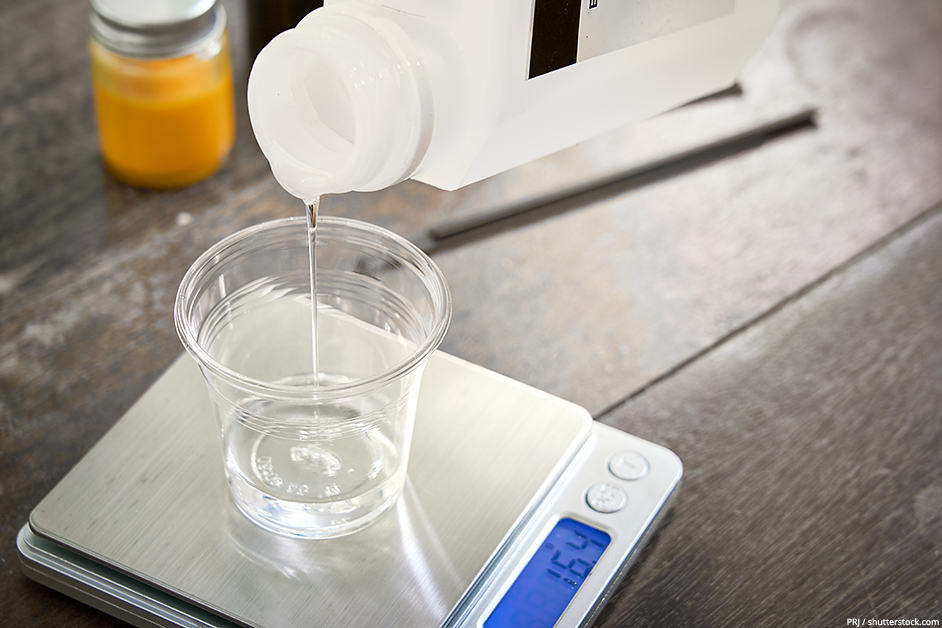
- You must measure out your resin and hardener precisely. The chemical reaction between the two ingredients will not work properly and you will be left with a less than perfect cure. You need to stick to the 1:1 ratio that is measured by volume.
- Mixing thoroughly is just as important. Mix for a minimum of three minutes and make sure to scrape down the sides and the bottom of your container to get everything in. Failing to do so will result in the resin not hardening as it should.
How to make resin harden? You will have to follow through with proper instructions to cure or harden your resin fully. But mistakes can be made, and this will lead to a few problems with your resin. Following are three of the most common sticky resin problems and how you can fix them.
Tacky Resin
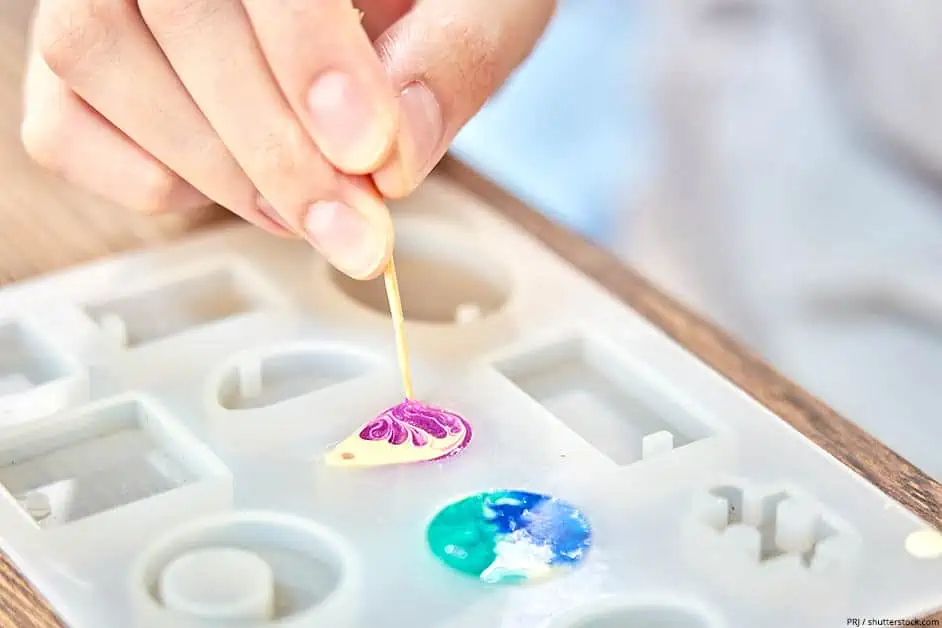
This is when resin starts to cure but does not go all the way and you are left with a surface that feels tacky. Many describe the surface as feeling like the gluey side of the tape. This is a very common occurrence and is one of the problems that you can easily fix.
Possible Reasons
Tacky or sticky resin can be caused by the following:
- First, and most common reason is not measuring accurately. You need to strictly follow the instructions of 1:1 ration, equal amounts of resin and hardener.
- Room temperature: The best temperature for the resin to cure fully is 75°F to 85°F (25°C to 30°C). If the room is any colder, this may affect the curing process.
- Not mixing your resin and hardener thoroughly, mix for at least three minutes and make sure to scrape around the sides and bottom of your container.
How to fix tacky Resin
How to fix tacky or sticky epoxy resin? Before adding another layer, you might want to try and move your resin piece into a warmer place. Leave this to dry a further 24 hours, and if it is still tacky, you can then move on to the following. As mentioned, you can simply add another layer of resin on top of the sticky spots in resin. This time make sure to measure and mix everything correctly.
What to do if epoxy doesn’t harden, here are a few more options:
- If you find the entire surface sticky, you can sand this off by using some 80-grit sandpaper. Clean the area thoroughly and then pour another accurately measured and mixed resin coat layer.
- For smaller imperfections or sticky spots, how to harden sticky resin? You can try some resin spray, which dries quickly leaving a gloss finish. The resin spray is great for those do-it-yourself projects and it is very easy to use.
Runny Resin
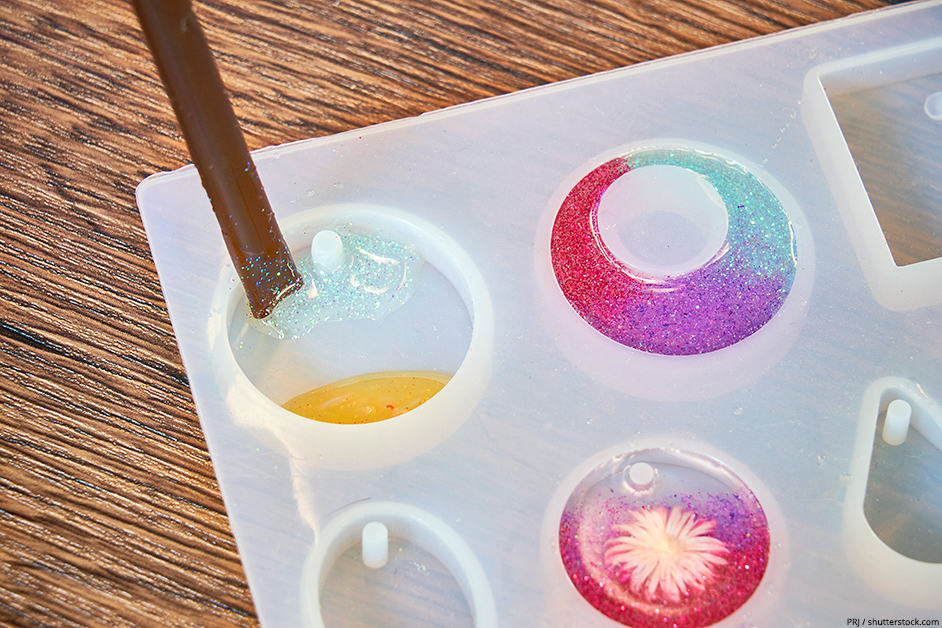
Unfortunately, from sticky resin to runny resin is another problem entirely. When the resin is not quite hard and not quite liquid, you might be sitting with a gooey mess. How to fix uncured epoxy resin? In this case, you will need to do more than add another coat of resin, you will have to scrape off the old gooey resin and then apply a new layer to your project surface.
Possible Reasons
Reasons you resin is runny:
- Always measure according to volume and not weight. The ratio should be 1:1 by volume.
- Even if you measured by volume, you may have used incorrect amounts of resin or hardener, you need to use equal quantities of both, adding more hardener won’t hasten the curing process.
- Again, imprecise measuring: you need it to be a 1:1 ration and you unintentionally make it 2:2 ratio.
- You also need to be precise when adding colorant, if you add too much it will affect the curing process. When adding color, do not add more than 6% total volume of your mixture. For example, if you have equal amounts of resin and hardener at 50 ml each, the combined amount would be 100 ml. The amount of colorant added would need to be a maximum of 6 ml).
How to fix runny Resin
Unfortunately, you cannot just add another layer on top, you will have to scrape the runny resin off. Make sure to get most of it off because if you leave any behind, this may leak into the new layer of resin. Once you are sure most of the gooey resin is gone, you can then pour a new layer of resin on to your surface. This time make sure you have measured and mixed everything correctly.

Soft Spots
You may find that most of your resin has cured, but there are a number of soft or wet spots.
Possible Reasons
When mixing epoxy resin and hardener, mixing thoroughly is important. Make sure to scrape the bottom and sides while mixing. Do not, however, scrape the sides of your container when pouring. If you do and you have not mixed properly, the unmixed parts will land up in your project and will create soft spots.
How to fix Soft Resin
Using 80-grit sandpaper, sand down the cured resin and clean away the surface. If you have any runny or gooey resin, you will have to remove all you can and try not to leave any behind. Once the surface is clear of dust or runny resin, you can then pour a new layer of resin.
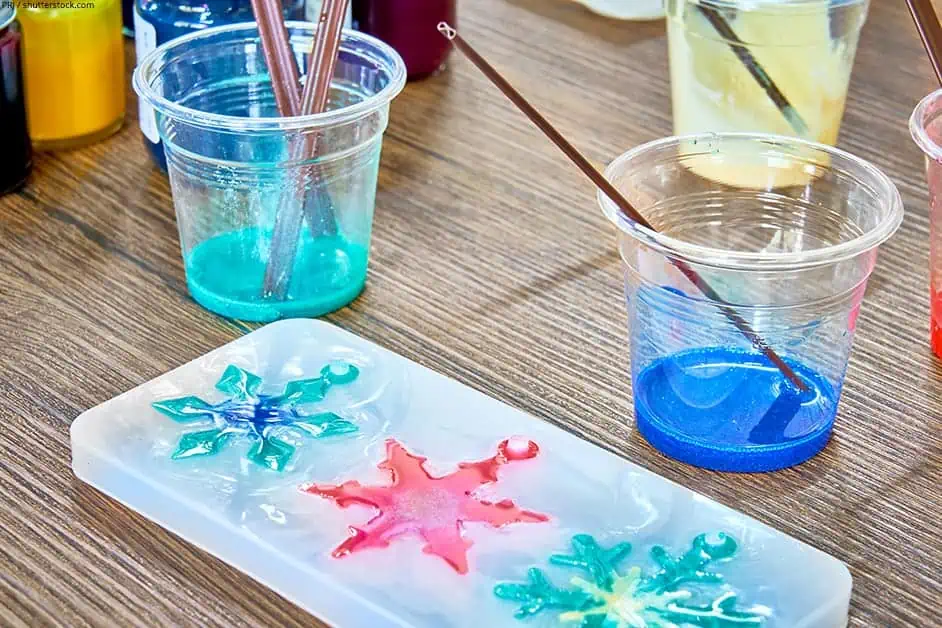
Tips and Tricks
When working with resin, there are always a few tips and tricks that could help you out.
- One artist recommended using Modge Podge. Simply coat the sticky parts with the Modge Podge and leave to dry. However, this only works on the sticky or tacky spots, if the resin is runny or gooey, this trick will not work and you will have to follow the process of how to fix runny resin.
- Finding you have tacky or sticky casts? Here is a tip you can use. After waiting 24 hours and your cast is still tacky, spray on some Triple Thick Polyurethane. Allow this to dry for about 30 minutes and then spay another layer on. Try not to spray too thick, as this may cloud the surface.
- When applying a fresh layer of resin to sticky spots, rather apply the resin to the whole surface. If you only add to the sticky spots, you will land up with a seam line, which is between the old and new layers.
- Remember, mix the resin mixture thoroughly for a minimum of three minutes, scraping the bottom and sides. Do not scrape the container while pouring.
- Work in a warm space, as cold temperatures will affect the curing process. The room should be 75°F to 85°F (25°C to 30°C).
- When adding color, remember to keep it at 6% to your resin mixture.
- Always measure in equal amounts of resin and hardener.
- You can leave tacky or sticky resin but always remove the gooey or runny resin.
- If you are new to using resin, and you wish to tackle a large project, it may be wise to do a practice round before you move on to your main project.
- Follow the package or kit instructions carefully and do not deviate.
In 2005, Charlene completed her wellness degrees in therapeutic aromatherapy and reflexology at the International School of Reflexology and Meridian Therapy. She worked for a company offering corporate wellness programs for several years before opening her own therapy practice. In 2015, she was asked by a digital marketer friend to join her company as a content creator, and it was here that she discovered her enthusiasm for writing. Since entering the world of content creation, she has gained a lot of experience over the years writing about various topics such as beauty, health, wellness, travel, crafting, and much more. Due to various circumstances, she had to give up her therapy practice and now works as a freelance writer. Since she is a very creative person and as a balance to writing likes to be active in various areas of art and crafts, the activity at acrylgiessen.com is perfect for her to contribute their knowledge and experience in various creative topics.
Learn more about Charlene Lewis and about us.
