How to Use a Calligraphy Pen – Guide and In-Depth Tutorial
This post may contain affiliate links. We may earn a small commission from purchases made through them, at no additional cost to you.
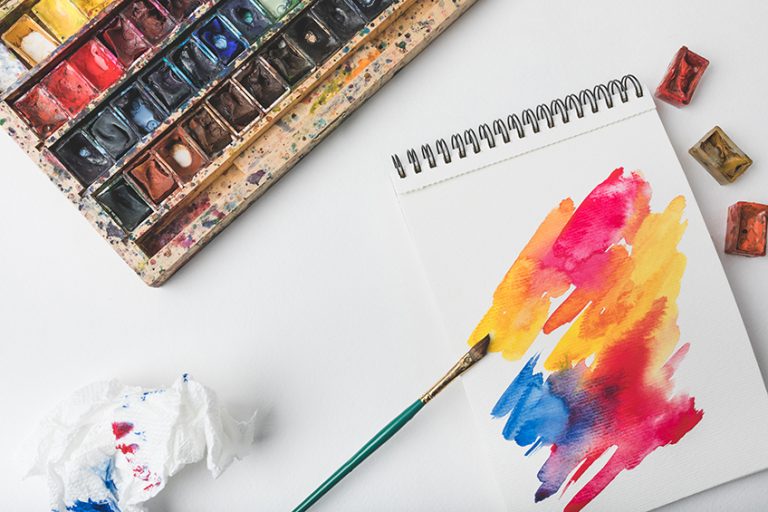
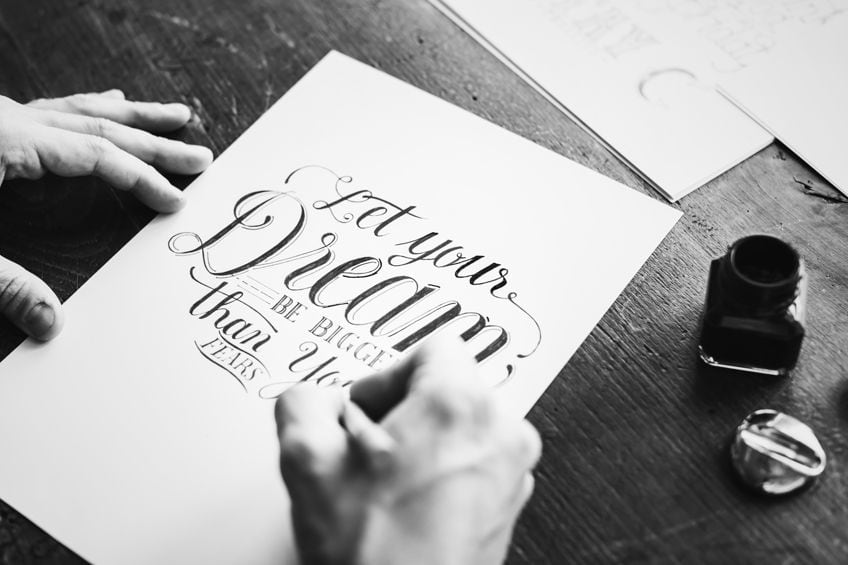
Everyone loves to give and also receive cards for every occasion like birthdays, anniversaries, Valentine’s Day, and so on. However, cards today cost a fortune in the stores. Would it not be a good idea to then customize your wedding invitations, or handcraft those birthday cards, sketchbooks, and journals? This can all be done by learning and using the art of calligraphy. We show you everything in detail.
What Is Calligraphy?
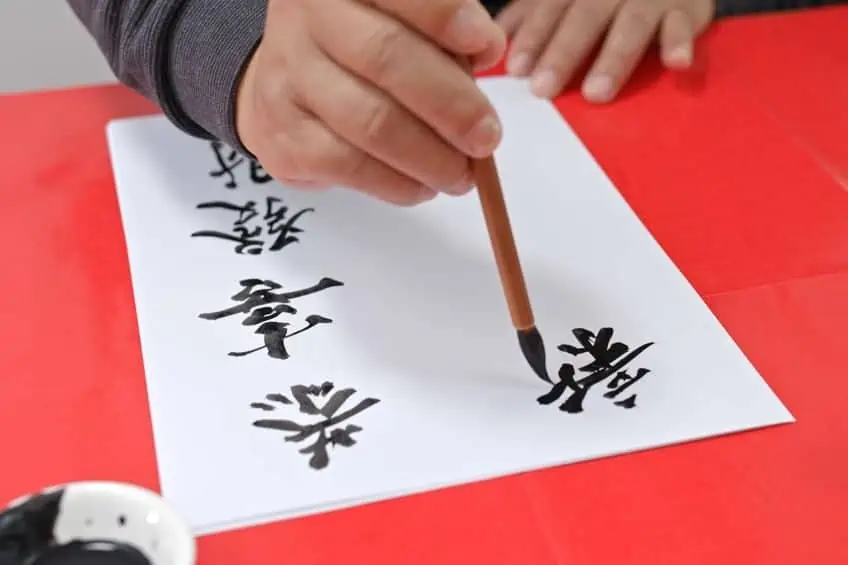
What is the easiest way to describe calligraphy? Basically, it is a form of decorative writing, the art of creating and forming beautiful symbols and letters. Calligraphy is an art form that has been practiced by various civilizations for centuries all around the world. Western and Eastern cultures have practiced it from Rome to China as well as the Middle East.
The Greek word “kallos” means beauty, while the Greek word “graphein”’ means to write, hence the word calligraphy. This writing art form has been used for writing ancient scriptures, important documents, certificates, wedding invitations, plaques, and more recently in marketing and advertising.
Modern Calligraphy Today
Today, the modern art of calligraphy is increasing and becoming popular again. However, it takes a great deal of patience and a lot of practice to master this art form, but the results are amazing and beautiful. If you are a beginner in this field, before you start buying the tools and the pens and attempt to create your style of calligraphy, it might be a good idea to visit the websites for the different styles of calligraphy and start practicing them as much as possible first.
The main purpose of this process would be to teach yourself the basic calligraphy alphabet, as well as some beginner techniques that you will need. Once you have progressed enough, you should be able to understand the following principles:
- What materials and tools are required
- How to hold the pen properly
- All the basic strokes
- How to form numbers and letters
What is a Calligraphy Pen?
You can make use of ordinary pens and pencils to practice shaping and forming the symbols and letters. However, you will eventually need the right tools to get the best results, and these include the best calligraphy pens. Calligraphy pens are used by professional calligraphers and experts, but as a beginner, you can also enter into the amazing world of calligraphy and create your own style of writing.
So, what is a calligraphy pen? It is a pen that is to be used mainly for calligraphy purposes, creating, and forming letters and symbols but can also be used for shading and drawing. The calligraphy pens depend largely on the pressure you apply to them. So, if you apply heavy pressure, you will create a thicker line, while lighter pressure creates thinner lines. Buying the right type of calligraphy pen may be a difficult task, but we are here to help you, providing some of the best calligraphy pens for beginners, as well as the best calligraphy pens set. Next, let us have a look at a few products.
Things to Consider Before Buying Your Calligraphy Pen Sets
There are literally hundreds of shapes, sizes, and types of calligraphy pens to choose from, making it very difficult to select the best calligraphy pens for beginners. It is similar to someone asking what is the best musical instrument? Choosing the right calligraphy pen set for your project is a similar situation. You cannot go out and buy a fancy pen set and then figure out what to do with it. You need to reverse this process and first decide what type of calligraphy style or script you are interested in, and then you can go out and buy the right one for that purpose. Let us now consider all the different factors you need to consider before you go out to buy your calligraphy markers.
Types of Calligraphy Pens Available on the Market
For calligraphy style writing you will need to use a calligraphy pen as the ordinary pens are not able to do what the calligraphy pens can as they are specially designed to do all styles of calligraphy writing. The choices on the market are overwhelming as there are numerous brands, types, styles, and prices. We are going to help you select the perfect pen for your project.
There are three basic types of calligraphy pens.
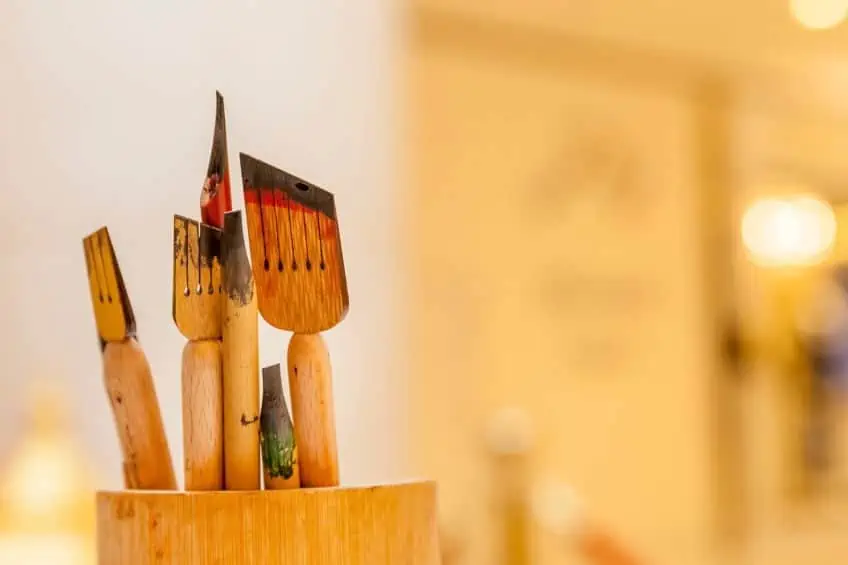
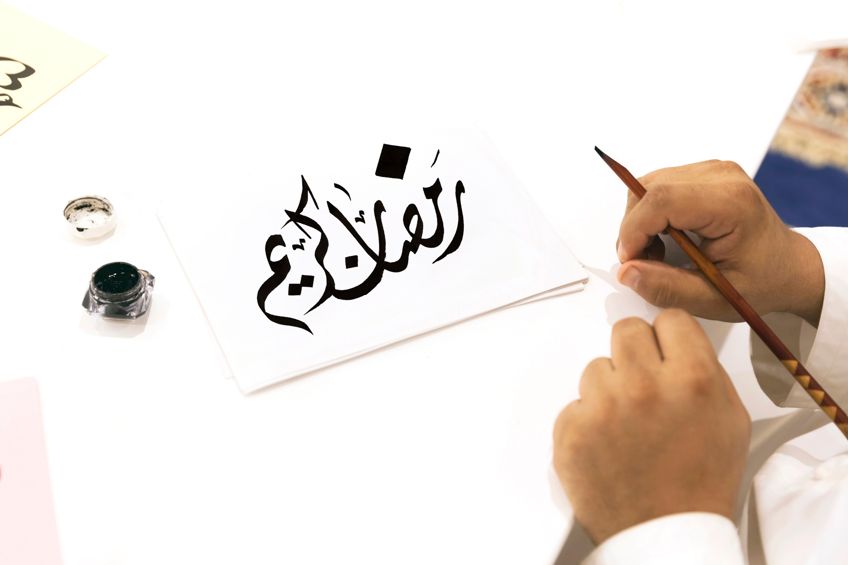
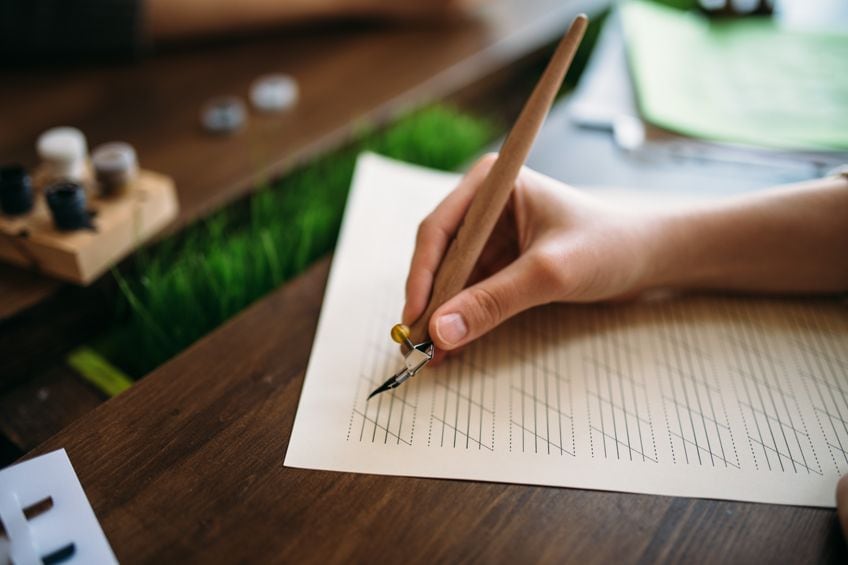
The Dip Pen
The name gives you a clue as to how to use the pen, you will have to dip the pen continually in an inkwell before you can continue writing. You need to first select the type of ink you want to use, and then pour it into an inkwell or container. Now dip the pen into the ink, making sure you only cover the nib and not the body of the pen. Once you have done this, give the pen a slight flick to get rid of any excess ink. This will help to stop any splatters of ink from getting on the paper.
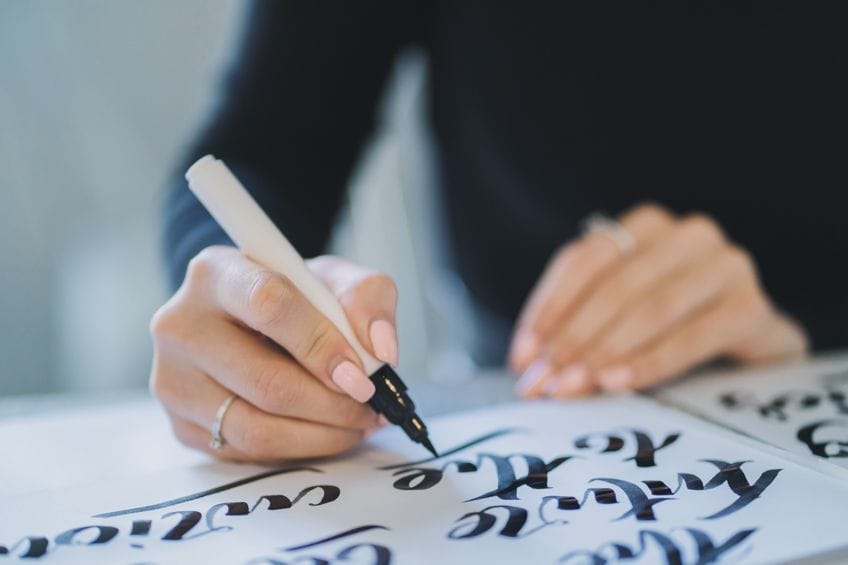
The Brush Pen
A brush pen is a pen that you can use for calligraphy and has a long flexible felt nib that is in the shape of a brush. This allows you to create thick or thin lines, depending on the pressure you use. It can also be used for drawing, bullet journaling, watercolors, brush lettering, illustrating and so much more. The brush pen has gained popularity in recent times because of its ability to create thick strokes.
This is a favorite in the modern calligraphy styles of writing, seen in artwork like Instagram art and wedding signs.
The Fountain Pen
These types of pens are a lot less messy than the dip pens, as they are supplied with an ink cartridge and there is no need to continually dip the pen in the ink. These are excellent for use by beginners. I am sure everyone is familiar with the fountain pen and has experienced using them at school or work at some time. The beauty of it all is they are also available at any regular shop and are easier to use and can be simply put in your pocket.
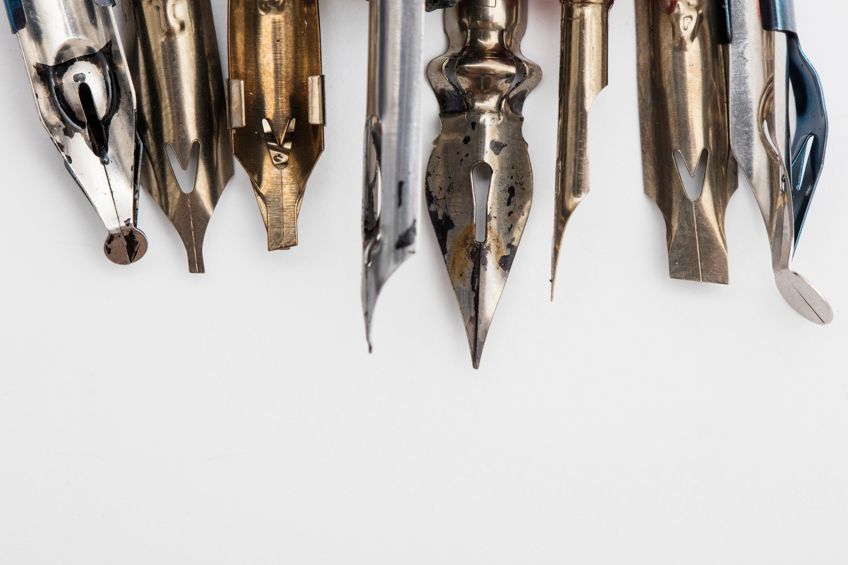
Types of Calligraphy Pen Nibs
The nib determines how the pen will write, so the nib should be the first thing you take into consideration when buying your pen. When it comes to nibs, two types are available, including italic and flex nibs. The major difference concerning the two nibs is the shape of their tips. Apart from the shape of the tips, the size of the tip is also a vital factor. The larger the tip, the broader the stroke will be. The ink will also flow more steadily, giving you a smoother and easier writing experience.
The main disadvantage with the large tips is that they tend to bleed or smear through the paper especially if you use low-quality paper.
The smaller or finer tips will give you thinner strokes, and the line width will also be more consistent, making it possible to compact your lettering. This size of nib is preferred by many people as it feels similar to the ordinary ballpoint pen. Also, the ink will not easily seep through the paper. The main disadvantage of the smaller size nib is that it will not always give you a smooth writing experience. The two main types are:
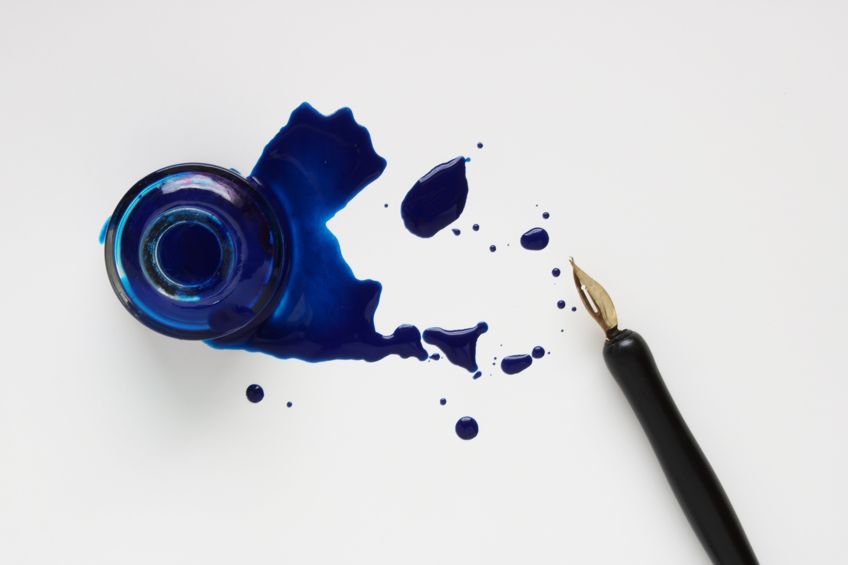
Ink Selection
The ink selection is a vital factor for your calligraphy pens, and you need to take into consideration the type of ink you want to use for your writing. Bear in mind that the ink you choose must be compatible with the type of pen you are using or else the ink will clog your nib and the pen will stop working. With a calligraphy pen, the ink plays an integral part and, as such, it needs to be a high-quality pigmented calligraphy ink that will give you better ink flow. Once the ink flow is smooth, it can lubricate the nib, giving you a comfortable and effortless writing style.
For the fountain pen, you must only use ink that is recommended for that brand or make of pen. If a different type of ink is used, you will end up with problems. Most of the fountain pens have dye-based ink, which is not waterproof or permanent and will fade over time. They are also prone to light smudging and water damage, and the colors available are also limited.
However, with the use of a dip pen, you have loads more options available as you have many colors to choose from and the ink is also made from different materials. You have the choice of water-based ink, which is ideal for the beginner, and there is also the ink made from gouache that comes in numerous vivid colors that will not fade over time.
You must make sure the ink for dipping pens is specially made for calligraphy writing.
With the use of fountain pens, you need to ensure that you maintain the pen regularly, as the dye-based inks can dry out in your pen, and it will be very difficult to remove dried ink from your fountain pen. Remember, never to use India ink or dipping ink in your fountain pen as the ink is far too thick and will clog your pen, making it beyond repair. An ink that is safe to use in your fountain pen will be indicated on the packaging, so read the instructions carefully.
Paper Selection
The type of paper you choose is as significant as the pen or the ink. The paper must be suited for calligraphy, as it needs to have the right surface finish, giving you the right tension so you can perform the correct shapes and lines. If you are a seasoned calligrapher, then you will be aware that every writing tool has its own type of paper.
If you choose a paper that is too slippery, then you will have difficulty in forming all the characters, or if the paper is too rough, you will find the nibs will begin to scratch and catch on the paper and may even break your nib. You also need to ensure the paper is of high quality to prevent the ink from bleeding through the paper.
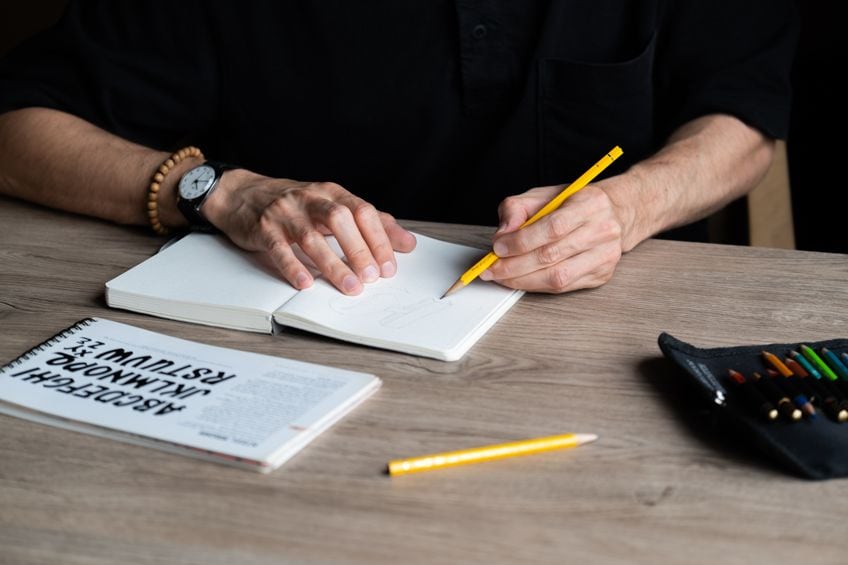
The Pencil and Eraser
The pencil is an essential tool for anyone doing calligraphy and should be found in all calligraphers’ toolkits. With the pencil, you can not only draw your calligraphy guidelines, but you can also use it for practicing and sketching. Of all the different types of pencil on the market, the best type will be the HB grade pencil, as it leaves a heavier or darker mark on your paper. For all of the calligraphy styles, the mechanical pencil performs the best. We are inevitably going to make mistakes, and this is where the eraser comes in.
Like all other tools, there are different kinds of erasers on the market, and the softer type of erasers may be the best choice for you to use.
The Ruler
The ruler is needed so you can draw your guidelines on the paper. These guidelines are crucial when writing any calligraphy style or lines. The best ruler for you to buy is a rolling ruler, which has a rotating cylinder on the reverse side that allows you to roll it over the surface of the paper. This feature allows you to draw parallel straight lines with ease.
Further Tips for Buying the Best Calligraphy Pens
All the calligraphy pens we have mentioned above come in various styles, shapes, brands, and prices. So, what is the best pen for your skill level? You might still be finding it difficult to decide what pen to buy, so below are some basic tips you should be considering. All of these features may be able to give you some guidance, but when all is said and done, it comes down to your own needs, skills, and preferences.
- The ink in the pen should be pigmented
- The pen needs to write smoothly with every stroke
- You need to create neat and crisp lines
- Ensure the ink is long-lasting as well as lightfast
- The pen needs to be comfortable to hold
- The pressure you apply will determine the thickness of the lines you produce
- Do not press too hard like you would when using an ordinary pen
- Use your arm rather than your wrist to guide the pen
- Be patient when practicing
- Ensure you hold the pen at a 45 to 55-degree angle while writing
A Calligraphy Tutorial for Beginners
If you have decided to try your hand at calligraphy writing, then you need to learn all about it. The below easy tutorial can help with getting you started. Once you begin, and you are enjoying this art form, it may be necessary for you to try one of the many calligraphy courses online or attend a workshop.
Preparing the Workplace
This is the first step; preparation is always a good place to start. If you are a right-handed person, then you need to place all your tools and inks within easy reach on your right, and if you are a left-handed person, all of the equipment needs to be placed on your left. It is advisable to have a slightly inclined working surface like a drawing board and have a clipboard containing some sheets of paper that you can use to practice on. Also, you need to allow plenty of space so your arm can move freely around. All of the curves you need to make, and techniques used do not come from the movement of the wrist alone.
You also need to ensure you sit in an upright and comfortable position. This is to help prevent back problems, as well as prevent cramps in your shoulder, arms, and hands.
Preparing the Calligraphy Tips
When first using your pen, the new nib is coated with oil to protect it from rusting. So, you need to remove the oil from the nib as it will prevent the ink from flowing. Wash the oil off using soap and water or some rubbing alcohol. Another tip is to place the nib in a potato for about 15 minutes, and then remove it and rinse it in some water. Allow the pen to dry thoroughly before you begin.
Using Your Calligraphy Writing Tools
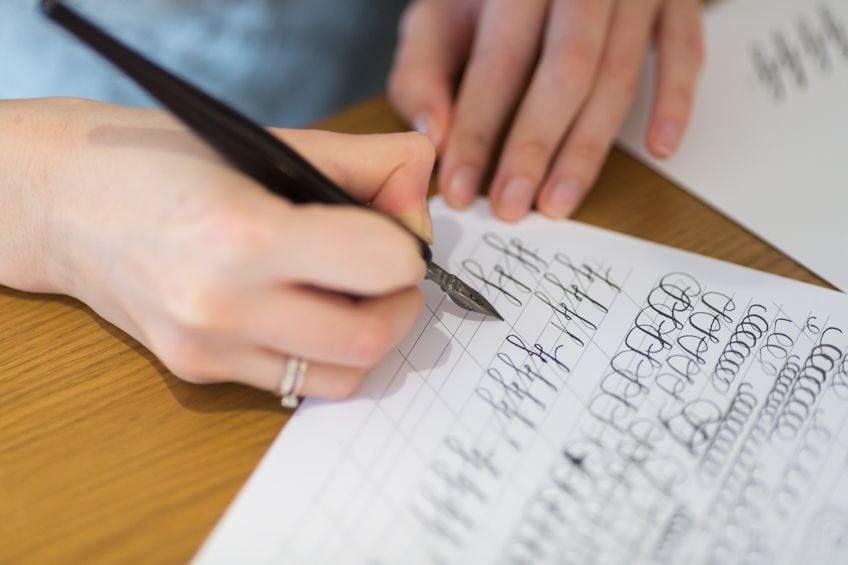
The very first thing you need to do before you take the pen in your hand is to warm up your fingers as you will struggle to draw with cold fingers. The basic exercise for beginners is simple swings and strokes, which need to be made with the pen held at 45 degrees to the surface of the paper. The first exercise is the ‘down stroke’ from the top to the bottom, and for this, you need to apply slight pressure. Follow with the ’up stroke’ from the bottom to the top, where you apply almost no pressure. After you have practiced these movements for a time, you can progress to the wave movements. This is where you learn to alter the pressure with a flowing movement to complete an even image. These are all the basic techniques for calligraphy writing.
After you have grasped the basic techniques, you can start by forming your first letters.
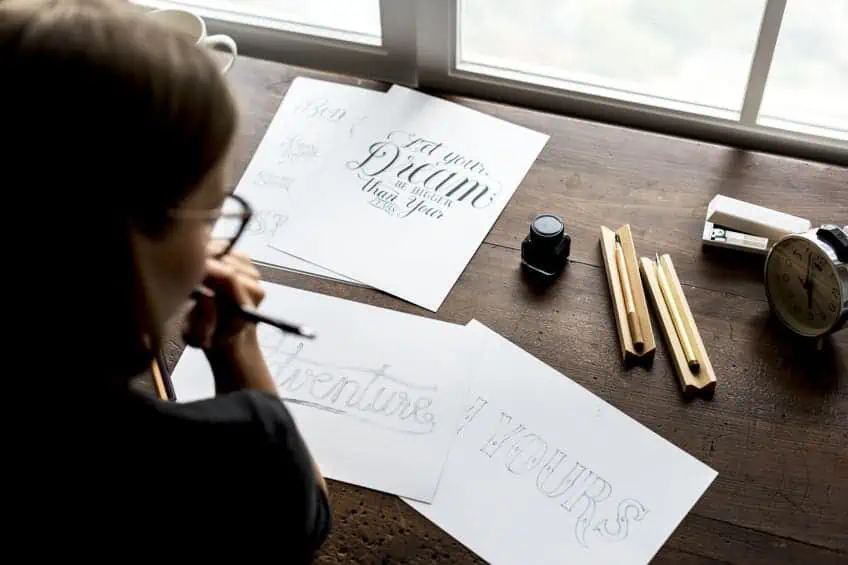
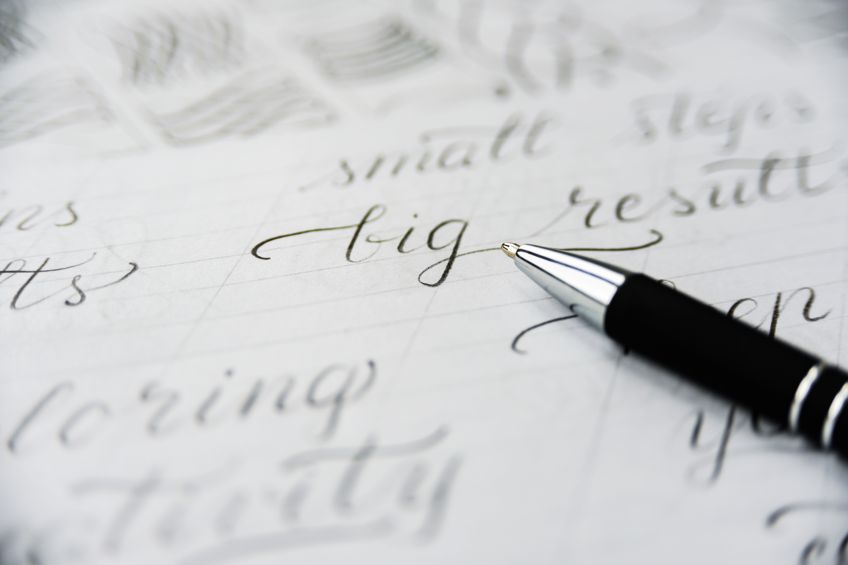
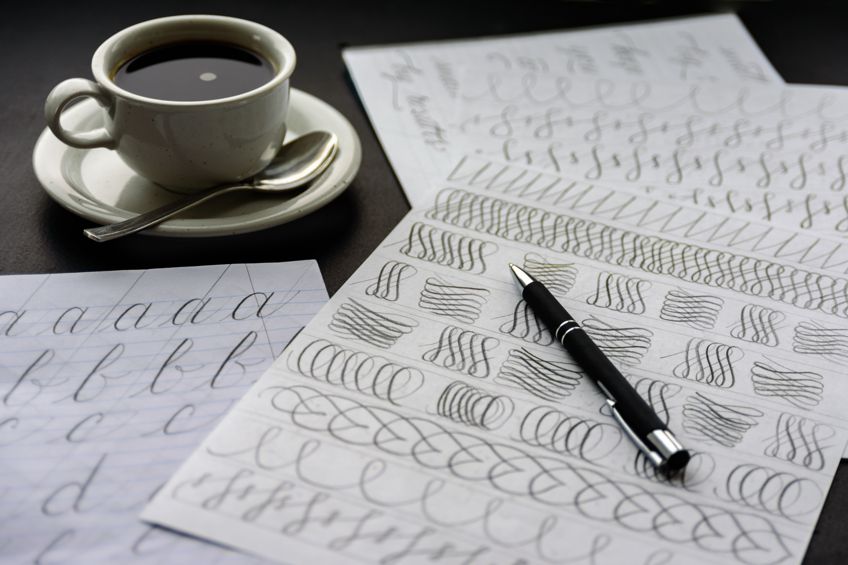
There are numerous writing samples, letter templates, and practice sheets that are available on the internet. When it comes to this, you must have patience until you start forming letters easily. Just as you did back at school, practice writing over and over again until you have mastered it. The next step would be trying to connect the letters, which is the greatest challenge for modern calligraphy, as you must pay attention to regular spacing and smooth transitions. Like the step above, these need to be practiced again and again, until you master them. To do this, the use of practice sheets is the best option as they have guidelines to help you keep the correct slant to your letters.
The Calligraphy Alphabet
When it comes to learning calligraphy fonts, you cannot do without templates. You can reproduce the fonts exactly as per the template with a perfect match. And to learn the calligraphy letters, you need to make the line weights and strokes exactly as per the template by following these two basic methods.

Tracing
Tracing is the better of the two methods to use, enabling you to reproduce the fonts without making any mistakes. This is because you can trace the letters directly from your template, and any mistakes you make will show up immediately.
You need to keep on tracing the calligraphy alphabet letters until you have mastered the technique.
Copying
You can use the second method by taking documents, signs, or books where the letters or script is printed, using these as your template. This means that you have to teach yourself the calligraphy alphabet through the medium of construction, and then after studying each letter very carefully, you can reconstruct them in detail. This method is not for beginners, as it requires a lot of work and mistakes can very easily occur.
Calligraphy Templates
There are calligraphy templates for every level of writing, whether simple swing movements, single letters, or even complete lettering. You take the template and place it underneath some transparent writing paper, and then you can begin to trace the profile onto your writing paper. To prevent the template from moving around, you can stick it down using some adhesive tape. The writing templates have a grid of various lines printed onto them, and these lines make sure that the letters all have the same proportions, making the typeface appear even.
Apart from the templates, there are also exercise sheets available, and the grid on these sheets contains a number of horizontal lines.
Calligraphy Fonts
There are many different fonts you need to learn, such as Gothic, Copperplate, Kurrent, and Fraktur. With each of these different calligraphy fonts, the letters all have their very own unique style and appearance. Also, each one requires different materials to write them correctly. If you are a beginner, it is recommended that you first start with one font at a time, and when you have mastered it properly, then you can move on to other fonts.
How to Hold the Pen Correctly
When you were at school or work, you might have noticed that everyone holds a pen differently. When you are doing calligraphy, how you hold your pen is crucial. The correct technique assures the smoothness of your writing and prevents pain in your hands when writing over long periods. Also, it helps to maintain your rhythm and a consistent writing speed.
So, let us now consider how to hold your pen correctly.
- Put your index finger right on top of the pen or pen holder so that your index finger will be facing downward in the same direction as the pen nib.
- Let the pen holder or body rest on the third joint of your index finger.
- Put your thumb onto the left side of the pen holder or body, making sure that it does not touch your index finger, and it is also in line with the first joint of your index finger.
- Lastly, put your middle finger to the right side of the pen holder or body so that the first joint of your middle finger rests on the pen holder or body. Then, the ring finger and the pinky or little finger should remain close to the middle finger. They are the two fingers that you use to touch the paper surface when you are writing.
Tricks and Tips When Using Calligraphy Pens
When you first start with your calligraphy writing, it may take some time before you can enjoy what you are doing, as you first need to master many of the techniques. Do not give up, but persevere, and once you have mastered the art, you can get great pleasure out of it. You can also use your newfound talent to create many beautiful works of art for family and friends.
- Try not to press too hard on the nib as it could cause the ink to form blobs.
- You need to dilute thick ink before you use it.
- Make sure that you clean the nib often with clean water.
- When writing smears and spreads, ensure that they remain parallel.
- All your letters must sit on the baseline.
- All the top and bottom lengths when writing must be even.

- Ensure your letters are evenly spaced when writing.
- Try not to use too many different styling effects, as this may disturb the harmony of the typeface.
- It is not necessary to buy expensive calligraphy tools, as they will not improve your skill.
- There is a learning curve when doing calligraphy for the first time.
- Note that some calligraphy tools require special types of paper.
Everyone can learn the art of calligraphy writing, whether you are a professional or just a beginner as there is a calligraphy pen that can suit your skill. All you require is a calligraphy pen, some ink, and paper and you are set to go. This is why it is such great fun and easy to do. With calligraphy writing, you can express your creativity. Calligraphy is also meditative and relaxing and can produce some amazing results. Just remember to have some patience in the beginning.
Frequently Asked Questions
Do You Need a Special Pen to Start Calligraphy?
A calligraphy pen is an essential item for calligraphy writing, as ordinary pens will not work. Calligraphy consists of strokes and lines and is decorative handwriting that requires a calligraphy pen to carry out the lettering designs and styles. These pens can include fountain pens, dip pens, brush pens, calligraphy markers, and, of course, pencils.
How Do You Look After Your Calligraphy Pen?
Your calligraphy pen needs to be cleaned regularly after using them and should be stored properly. For the dip pen, you need to clean the nib with some warm water and dry it with a soft, clean cloth before storing it in an upright position. The fountain pen needs to be kept in an upright position as much as possible to avoid ink leaking out, and always remember to replace the cap after use.
Where Can I Use Calligraphy Techniques?
Once you have mastered some of the basic calligraphy techniques, you can use them for creating wedding invitations, birthday cards, journals, and sketchbooks. You can also do impressions on an envelope, or you can do it for relaxing purposes. Apply calligraphy on your resume, helping make you stand out from the rest. You can even earn money with your own business and much more.
Is It Difficult to Master Calligraphy?
If you are just starting, then you will need to have some patience because you will first need to master some of the basic styles and fonts. However, once you have done that, then your time is your own and you will find it comes more naturally and easily.

Matthew Matthysen is a multidisciplinary artist. He completed his fine art degree, majoring in History of Art and Contemporary Drawing Practice at the University of Witwatersrand, South Africa. Before joining acrylgiessen In 2020, Matthew worked part-time as an art teacher at Reddford Blue Hills High school. Matthew creates drawing and painting tutorials for acrylgiessen and captures them not only photographically and in written form. He also records the creation of his works in his own creative studio as in video format, from which later with a voiceover and a video editor also drawing tutorials for the Youtube channel of acrylgiessen are created.
Learn more about Matthew Matthysen and about acrylgiessen.