How Long Does Air-Dry Clay Take to Dry? – Exploring Air-Drying Clay
This post may contain affiliate links. We may earn a small commission from purchases made through them, at no additional cost to you.
Working with potter’s clay requires a little more equipment like a kiln, which most of us do not have. An easier and more fun alternative is air-drying clay. This is a type of clay that doesn’t need a kiln or even an oven for the clay to dry, making it an easy hobby to do at home for both skilled clay workers and even children. Even though air-dry clay is simple to work with, you might be wondering how long does air dry clay take to dry? Read further and discover more about this wonderful art medium.
Table of Contents
Types of Air-Dry Clay
The air-dry clay can be used in much the same way you use the traditional kiln-fired clay. Many techniques like scoring, welding, sculpting, and coiling can be achieved. Some air-dry clay can be worked with on a potter’s wheel. However, there are some different types of air-dry clay that best suits various projects. Each of these air-dry clays has its own properties, like various drying times and ingredients.
Earthen Clay
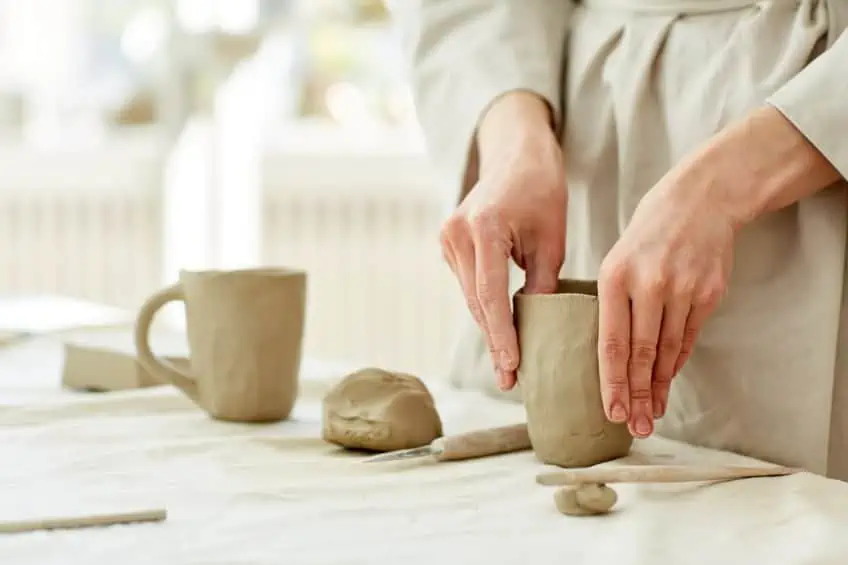
This is a popular choice and quite common. The product contains natural clay and contains natural minerals. When water is applied, it becomes a natural, non-toxic clay. The clay is easy to work with and is great for all ages. You can use it to sculpt with your hands or try using some sculpting tools for finer details. The clay is a bit stickier than others and is quite similar to the kiln-fire, low-temperature clay.
The earthen clay is durable but not as durable as kiln-fired clays, so it is best used for projects that will not be used or touched much.
Epoxy Clay
This clay product comes in two forms that contain a resin as well as a hardener. These two components must then be combined and then left to dry and set. The consistency of the clay once mixed is like pulling apart toffee. The clay dries quite fast, in about two hours. Unfortunately, once fully dry, you cannot make any adjustments. However, it gets extremely hard, so it is very durable and would make wonderful jewelry pieces and other items you may handle often.

Paper-Based Clay
This is an earthen or terra-cotta base clay that includes processed paper. The paper has some benefits such as making the sculpted item lighter, it also helps with joining and can decrease any warping that might occur. The paper-based clay also improves firmness and can help to minimize any shrinkage that may occur while drying.
Paper-based clay is better for larger projects.
How Long Does It Take for Clay to Dry?
Most air-dry clays will dry in about 24 hours to 72 hours when placed in a cool and dry space. However, some may take several days to dry, depending on what you are working on and the environment. Thicker clay takes longer to dry, and humidity can slow down the drying process. This excludes the epoxy clay, which will dry in a few hours.
What Can Influence Clay Drying Times?
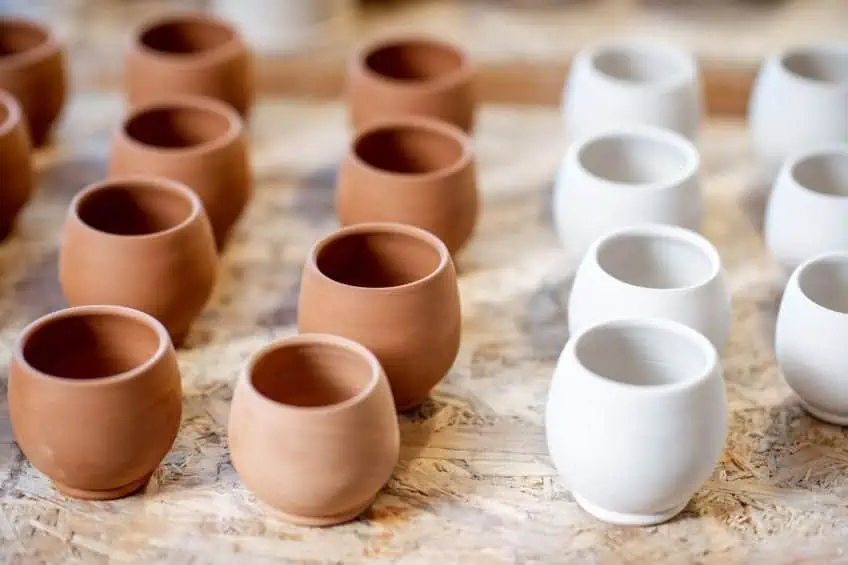
Since the clay is left out in the open to dry naturally, some factors come into play that can affect the drying times. The most obvious factor is temperature. The warmer it is, the faster the clay will dry. However, cracks can form if the clay dries too fast, so if you do work where it becomes excessively hot, try covering the clay with a damp, light cloth, or you can use a plastic covering. Some other factors to take into consideration:
- Humidity: If there is quite a bit of moisture in the air, it will take the clay longer to dry. Sometimes, the clay might not dry properly, and you might have to think about drying it in the oven.
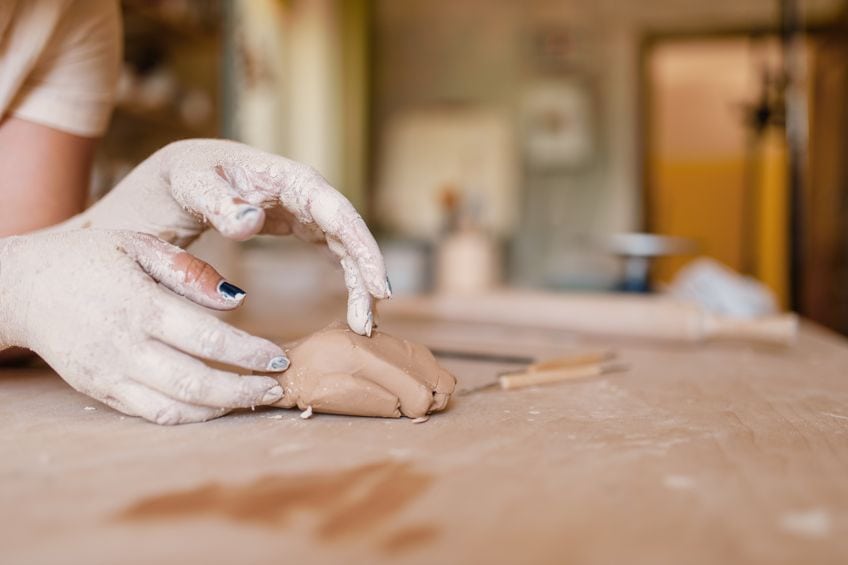
- Type of project: More solid or thicker clay projects will naturally dry slower. Also, making the clay flat and thinner to help it dry faster might not be the best idea as it does tend to curl.
- Surrounding airflow: You can increase the drying time by maximizing the airflow. To do this, and make sure the clay dries evenly and does not start cracking, place it on a cooling rack and rotate it so the air can get to the whole surface.
How to Make Air-Dry Clay Dry Faster
Now that you know the answer to how long does air dry clay take to dry, you might be wondering if there is a faster way. Preferably, you should allow your air-dry clay to dry naturally, without interference. The only recommended step to help the clay dry is to rotate the clay as mentioned above. Even though it might take some time to dry, you do not want all your hard work to be ruined.
For example, you can end up having cracks or even breaks because you did not have enough patience.
Can You Use an Oven for Air-Dry Clay?
Air-Dry Clay is clay that doesn’t need a kiln or added heat to dry and harden. However, some crafters have used the oven to fasten the whole drying process, while others feel it should not be done. Many of the products themselves state on their labels not to place the clay in the oven or microwave. That being said, placing the clay into the oven is one of the better options as it produces even heat and is helpful in places where the humidity is high. Follow these steps for placing air-dry clay in the oven.
- Use a baking sheet with some baking foil over it and place your clay items onto the tray.
- Place the tray with the clay into a cold oven and then switch it on to a low heat setting, which can be about 200 degrees Fahrenheit (93 degrees Celsius).
- Leave everything for about 30 minutes and then turn the oven off.
- Wait until everything has cooled down and then check, as you might need to go over the process again.
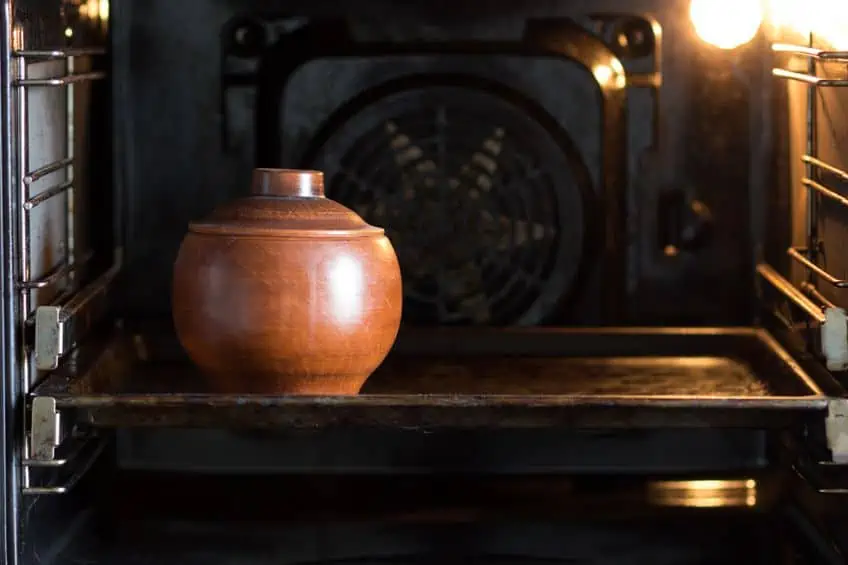
The reason you place the clay into a cold oven is to prevent the clay from cracking when exposed to heat straight away. The time you leave the clay in the oven will depend on its size; for example, smaller clay items might only need 15 minutes. Try not to leave the oven on for over half an hour as the clay might burn. If you find that the clay is not dry enough yet, you then repeat the whole process. Make sure the clay has fully cooled down before you check. This method is much faster than leaving the clay dry naturally.
Is Sunlight Good for Air Drying Clay?
When placing air-dry clay in direct sunlight, it heats the clay unevenly and can form cracks. The same applies to something like a hairdryer – if you think this will speed drying time up, think again. The airflow is not even, and some areas will dry faster than others, so again, the clay will crack and may even break.
It is not guaranteed that it will work, but you can try to place it on a foil-lined tray and in the sun, however, you should rotate it every ten minutes until it dries.
Can You Make Use of a Microwave for Air-Dry Clay?
When it comes to food, the microwave is the fastest way to cook as everything is heated very quickly. Since there is a rapid build-up of heat in the microwave, placing air-dry clay inside is not a good idea. The clay cannot handle the heat and will most likely break apart.

How to Check if Air-Dry Clay Is Properly Dry
Once you have left your clay to dry, you will need to check to see if it is properly dry after the recommended time has elapsed. There are a few ways you can check the clay, each of them very simple.
- Tapping test: Moisture evaporates when the clay dries, and it becomes more porous. If you gently tap the clay item, it should sound like it is empty or hollow.
- Check the color: As the clay dries, the color lightens, which is more observable in the gray, black, or terracotta varieties. However, you can still see this in the white clay as well. Resin clays turn darker and become translucent.

- Nail check: This method can be used just before you sand and paint your clay item. Even though the out layer may have a lighter, even color, thicker clay might not have hardened. Gently push the nail into the clay, somewhere unobtrusive, and if there is a definite mark remaining, you should leave the clay to dry for another 24 hours.
Guide to Using Air-Dry Clay
Air-Dry Clay is popular and is cheaper than some other products like polymer clay, which also needs to be oven-baked. Air-Dry Clay can be used to make different items from sculpting to jewelry. Once you have chosen your type of air-dry clay, you can begin shaping and sculpting it. Open the bag and pull a piece off, or you can use a wire cutter to cut off blocks of clay. Knead and soften the clay, to make it easier to work with. You can include some water with the paper-based clay to soften it. If you are using resin-based clay, some acrylic paint can add color and help to soften the clay. You can also try this with regular white air-dry clay, mix the paint in until it is evenly distributed. Instead of acrylic paints, you can also try using watercolors. Oil and alcohol-based colors are not recommended.
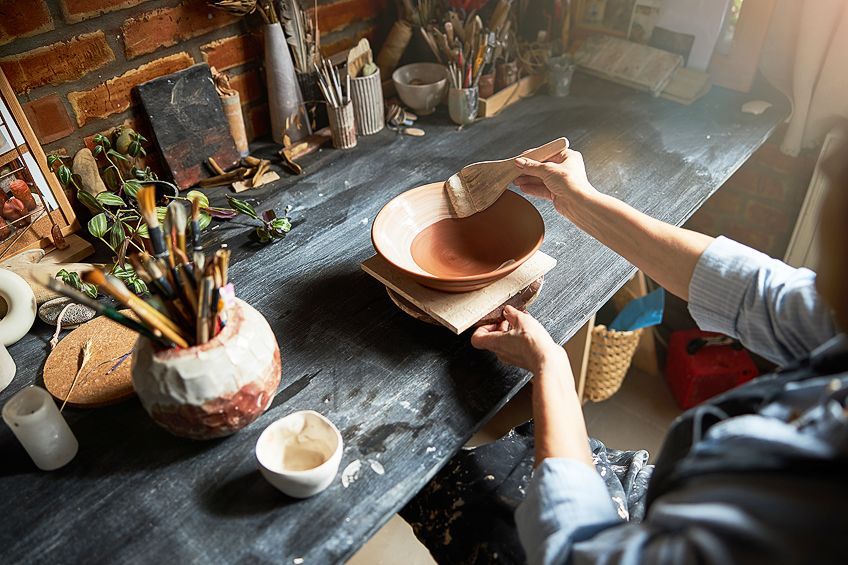
You can then shape your clay; flat items are the easiest to make as you can get clay cutouts or clay impressions. You can also sculpt and create three-dimensional clay figures. To do this, you can make use of your hands, knives, spoons, or special clay tools. For larger clay items, you may also need to create a support structure or armature before you begin with the clay. You can also decorate the clay with things like beads or other smaller clay pieces.
Once dry, and you notice some cracks, a simple way to fix this is to use a clay slip. This simply means you mix some of the clay with water to make it into a thick, yet slightly runny consistency that will stick to the clay surface and fill the crack.
We have already mentioned you can add color to the soft clay before it has dried. After the clay has dried, you can then place the clay item on some newspaper and paint or decorate it. When painting air-dry clay, you should use water-based based paints like acrylics, watercolors, and tempera paints. You can also attach or glue items to the clay, for example, beads and other decorative items. Finally, you can seal your clay item with mod podge, but acrylic sealer or varnish might be better as this will make it waterproof.
Storing Air-Dry Clay
Air-dry clay will dry out if left out in the open, so you will need to store it properly once you have opened a package and have some clay left-over. Soaking the dry in water will not “revive” the clay. When working with the clay, only remove the amount of clay that you will be working with each time. Once finished, you can wrap the package with the clay with cling wrap. To provide a little extra moisture, add a drop or two of water before wrapping it up.
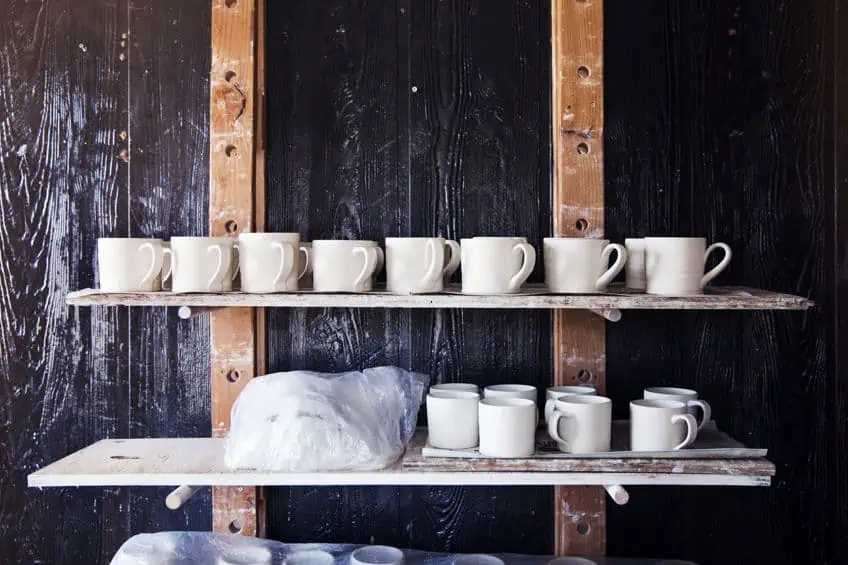
Place the package in a zip lock bag and store it in a cool, dark place. The clay should last for a few months when stored like this. Any excess clay you have leftover, you can try wrapping it in some wax paper, which is then placed in a zip lock bag. Preferably, you should use all the clay you take out of the original packaging as it will not work as well, even if you store it like this.
Helpful Tips and Tricks When Handling Air-Dry Clay
When it comes to working with clay, there are always little things you can do to make sure your project comes out perfectly. The most important thing is to follow all the instructions provided like placing your air-dry clay project in a dry and warm area that has enough ventilation. Some other simple ideas include:
- Aid the drying process by rotating or flipping your clay item so it can dry more evenly.
- Before painting, make sure the clay is dry as the trapped moisture could create mold.
- Thicker clay items need a longer time to dry.
- Always work in an area and on a surface where there is little to no dust as it can stick to the clay when you are working.
- Use the clay and modeling tools available, as these will help to make working with the clay easier.

- Condition the clay by kneading it and making it more pliable and better to work with.
- Do not roll your clay out too thin, as this could lead to warping and cracking.
- Applying some hand lotion onto your hands before working with clay, can help to minimize stickiness.
- Lay some wax paper down to stop the clay from sticking to the surface you are working on.
- You can use a sponge, your finger, and a little water to smooth out any problems areas while you are working with air-dry clay.
Working with air-dry clay is simple and easy if you follow the basic guidelines and answers to how long does air dry clay take to dry. Do not try to speed things up unnecessarily, a bit of patience can be the difference between a great clay piece and starting from scratch.
Frequently Asked Questions
How Long Does It Take for Clay to Dry?
The general time it takes for air-dry clay to dry is around 24 hours to 72 hours. However, if you have larger clay projects, you might have to wait a little longer for the piece to dry properly. It is best to leave the clay dry naturally, rather than to speed things up.
Is Air-Dry Clay Waterproof?
Once air-dry clay has dried properly, it becomes porous and is not waterproof. You will need to seal the clay to make it waterproof. To do this, you can use mod podge, varnish, or an acrylic sealer. You can also consider using epoxy resin.
How to Make Air-Dry Clay Dry Faster?
As mentioned, it is a better idea to leave the clay to dry naturally. However, you might live in an area with high humidity, or you would simply like to speed things up a little. The best method for drying air-dry clay faster is in the oven as it provides heat evenly. Speeding up the drying process does increase the risk of cracks and clay breaking.
Can You Paint Air-Dry Clay?
Painting air-dry clay is fun and adds wonderful color to a finished clay piece. The best paints to use are water-based, for example, acrylic paint, tempera, and watercolor paints. You can paint clay once it is completely dry, or you can mix in some paint while you are busy with the clay before it dries.
In 2005, Charlene completed her wellness degrees in therapeutic aromatherapy and reflexology at the International School of Reflexology and Meridian Therapy. She worked for a company offering corporate wellness programs for several years before opening her own therapy practice. In 2015, she was asked by a digital marketer friend to join her company as a content creator, and it was here that she discovered her enthusiasm for writing. Since entering the world of content creation, she has gained a lot of experience over the years writing about various topics such as beauty, health, wellness, travel, crafting, and much more. Due to various circumstances, she had to give up her therapy practice and now works as a freelance writer. Since she is a very creative person and as a balance to writing likes to be active in various areas of art and crafts, the activity at acrylgiessen.com is perfect for her to contribute their knowledge and experience in various creative topics.
Learn more about Charlene Lewis and about us.
